


Electriflying Top Flite Stinson Reliant
 09-29-2018, 06:40 AM
#51

Thread Starter

Join Date: Mar 2006
Location: Southport UK
Posts: 187
Likes: 0
Received 0 Likes
on
0 Posts


Woke this morning feeling distinctly dodgy, don't know if it's a combination of the recent flu & shingles jabs, or the rogan josh I had for dinner last night

 09-30-2018, 04:31 AM
#53
Thread Starter
Join Date: Mar 2006
Location: Southport UK
Posts: 187
Likes: 0
Received 0 Likes
on
0 Posts


Regards Eric.
10-01-2018, 06:36 AM
#54
Thread Starter
Join Date: Mar 2006
Location: Southport UK
Posts: 187
Likes: 0
Received 0 Likes
on
0 Posts
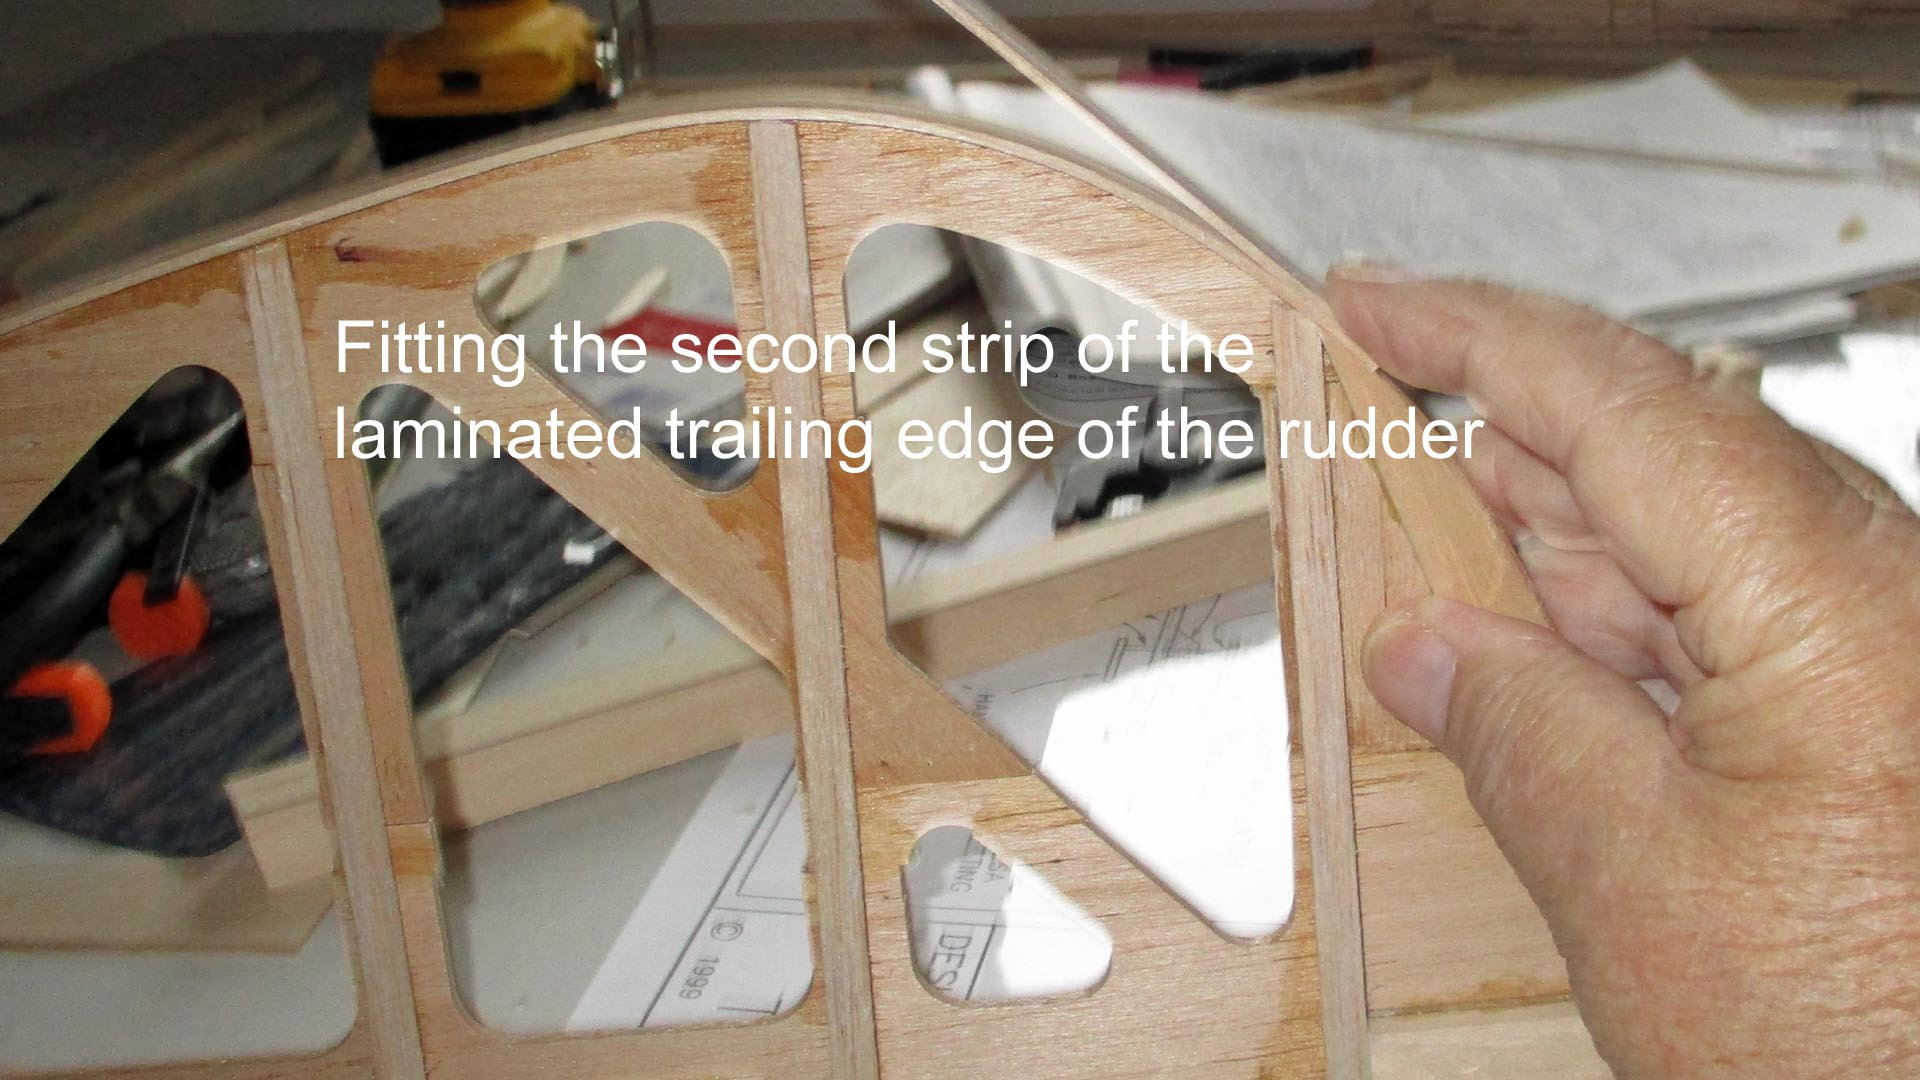
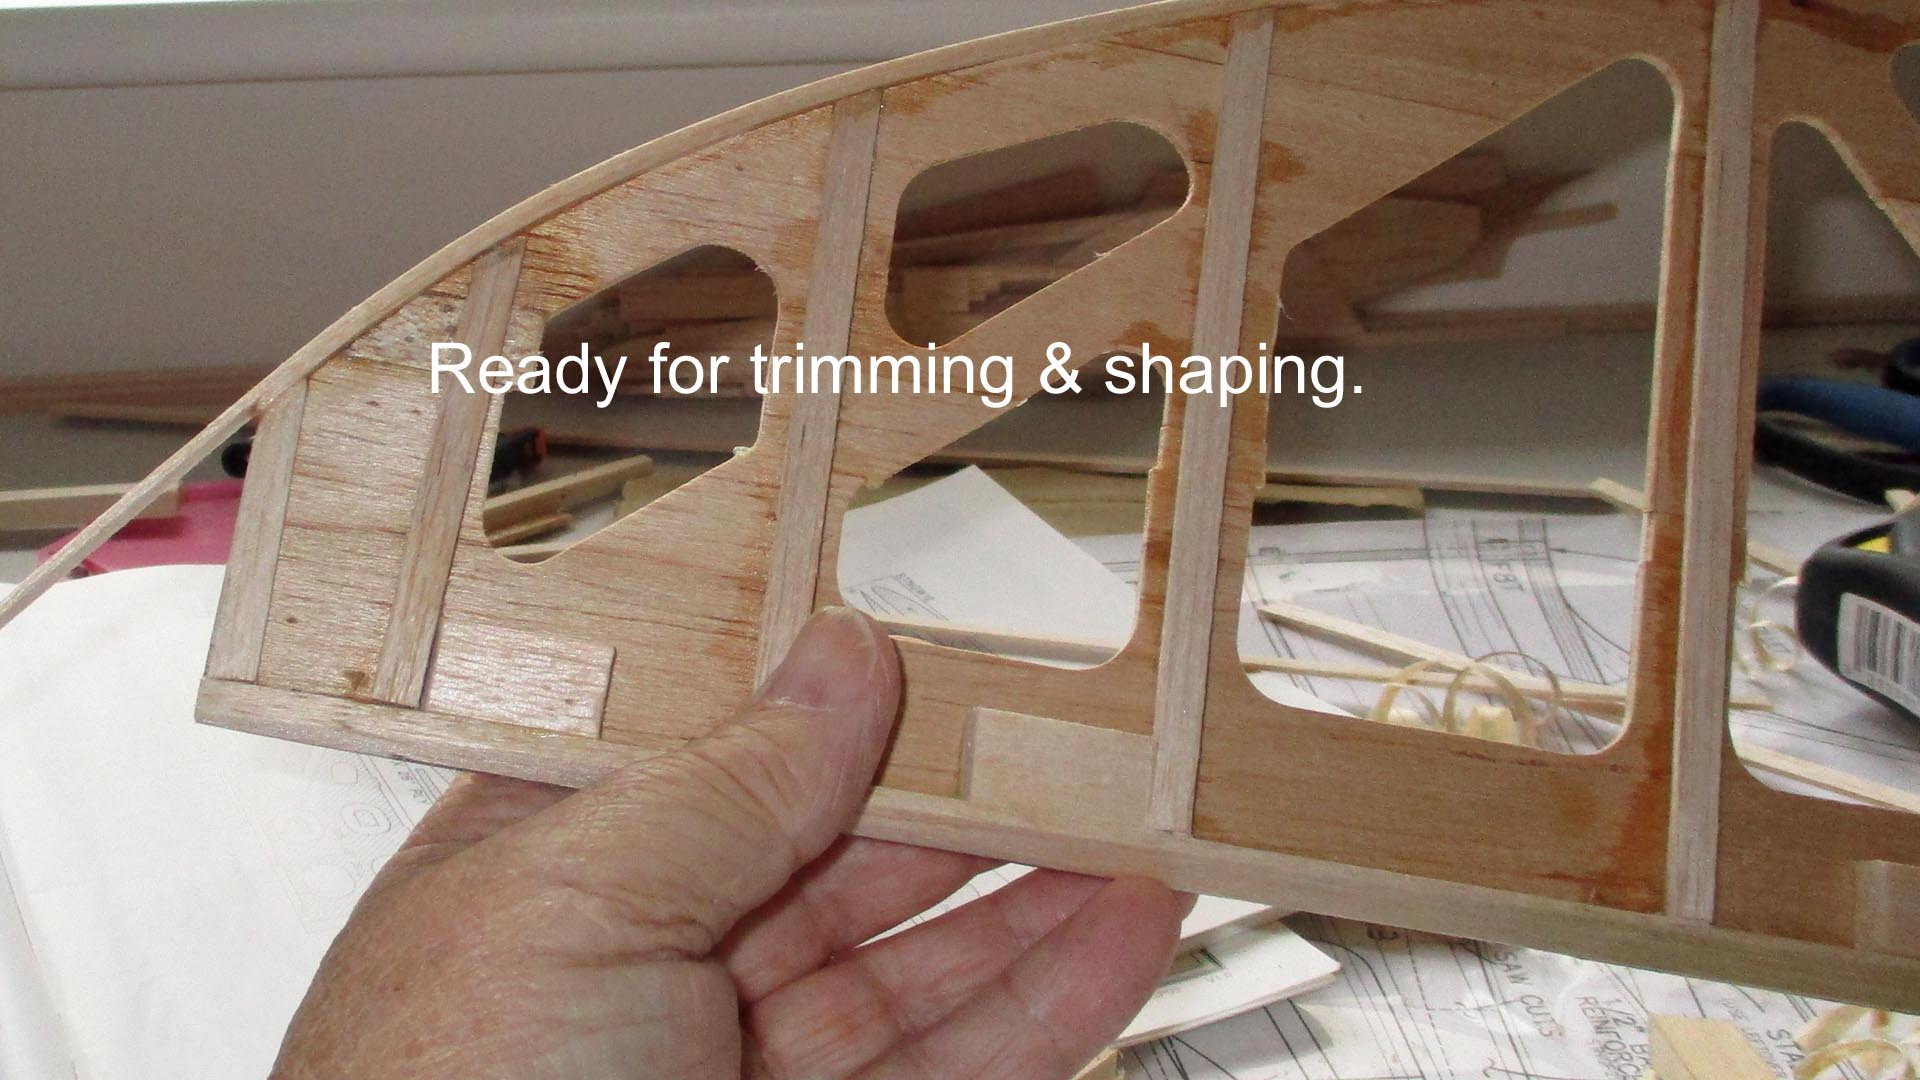
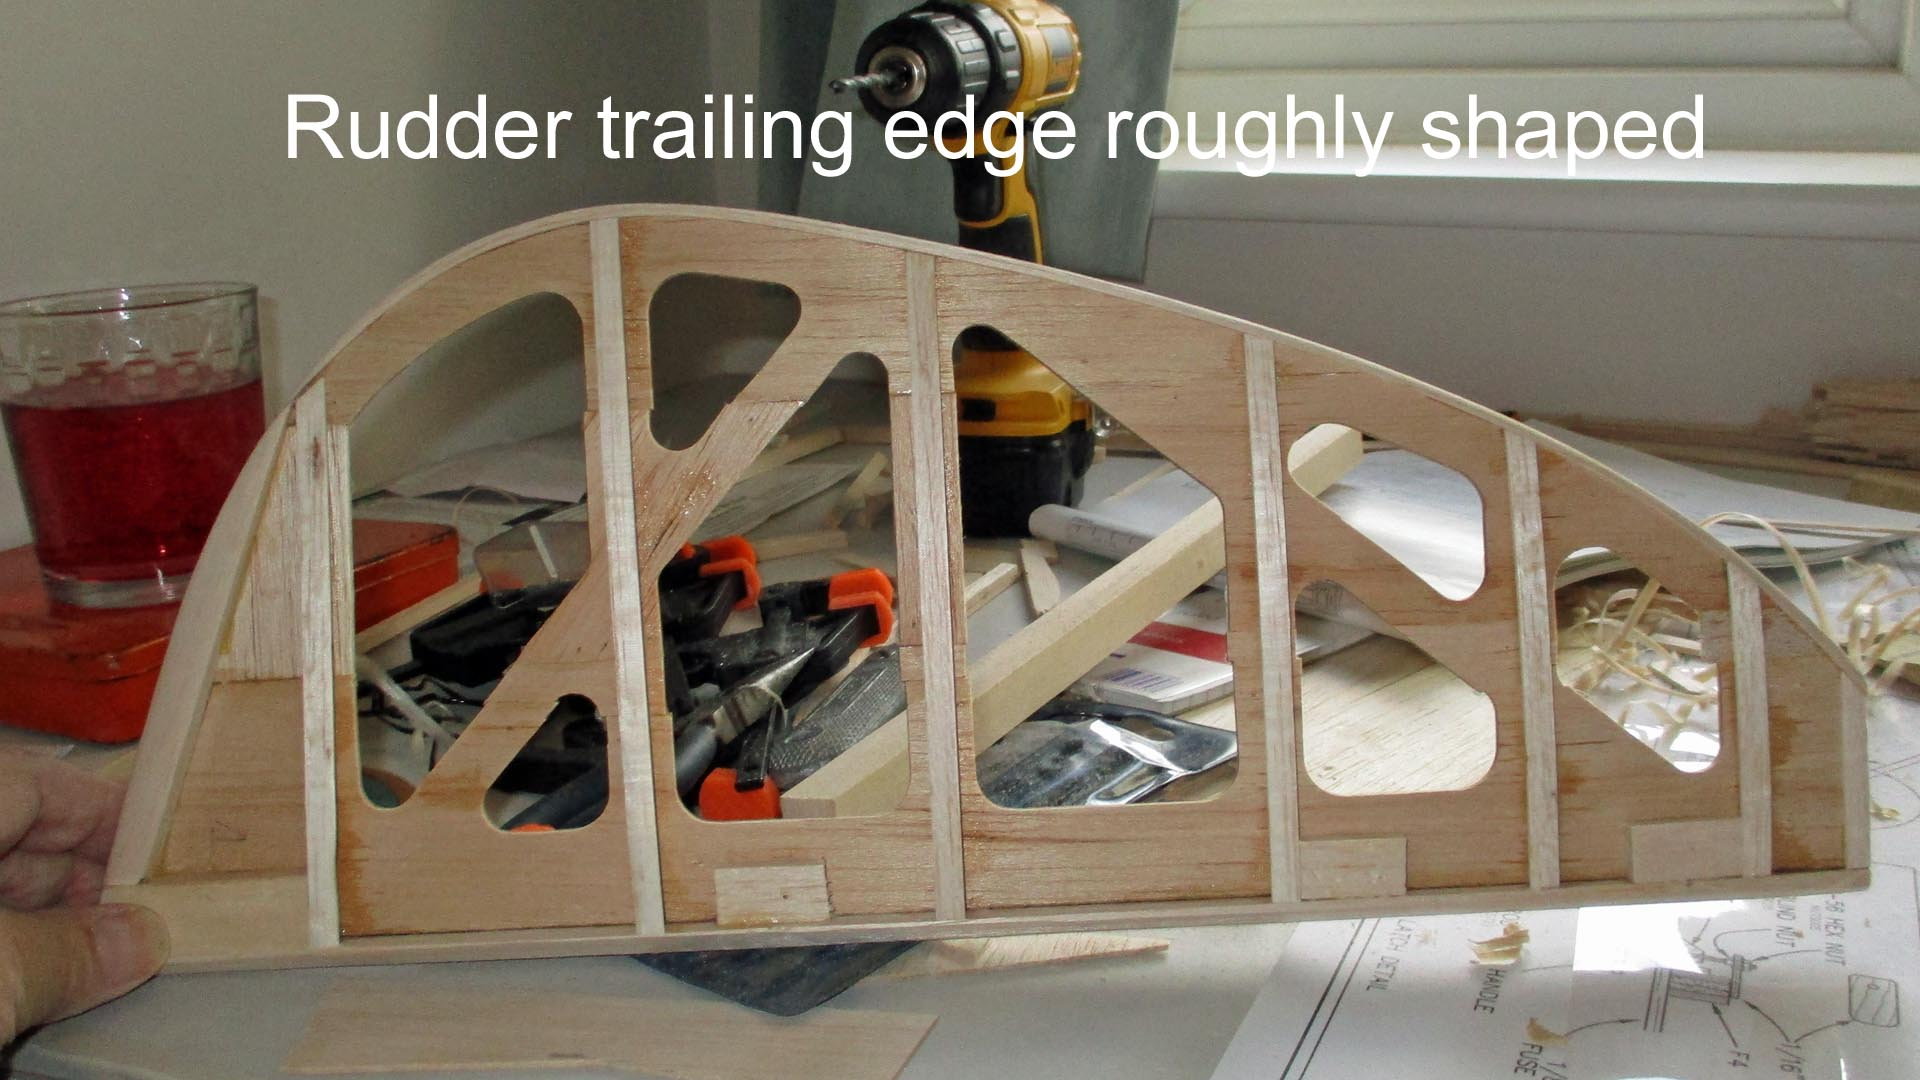
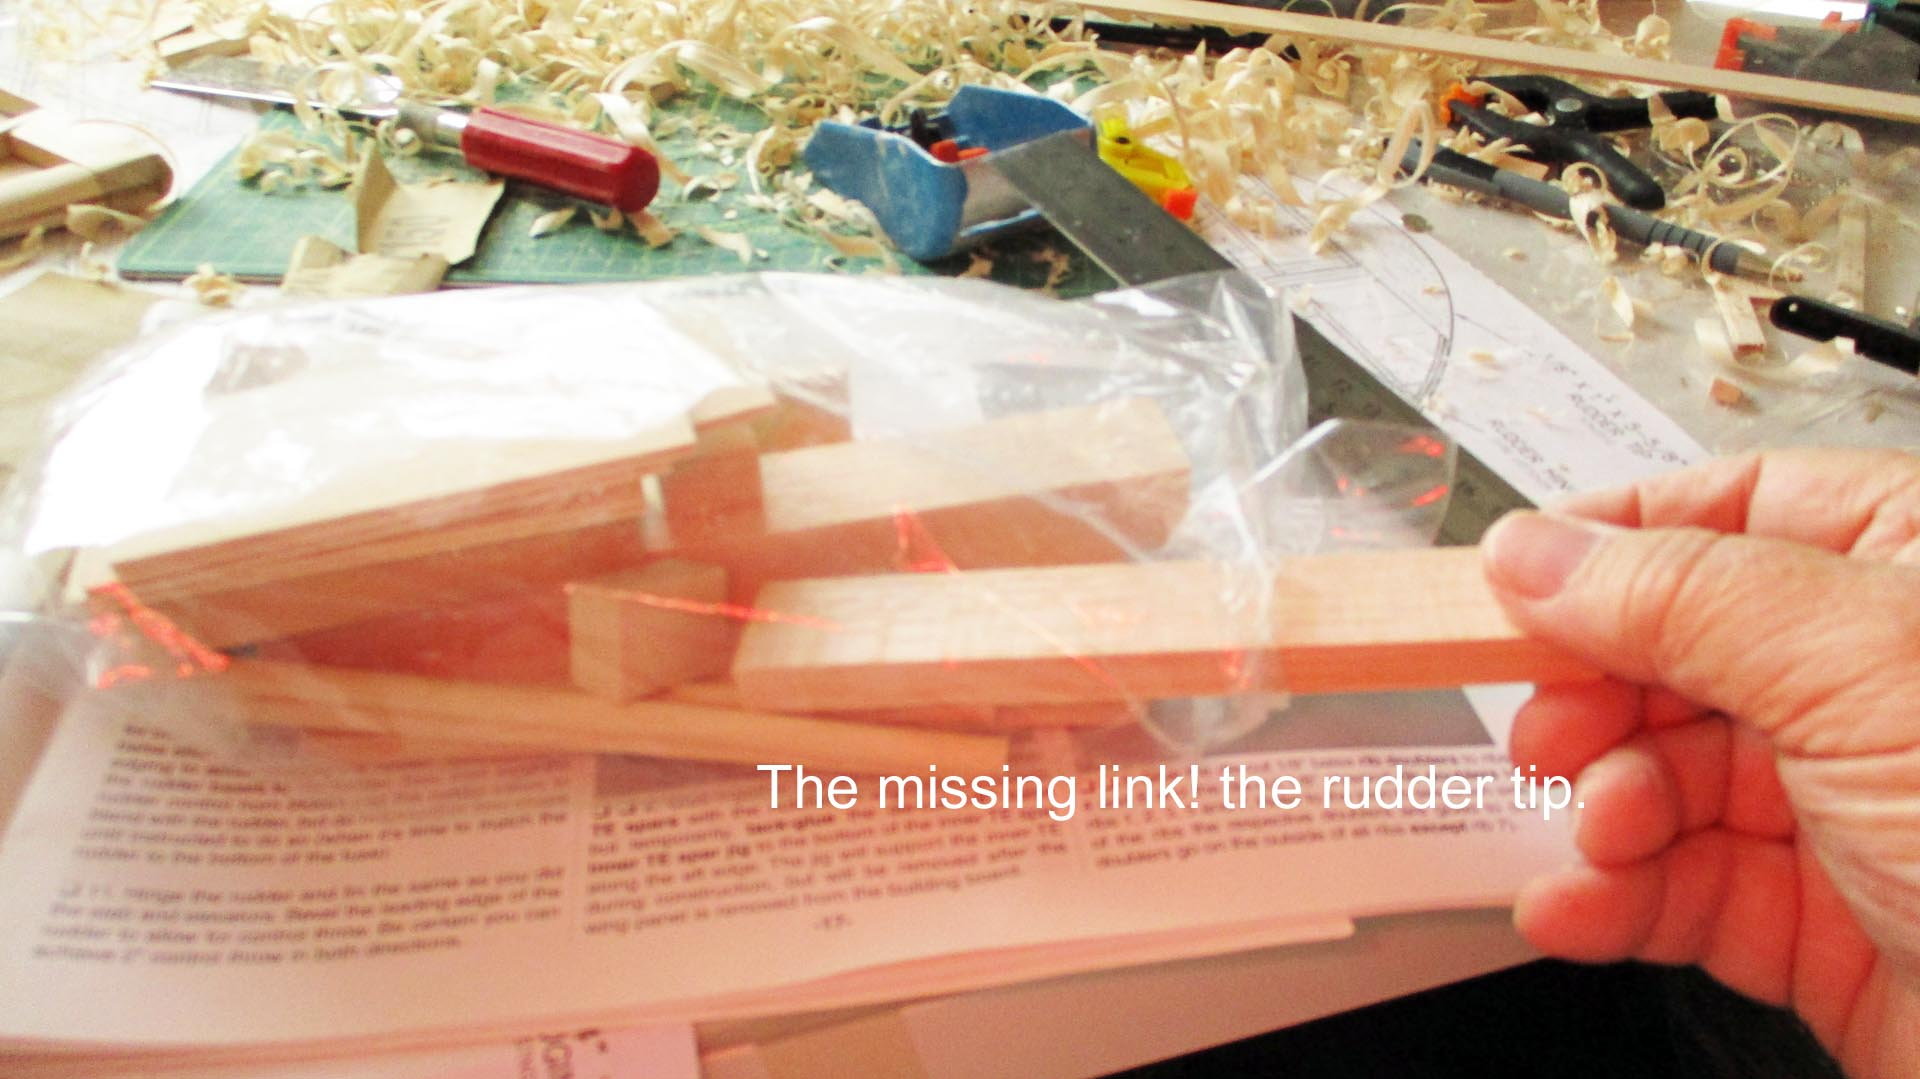

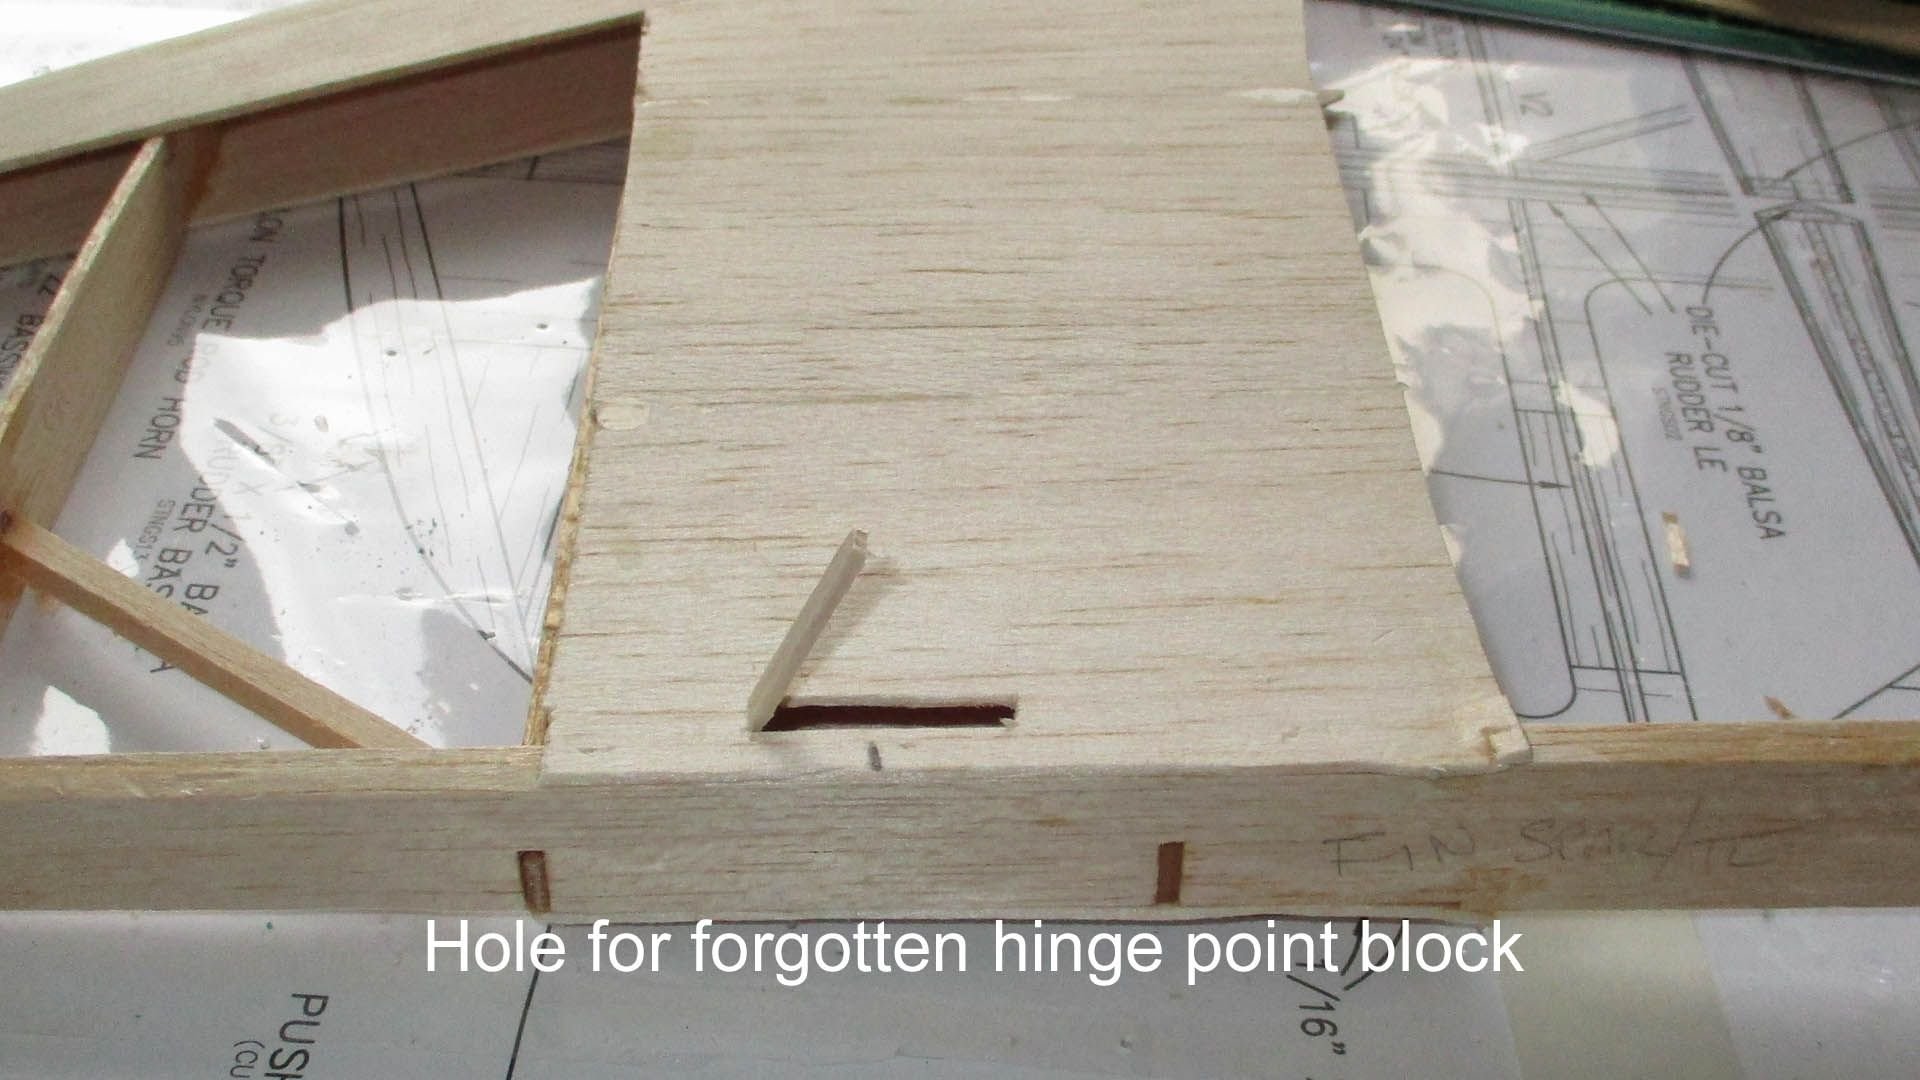
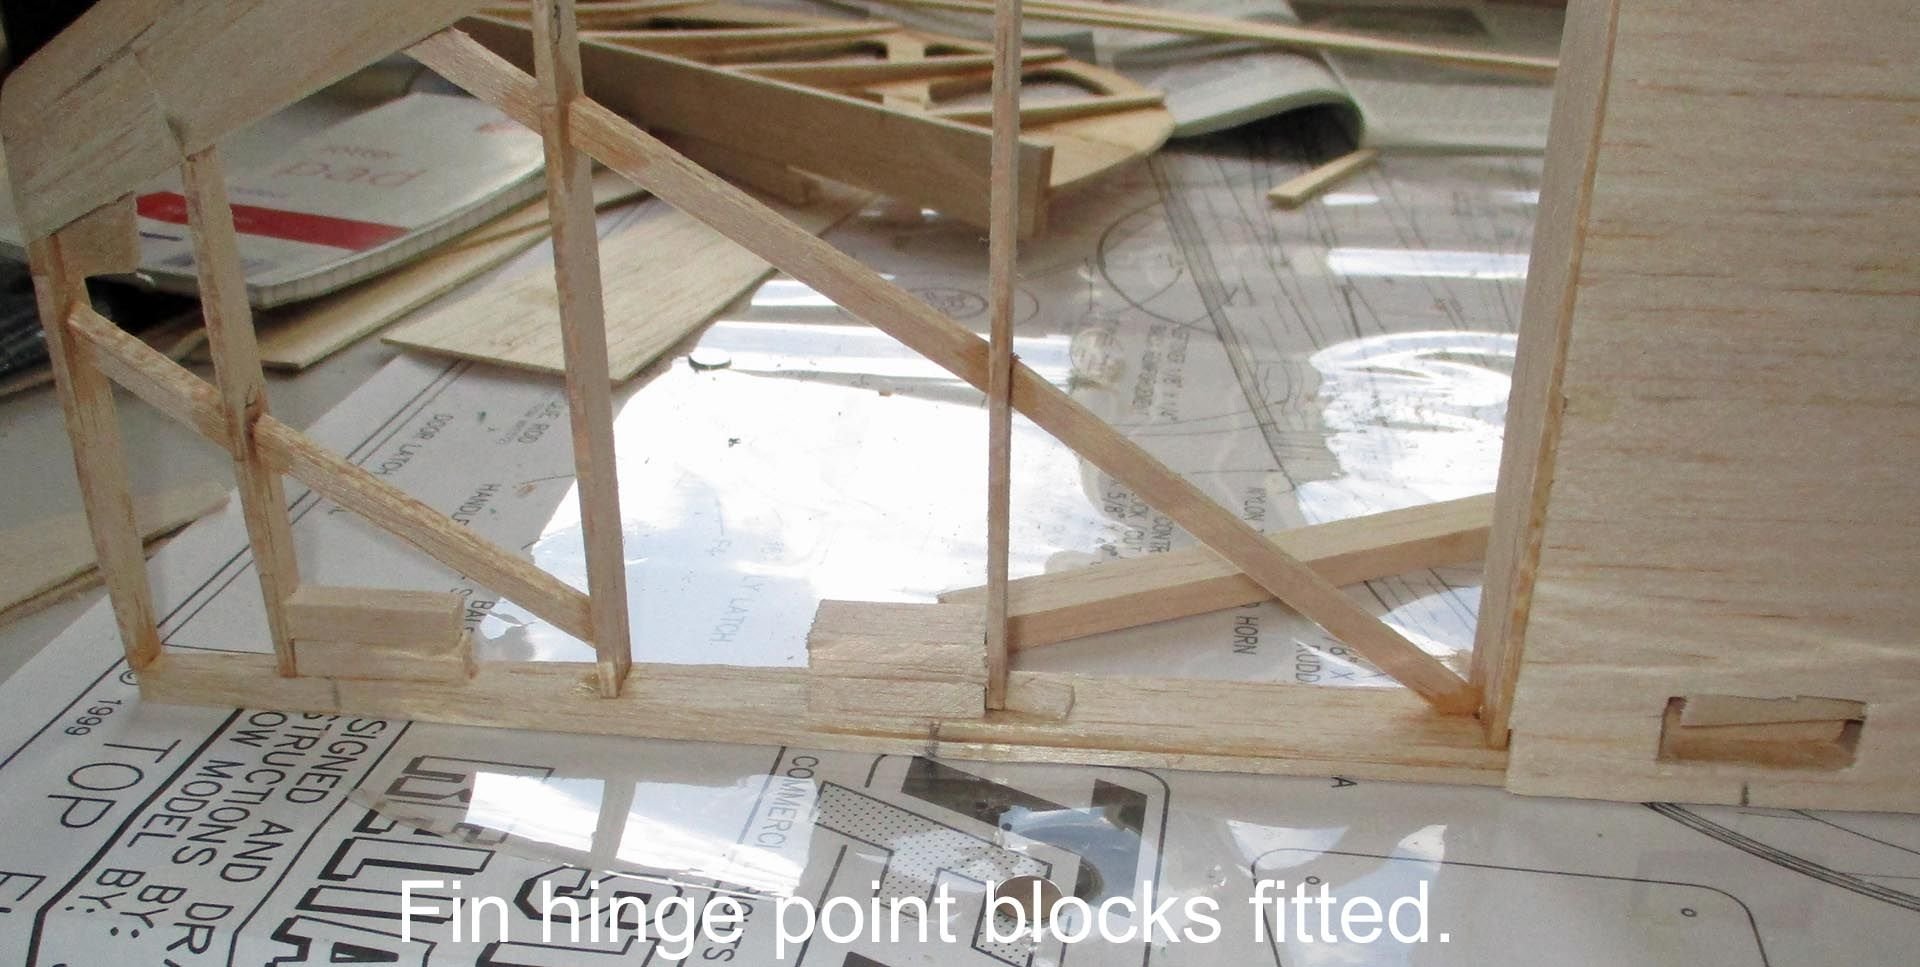
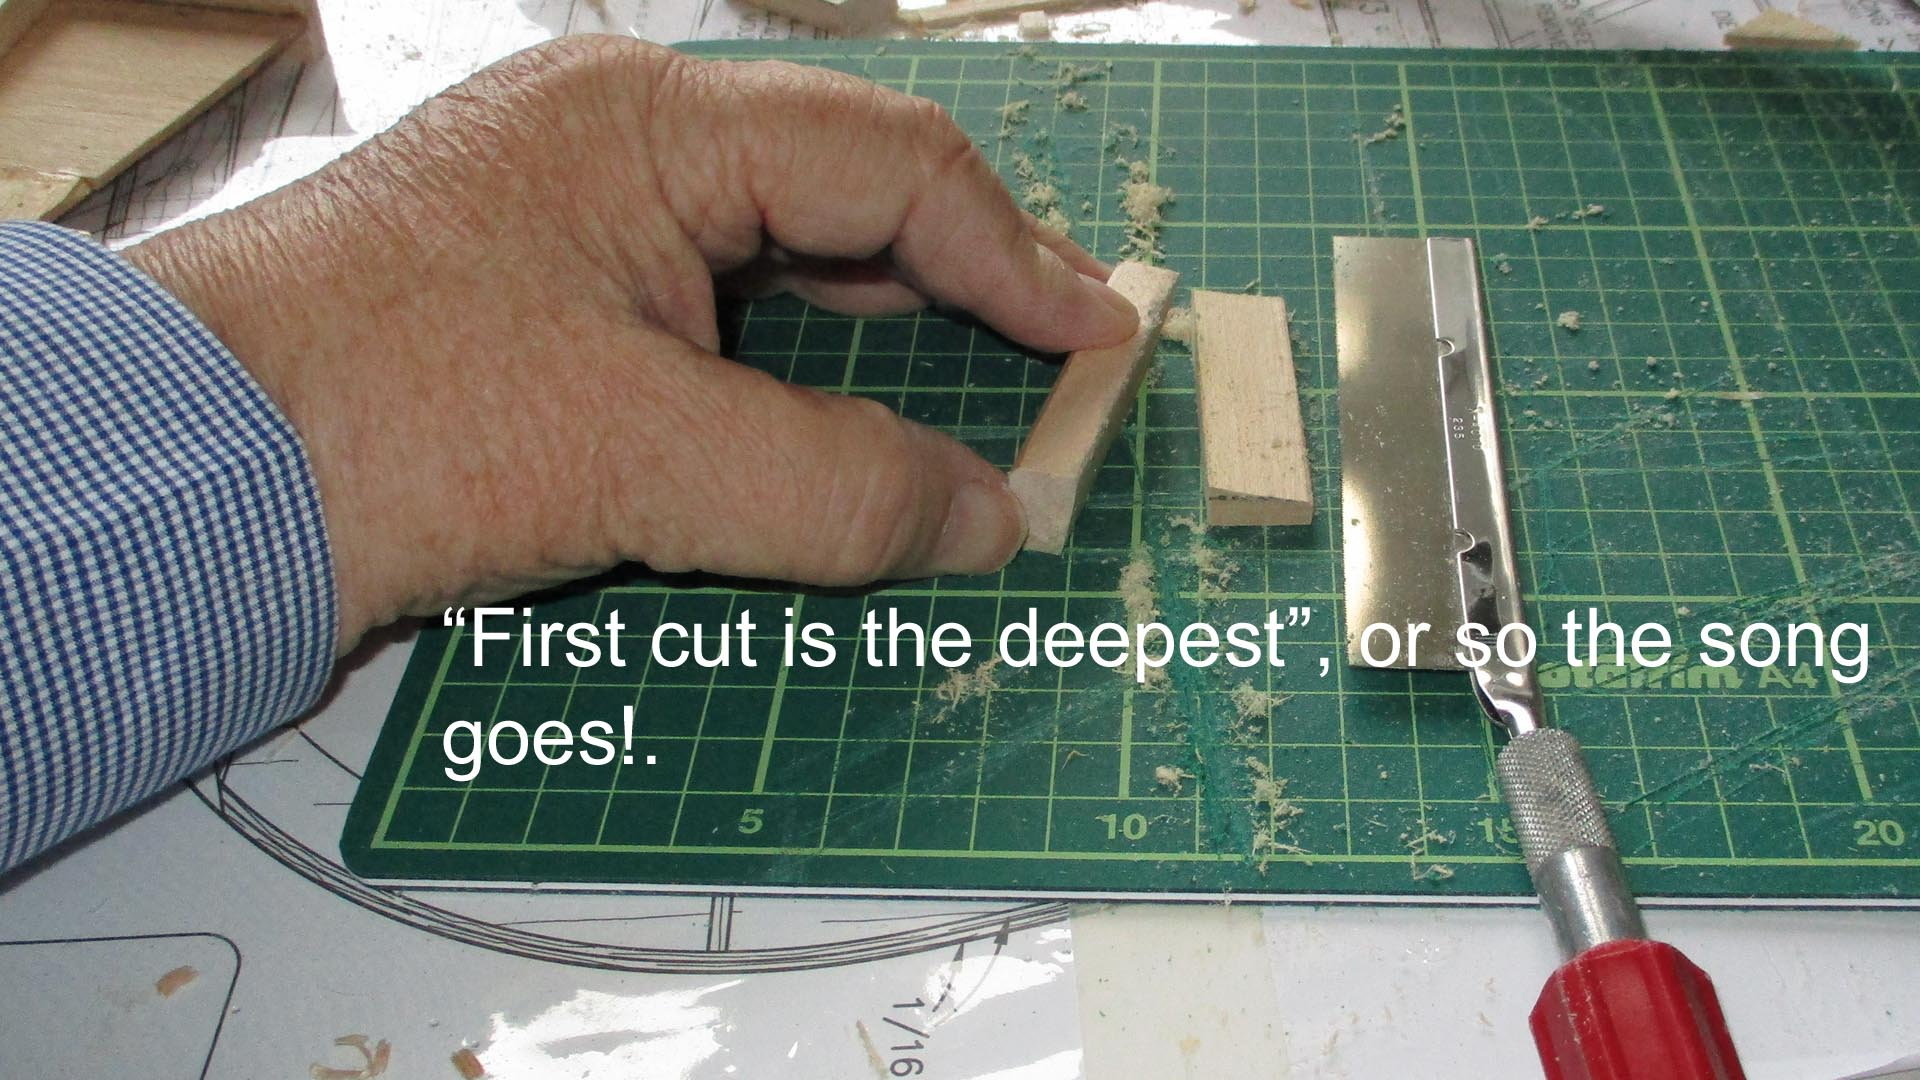
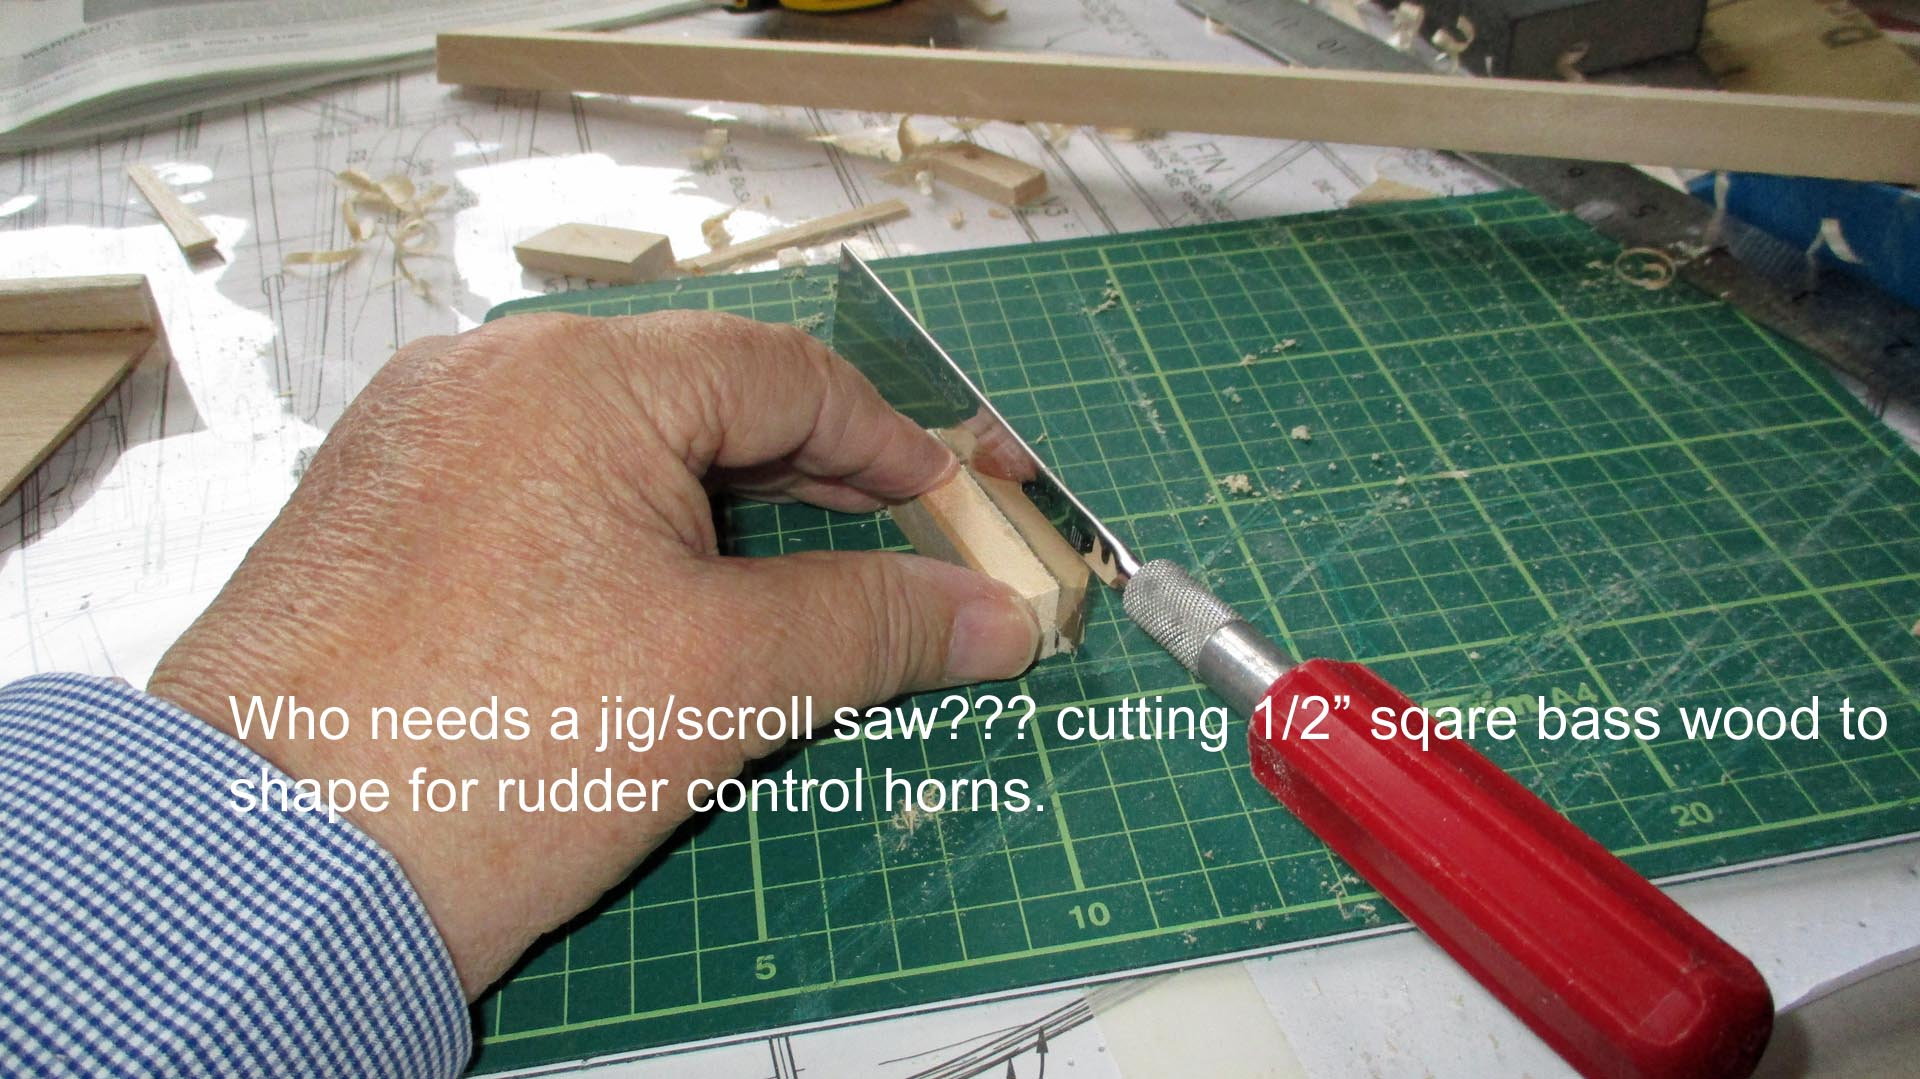
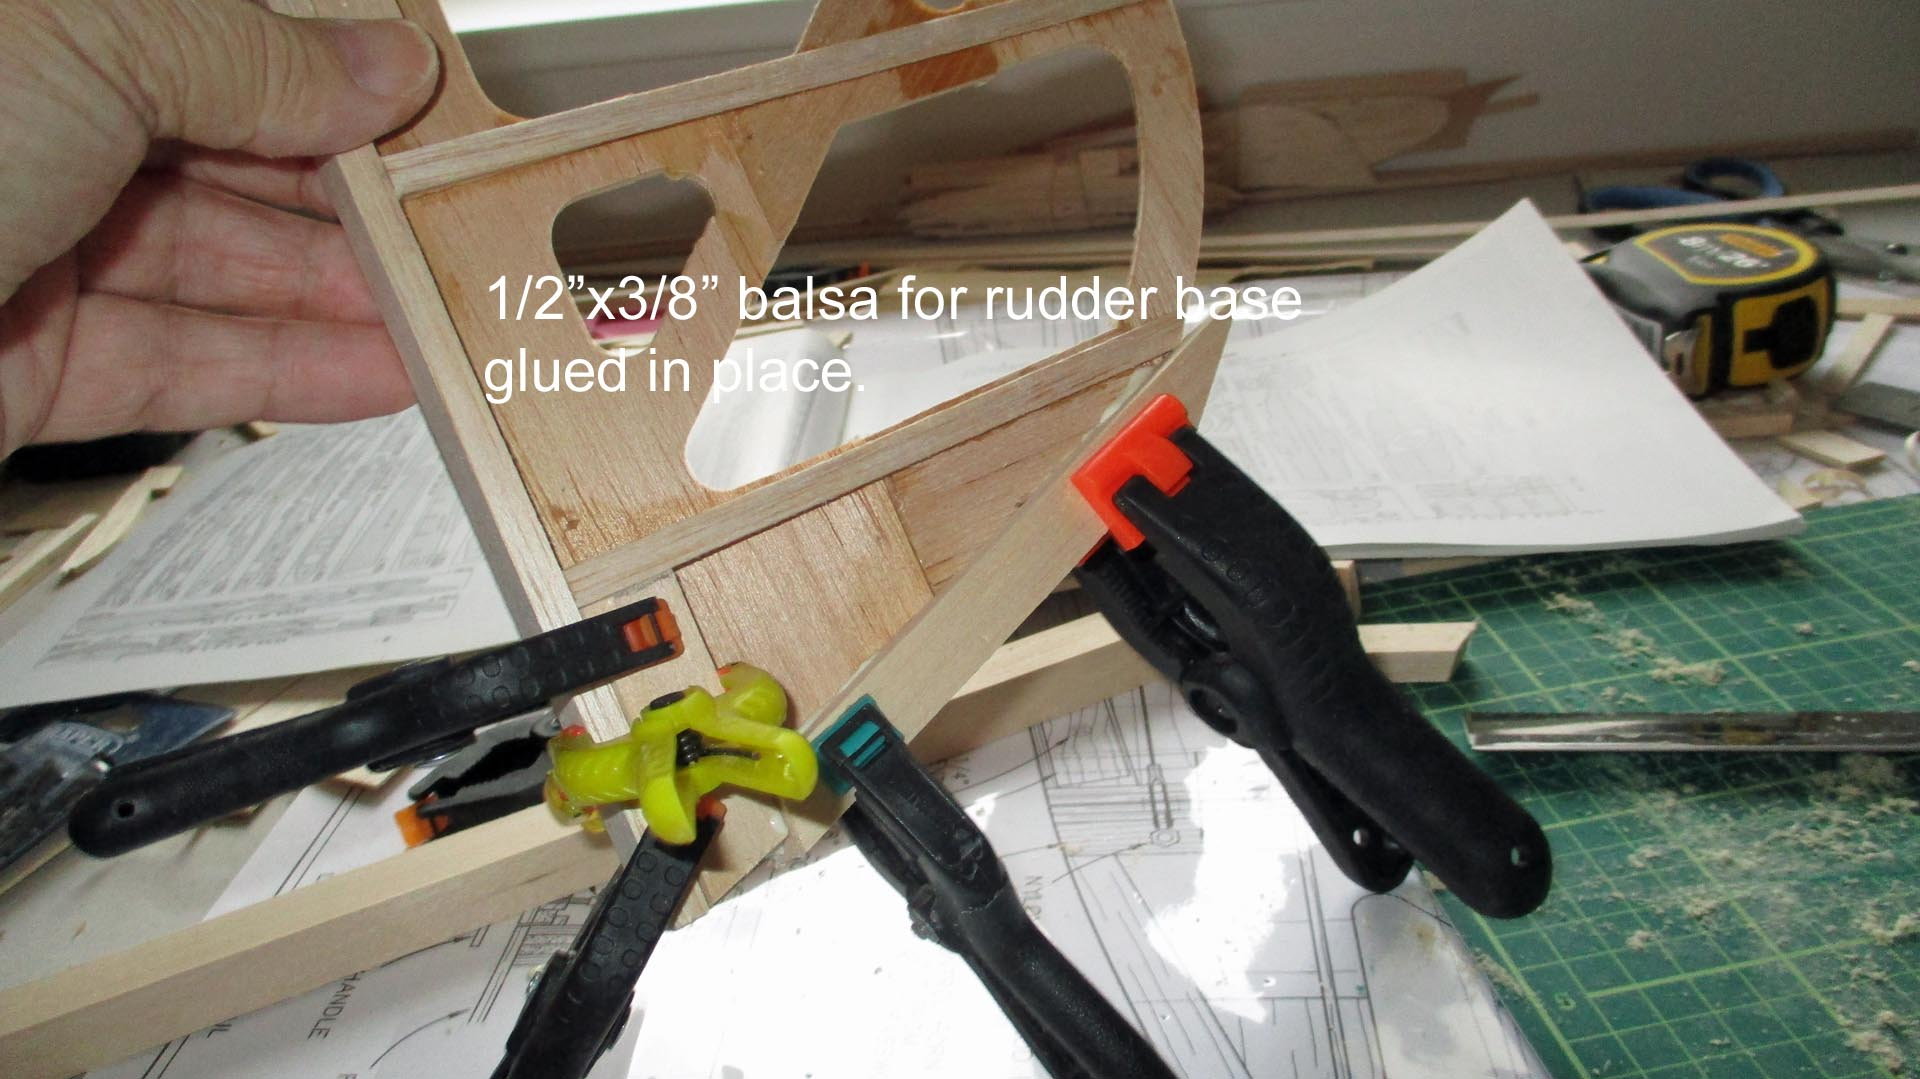
Still not feeling myself, but eventually got some more of the build done. Did some shaping on the rudder blocks & base, fitted the two strips to laminate the rudder trailing edge. Then decided to look for the block of balsa for the rudder tip. An hour later, after emptying the box using my enigma machine to try to decipher the TF code for the piece, I decided to look in the box lid where I'd stored the U/C, ABS parts & the empty sheets of die cut parts. there it was in a plastic bag of other yet to be discovered parts. I placed it over the plan & drew in the approximate shape & centre lines, then partially shaped it. To go by the manual, the rudder has to be clamped to the fin for final shaping, so I glued the tip to the rudder to leave overnight until it's set to do the final shaping. That's it for the 1st of October, Incidentally, the image count has now passed the 150 mark & the back end still isn't complete.
10-03-2018, 09:46 AM
#55
Thread Starter
Join Date: Mar 2006
Location: Southport UK
Posts: 187
Likes: 0
Received 0 Likes
on
0 Posts


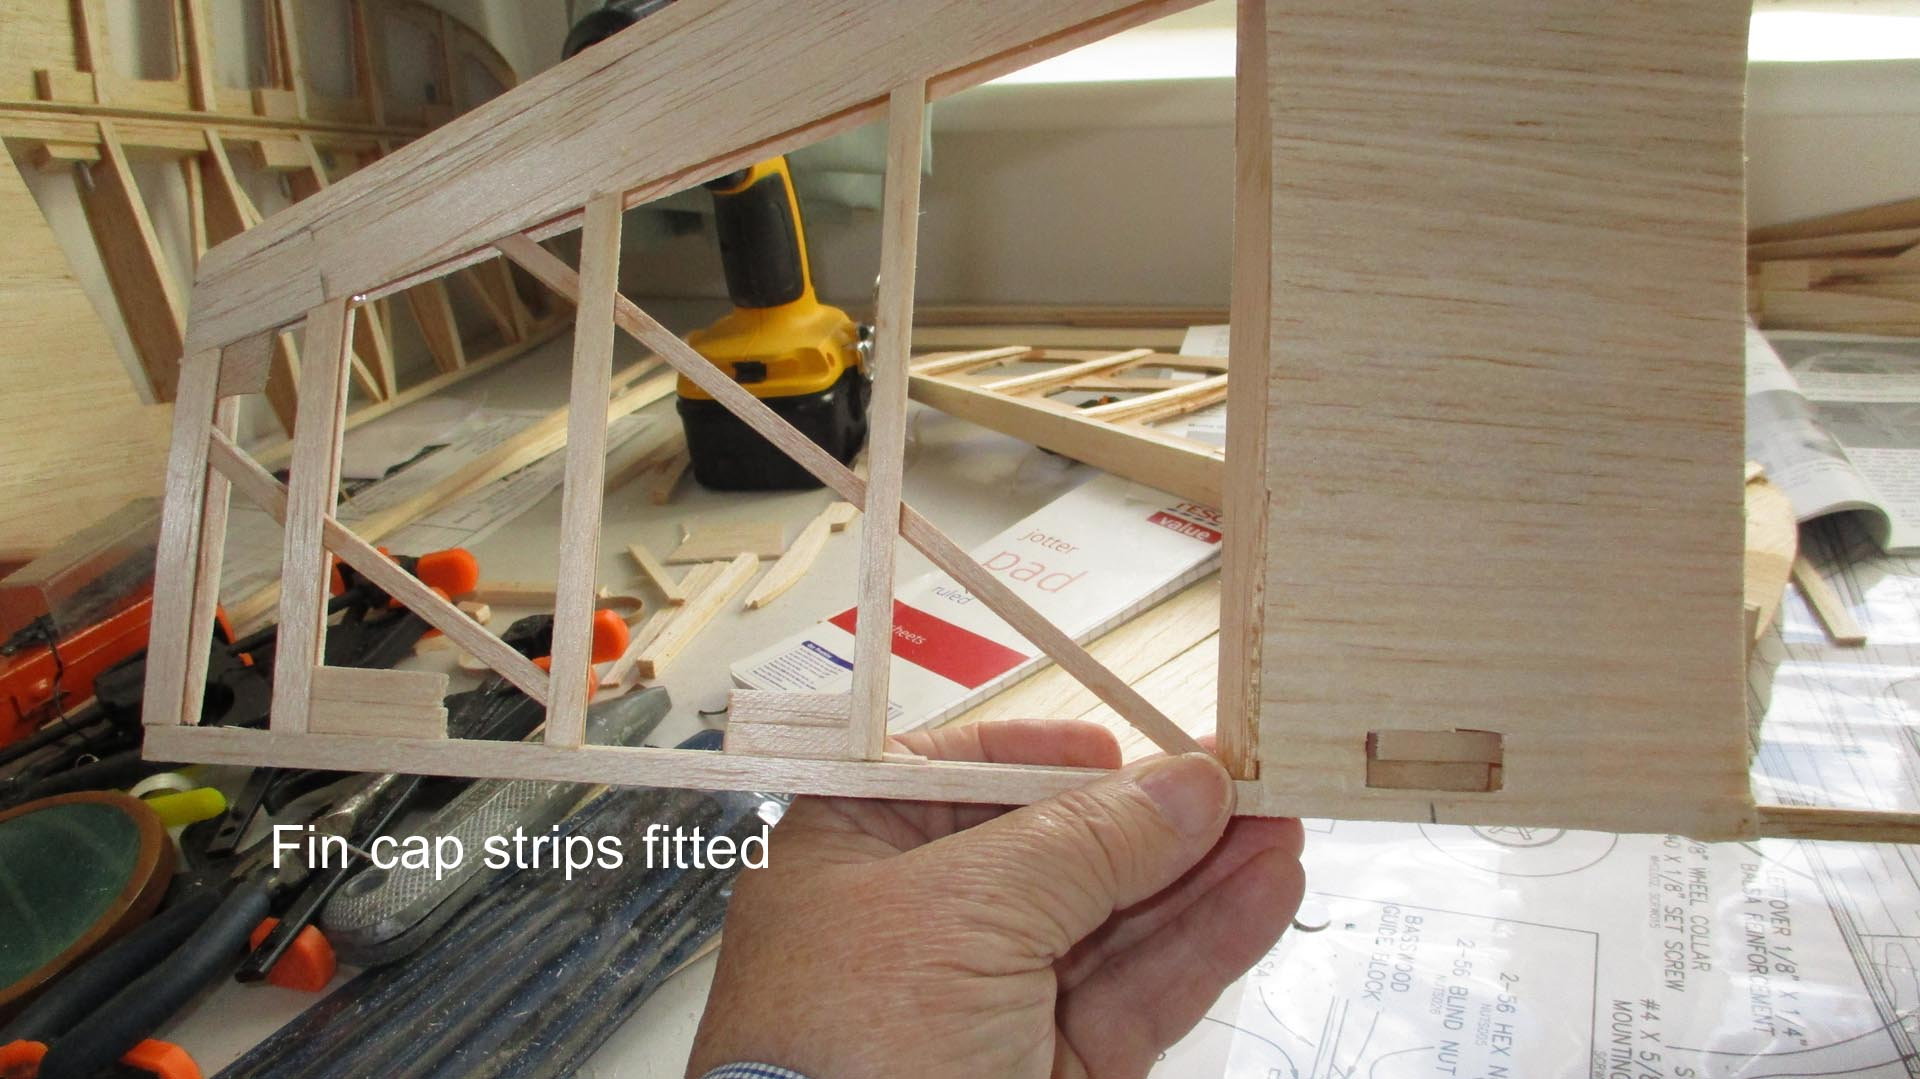
Finally went as far as possible finishing the fin. Sanded roughly to shape, bevelled the leading edge before fitting the tip, which is opposite what it says in the manual. I did it this way to get a more accurate bevel. Roughly shaped the tip then glued it in place & did some more shaping. Couldn't go any further until the fin is fitted to the fuselage.
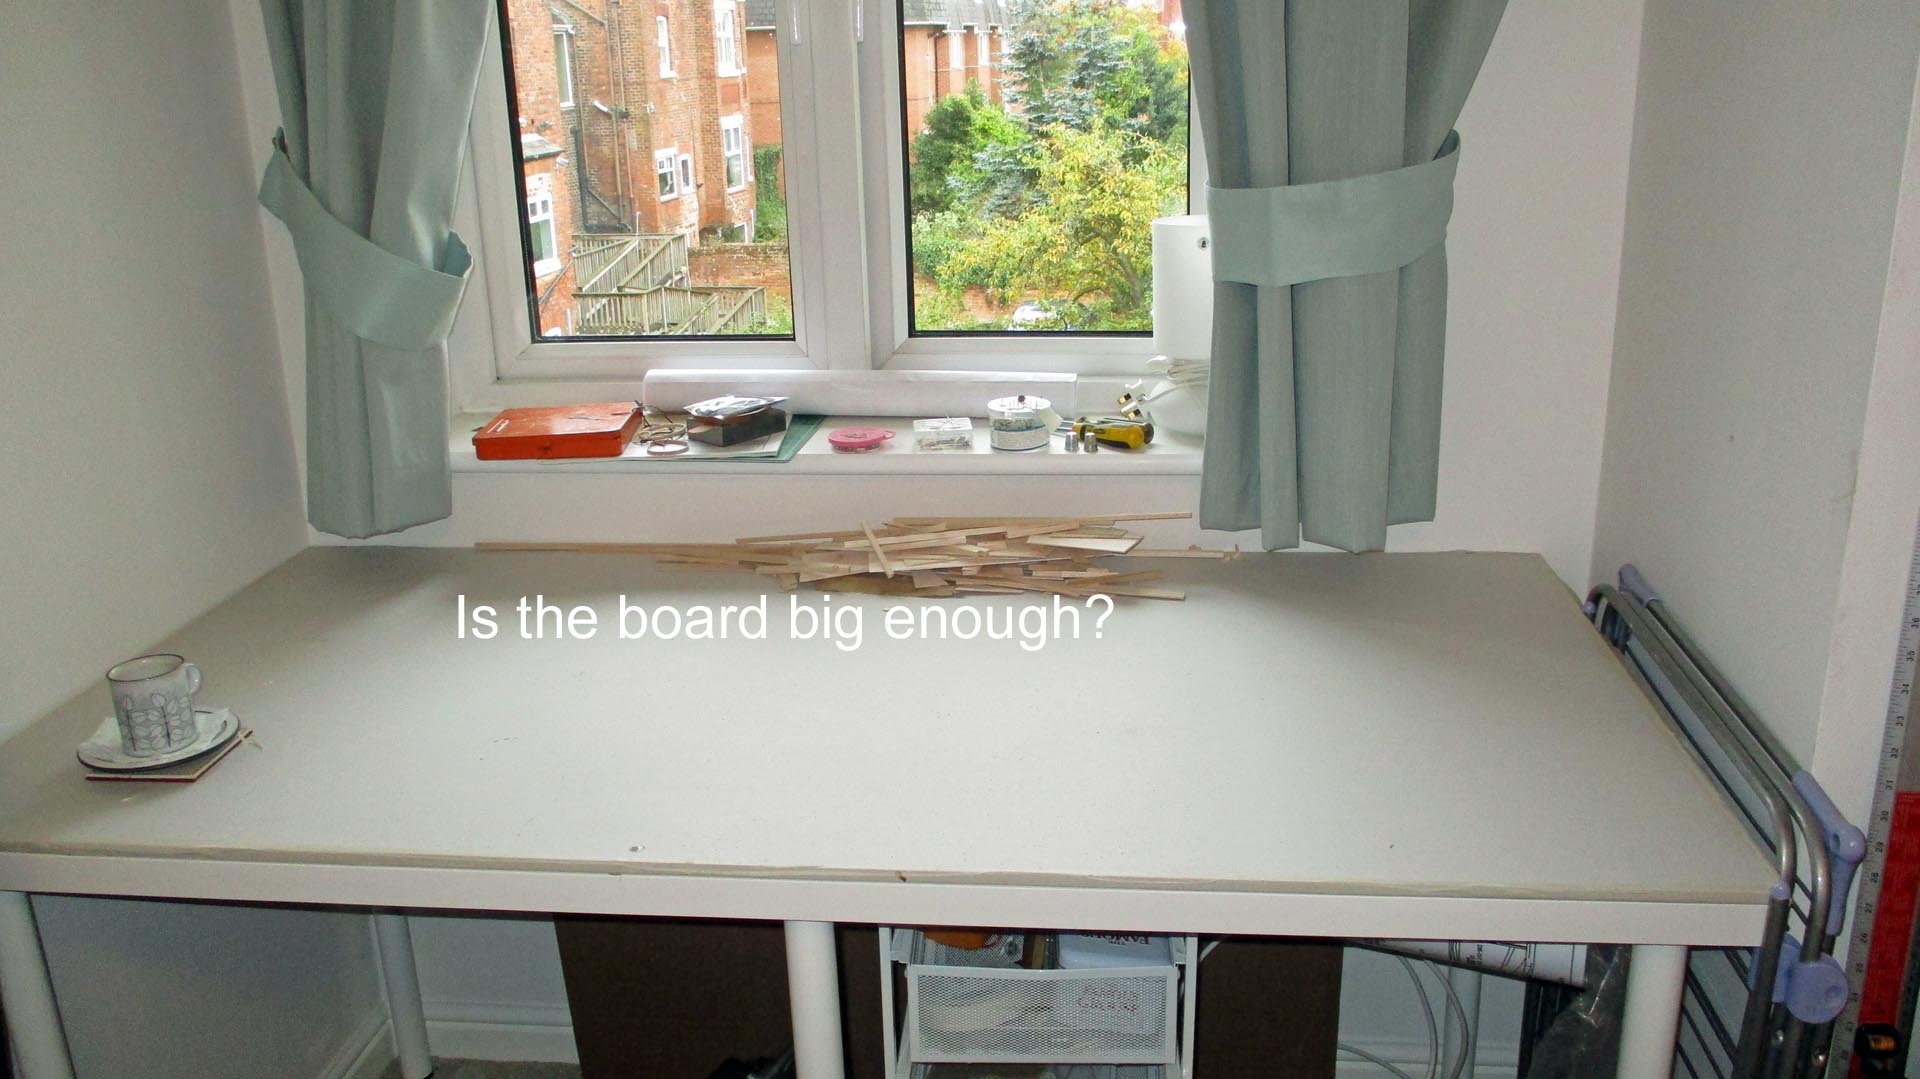
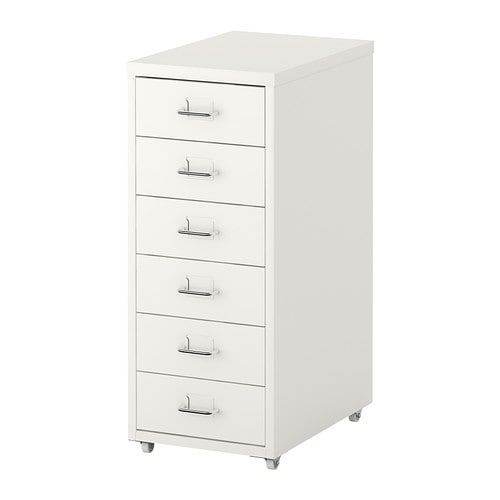
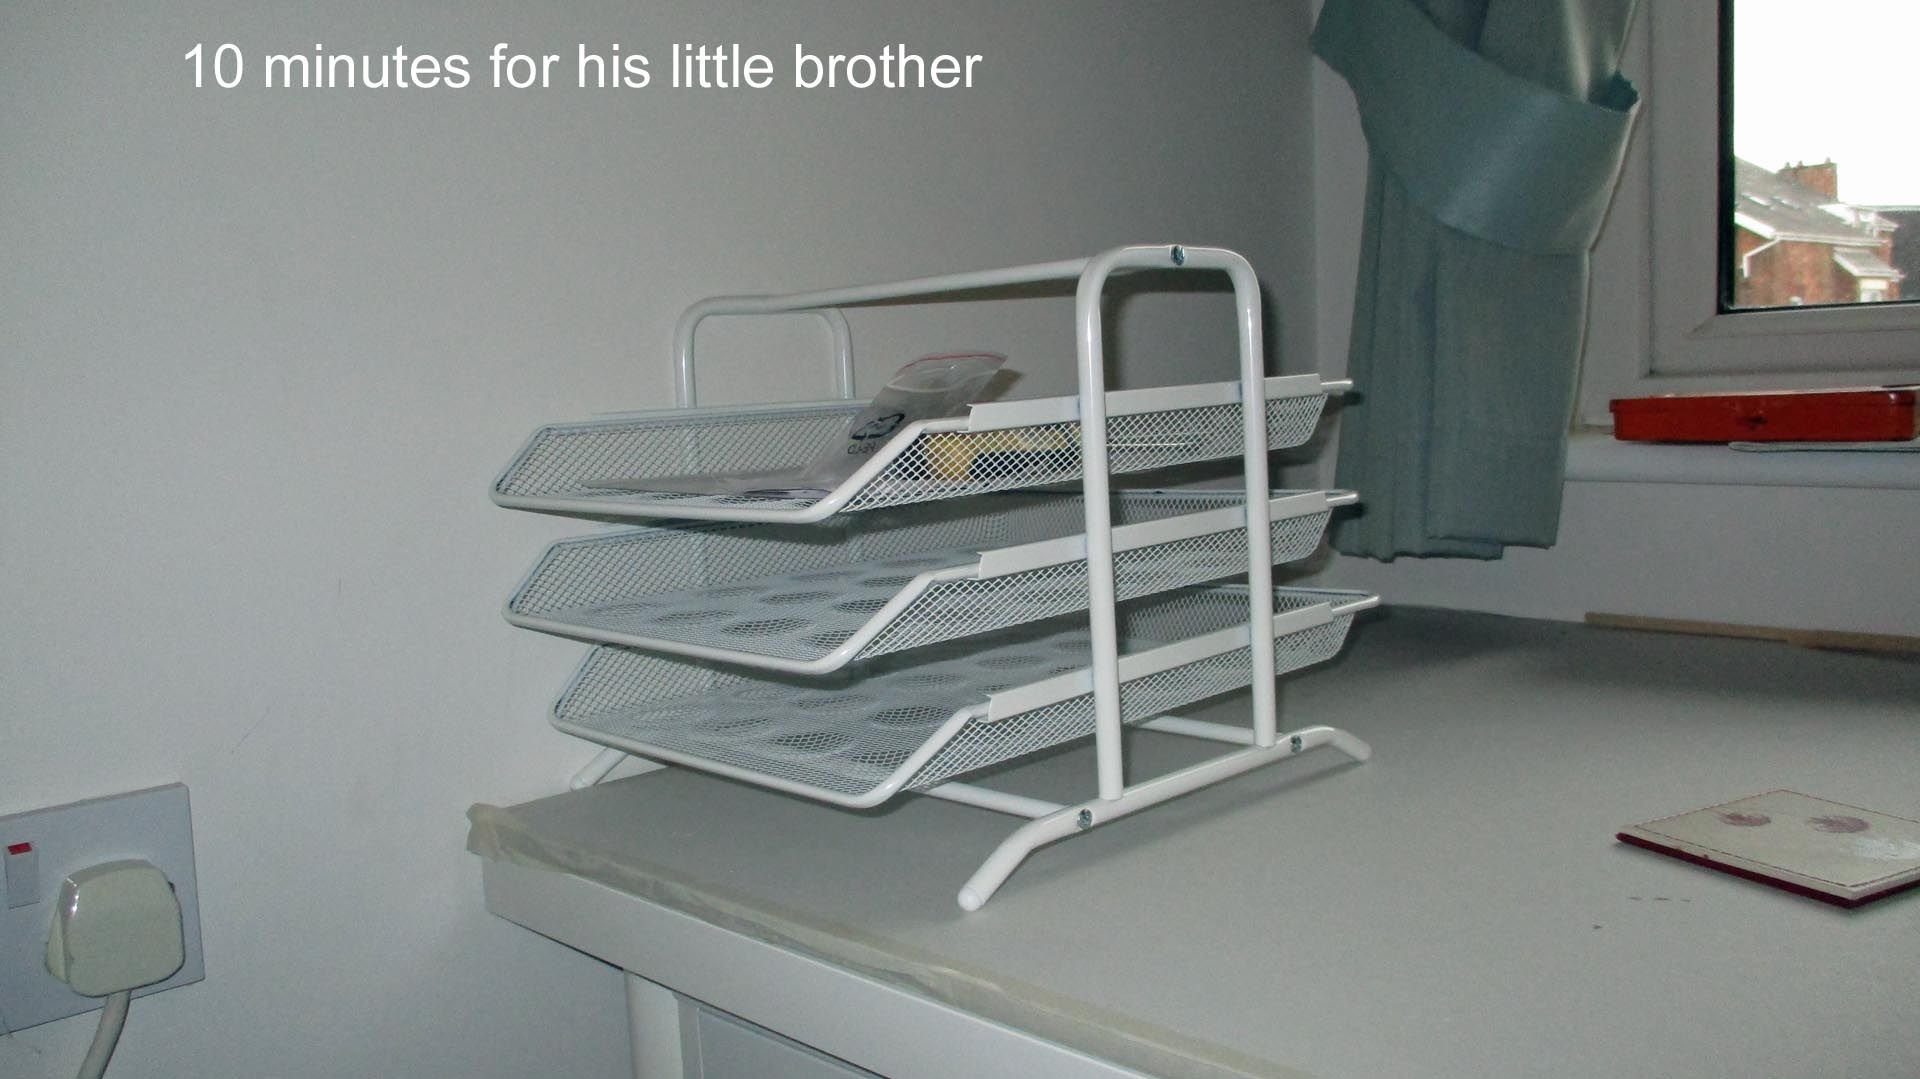
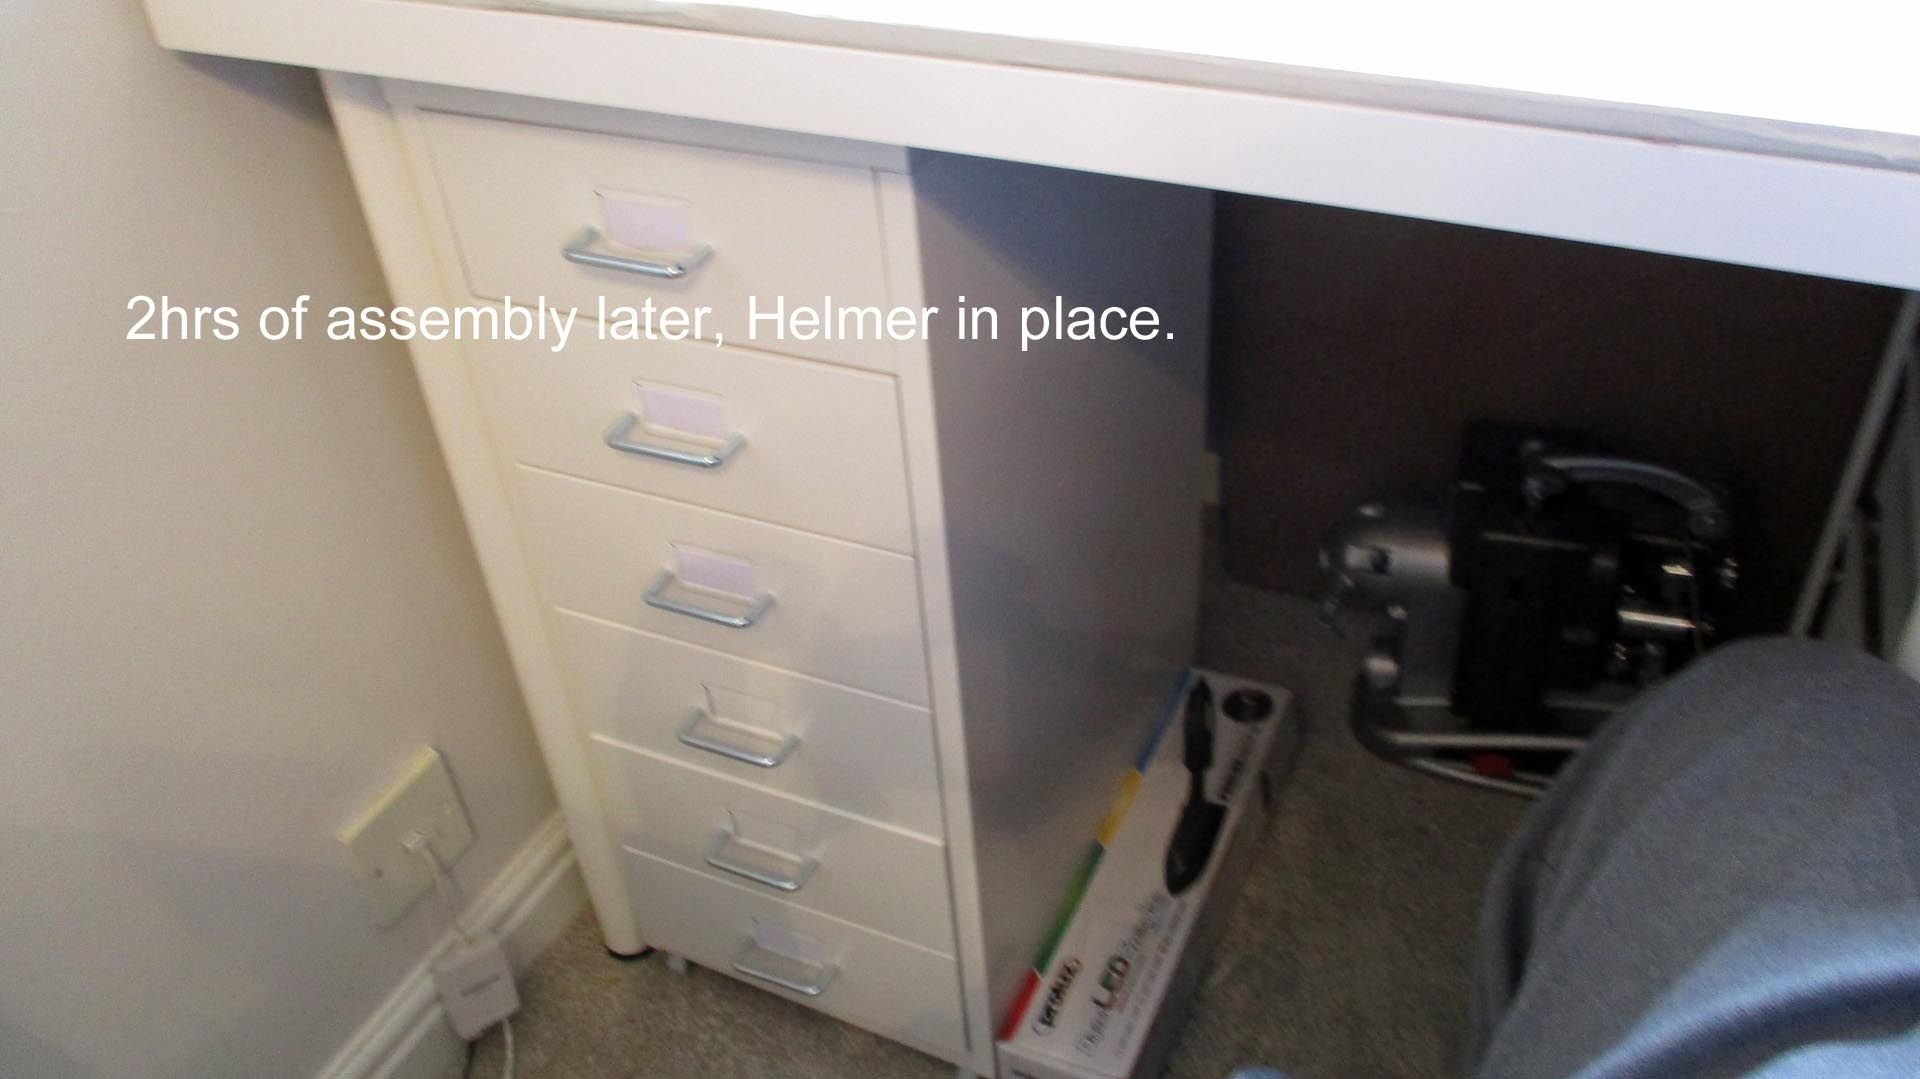
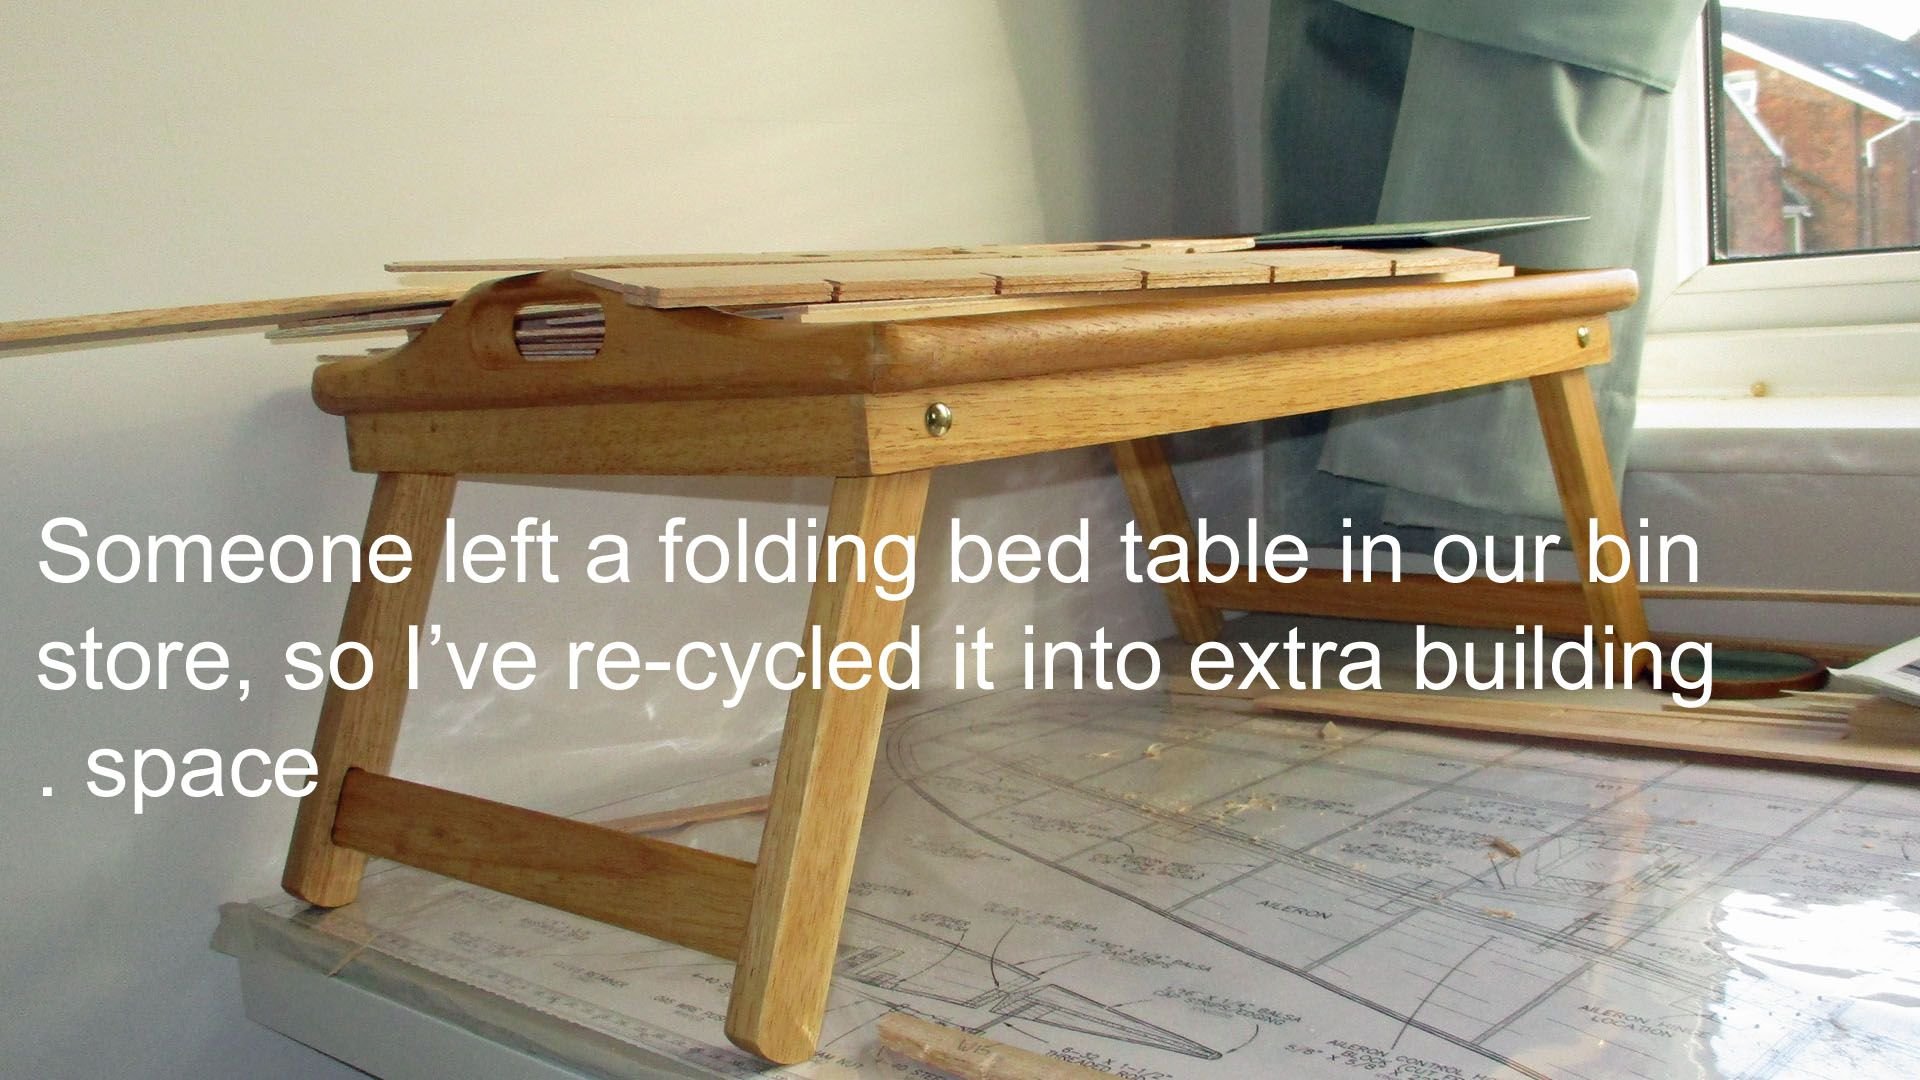
I obviously needed more storage as the left wing which is the next stage, takes most of the space on my building board. So off to Warrington for another delve around Ikea. The Ikea Lennart shelves were a disaster & more trouble than they were worth. Also the 5 drawer chest we bought on our last visit had one edge of the top unfinished. Despite trying to get them to send a replacement, which they flatly refused, I used the visit to get that changed also. I collected a metal filing cabinet & a 3 tray letter rack, see pictures, total cost �39.00.
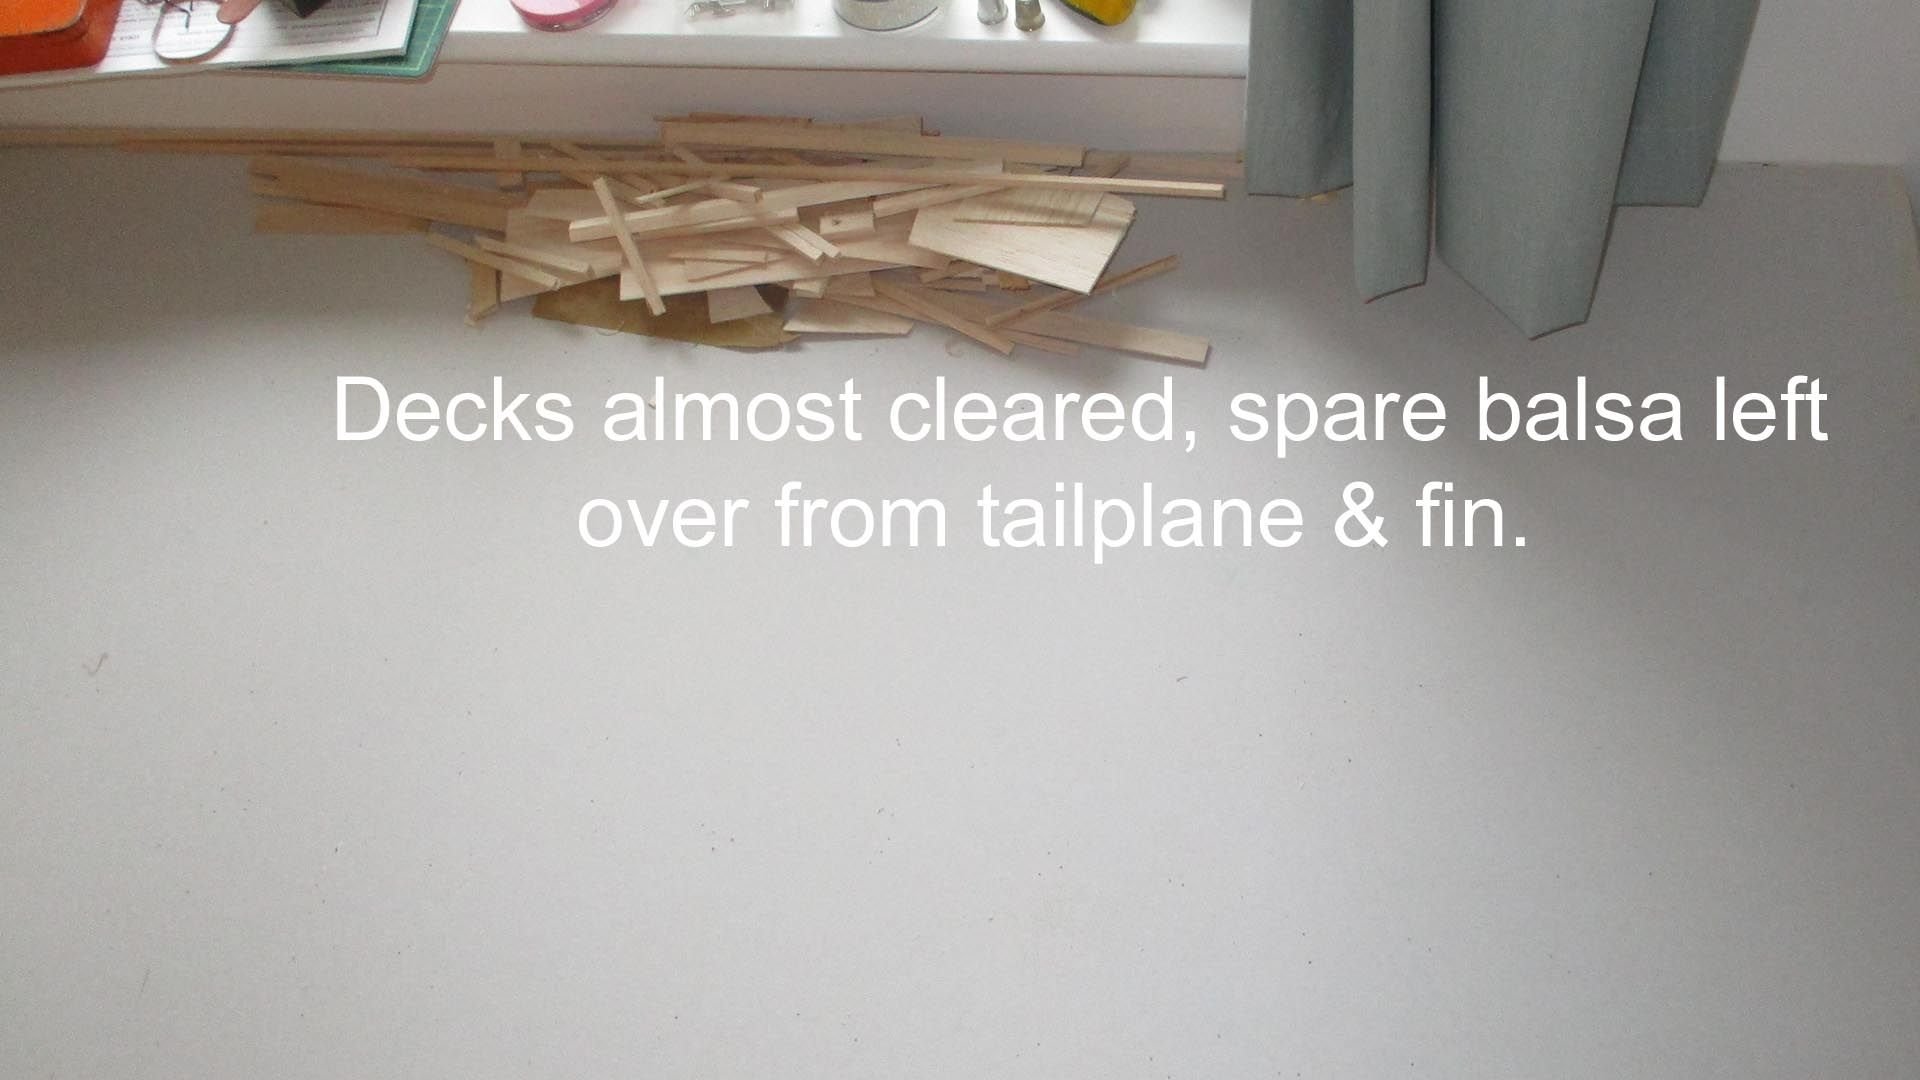
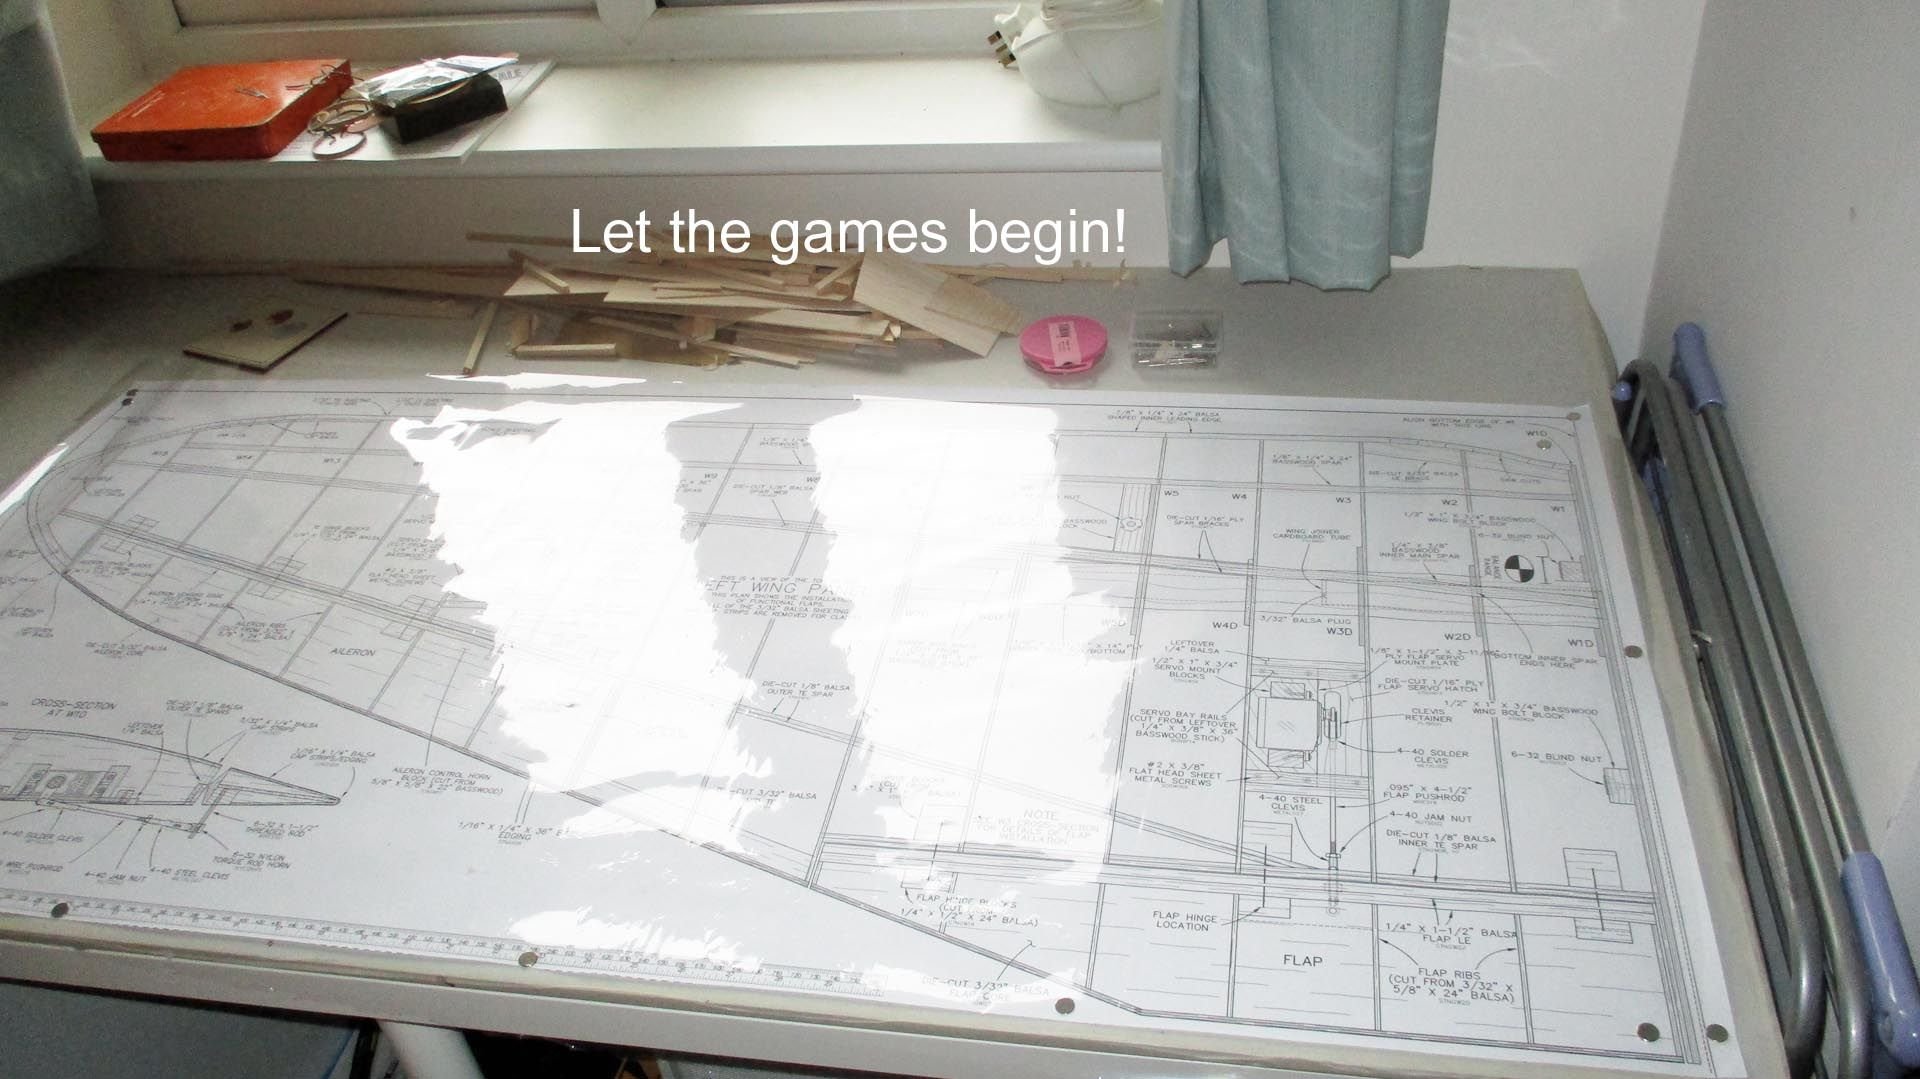
Back home I cleared the building board, put the tail assembly plan in storage, & built up the new storage units. Finally, I cut out the left wing from the plan, pinned it to the board & covered it with florists film as previously. "Let the Games Begin" tomorrow.
10-07-2018, 05:38 AM
#56
Thread Starter
Join Date: Mar 2006
Location: Southport UK
Posts: 187
Likes: 0
Received 0 Likes
on
0 Posts
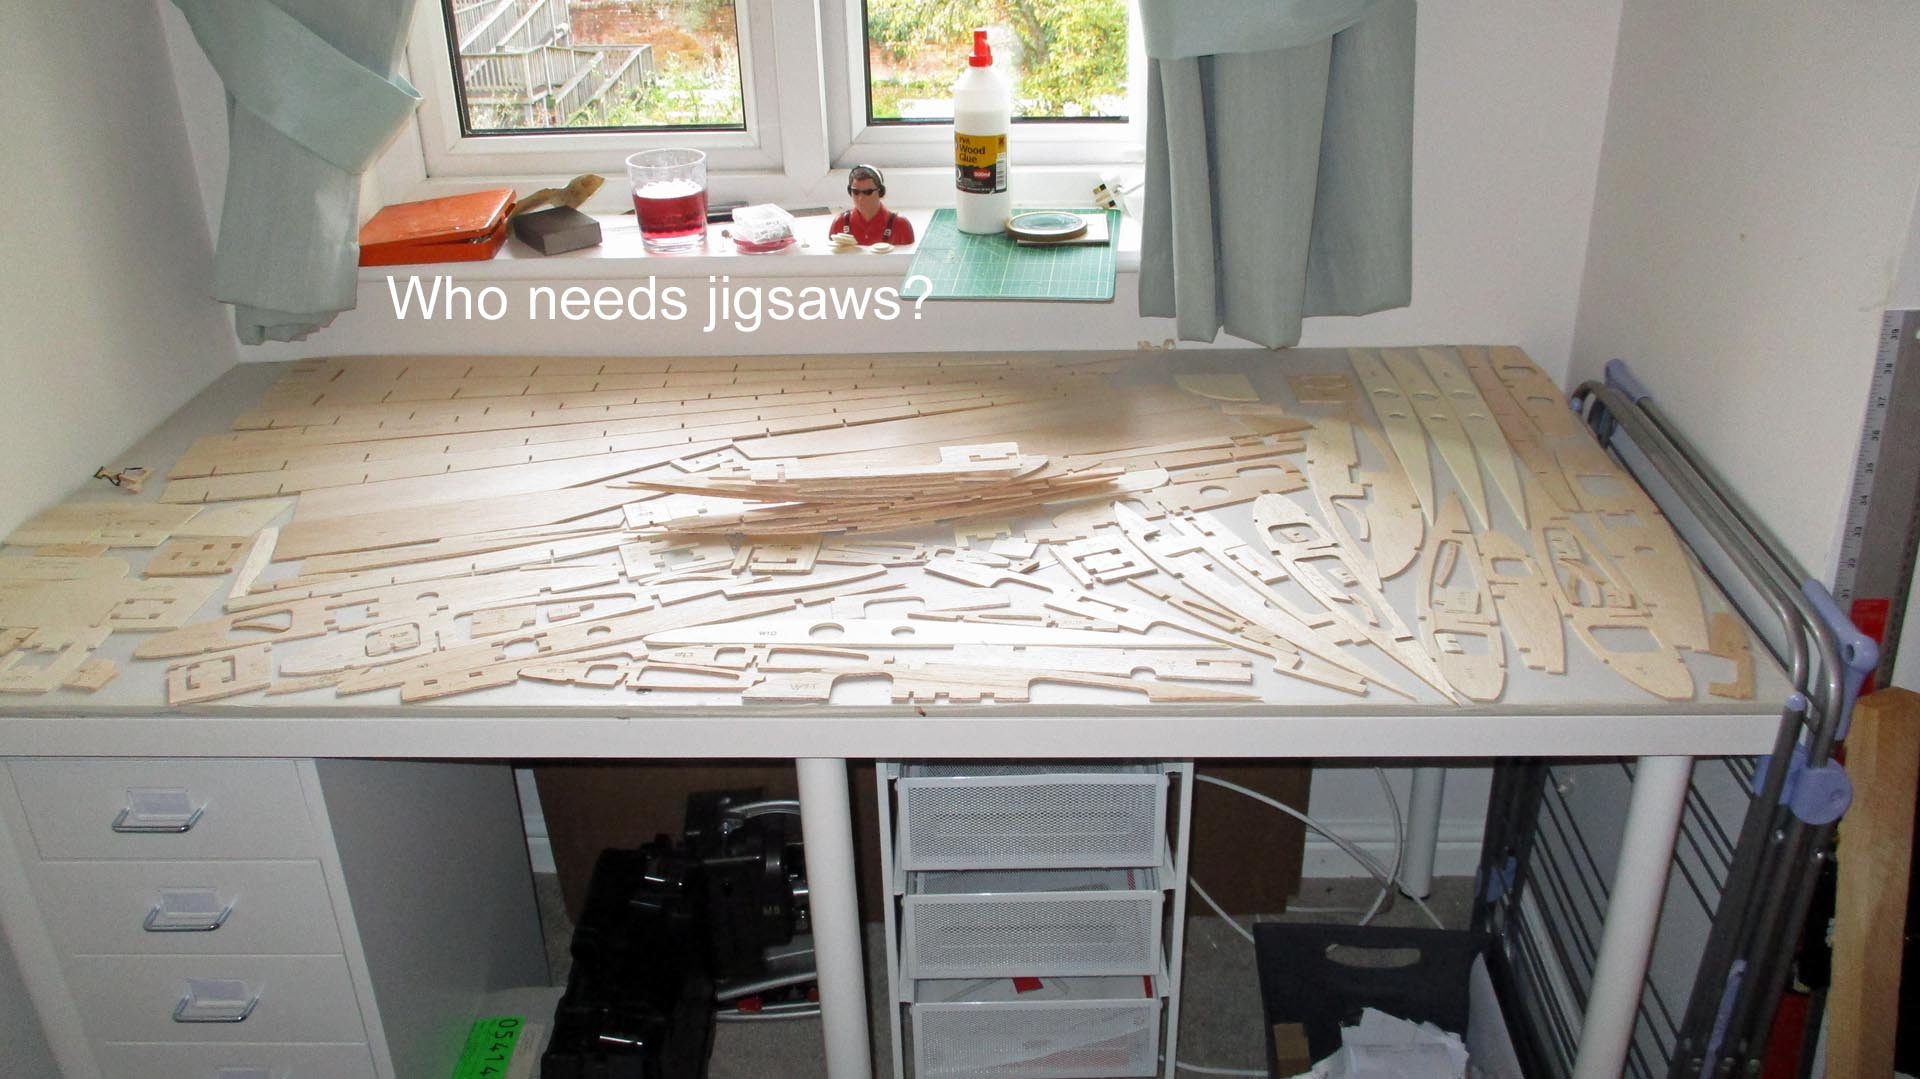

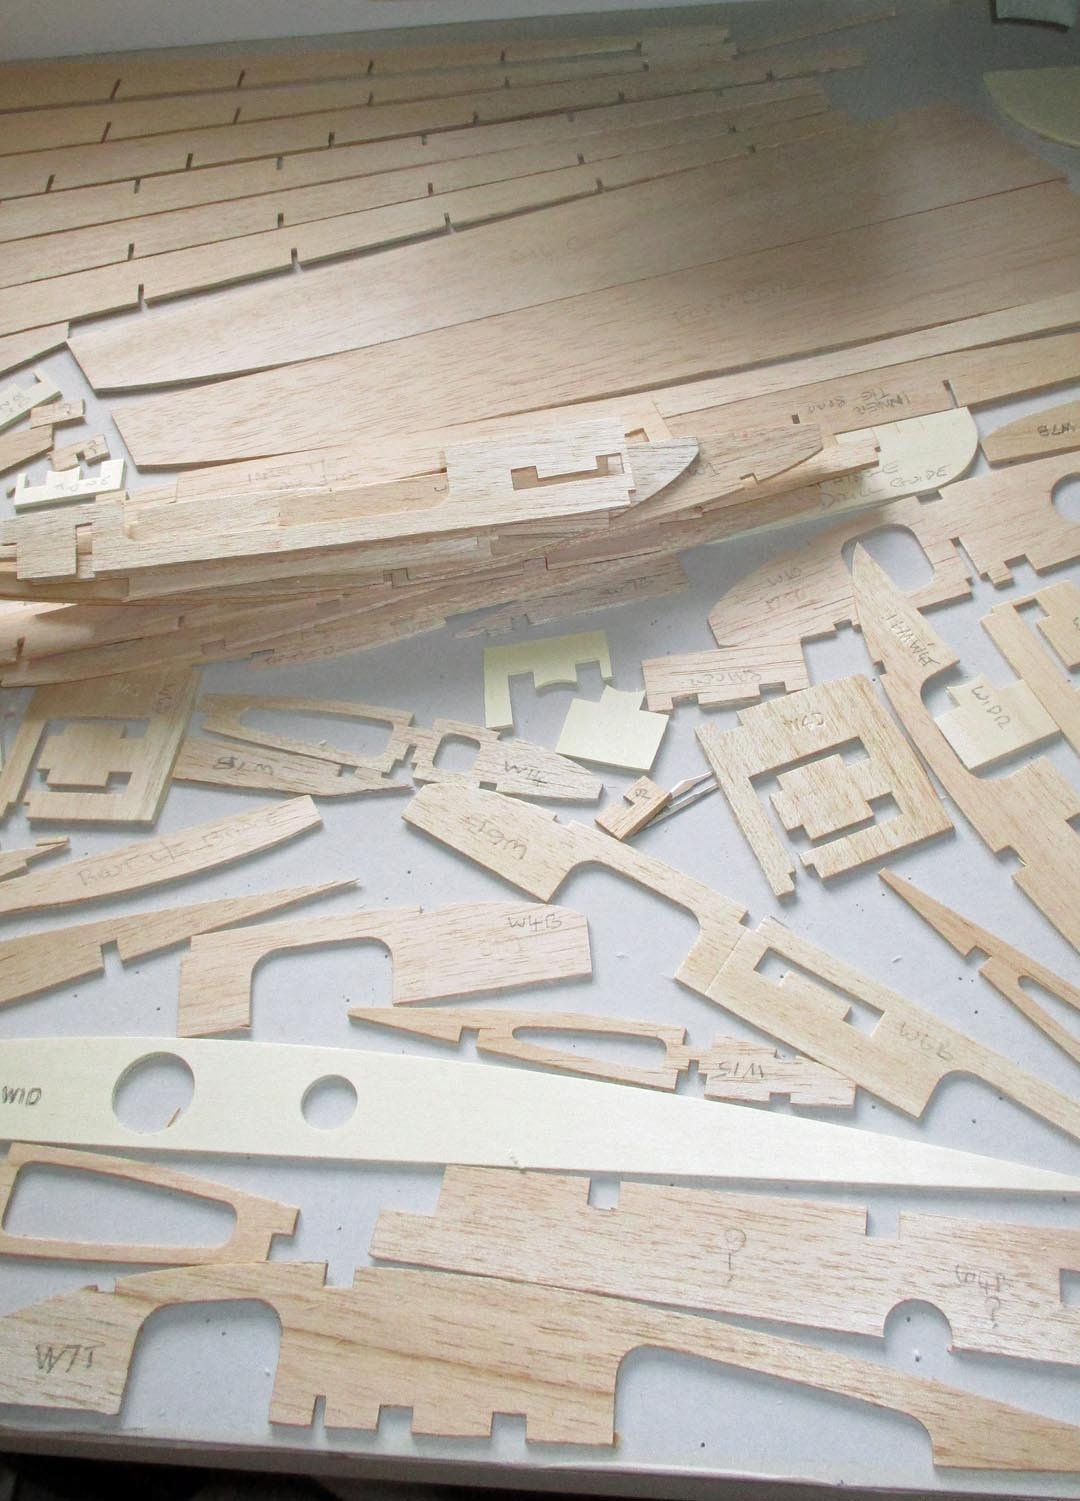
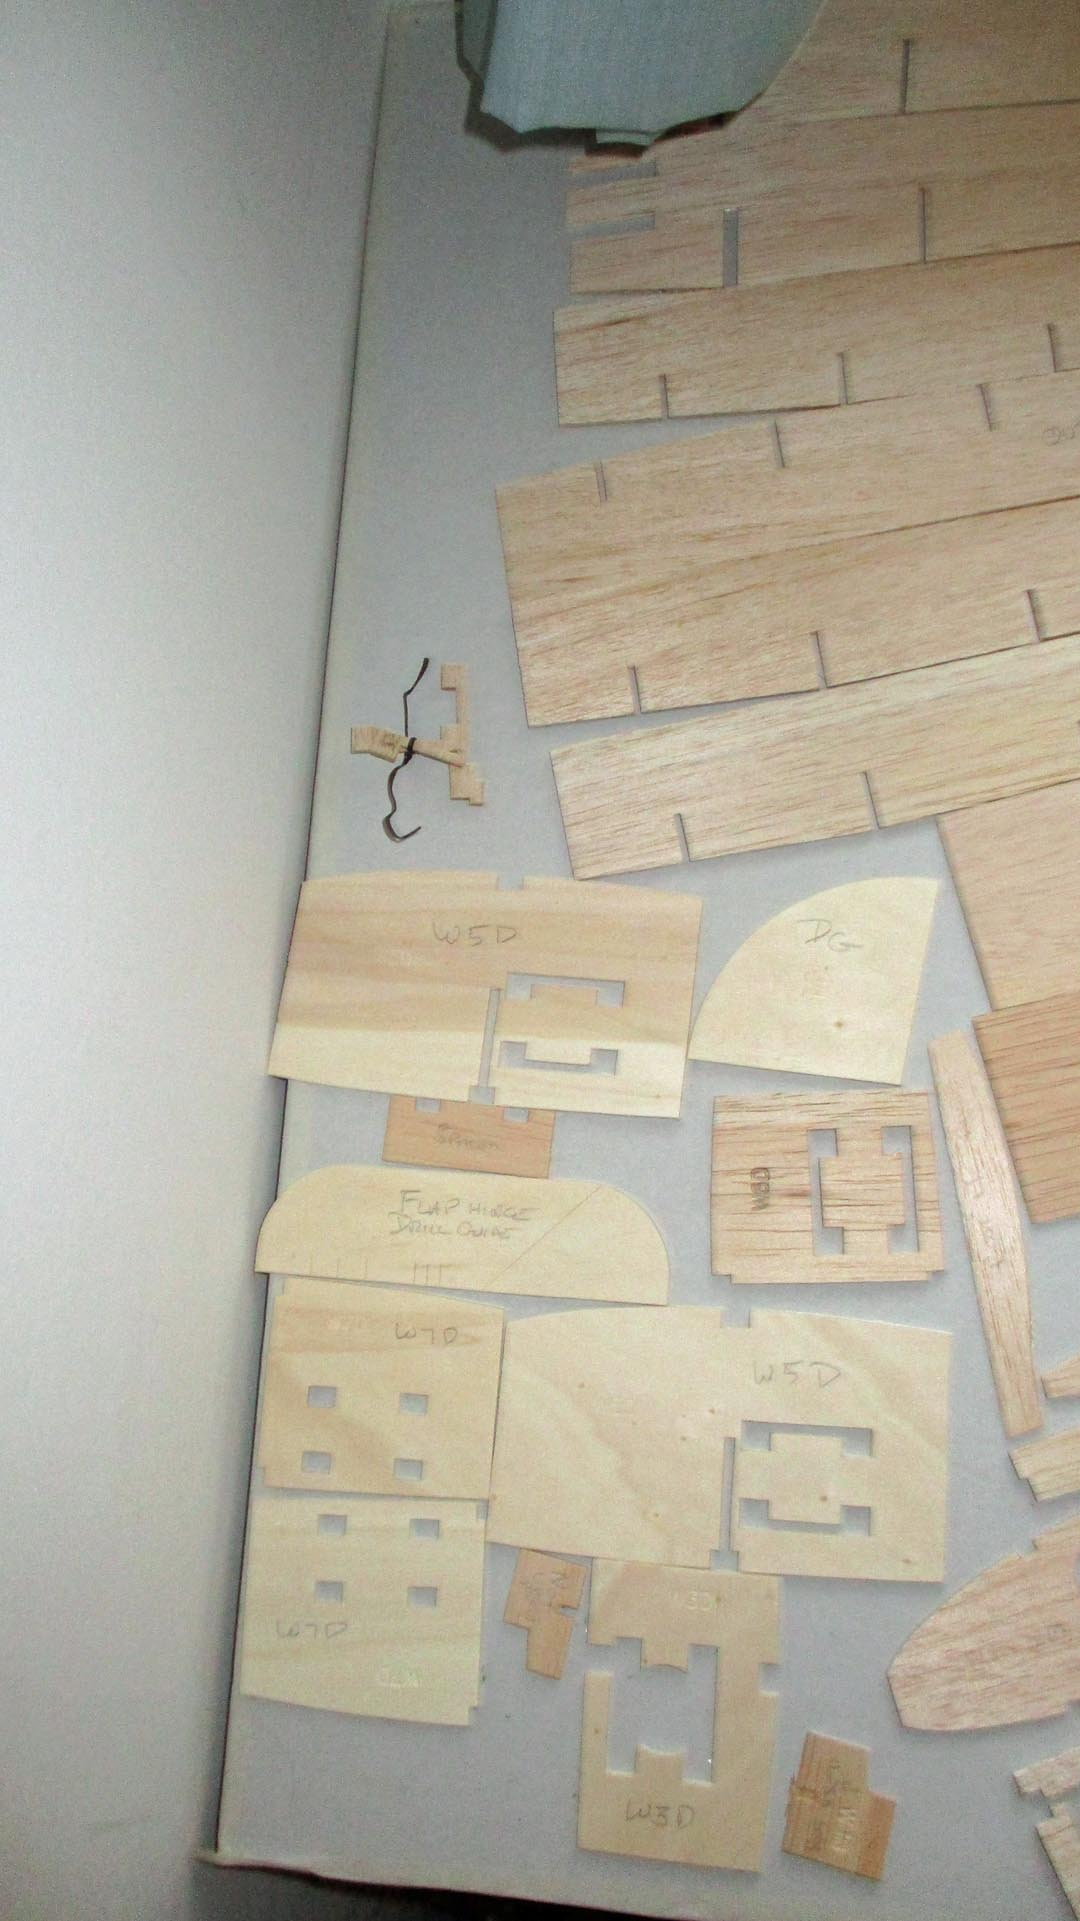
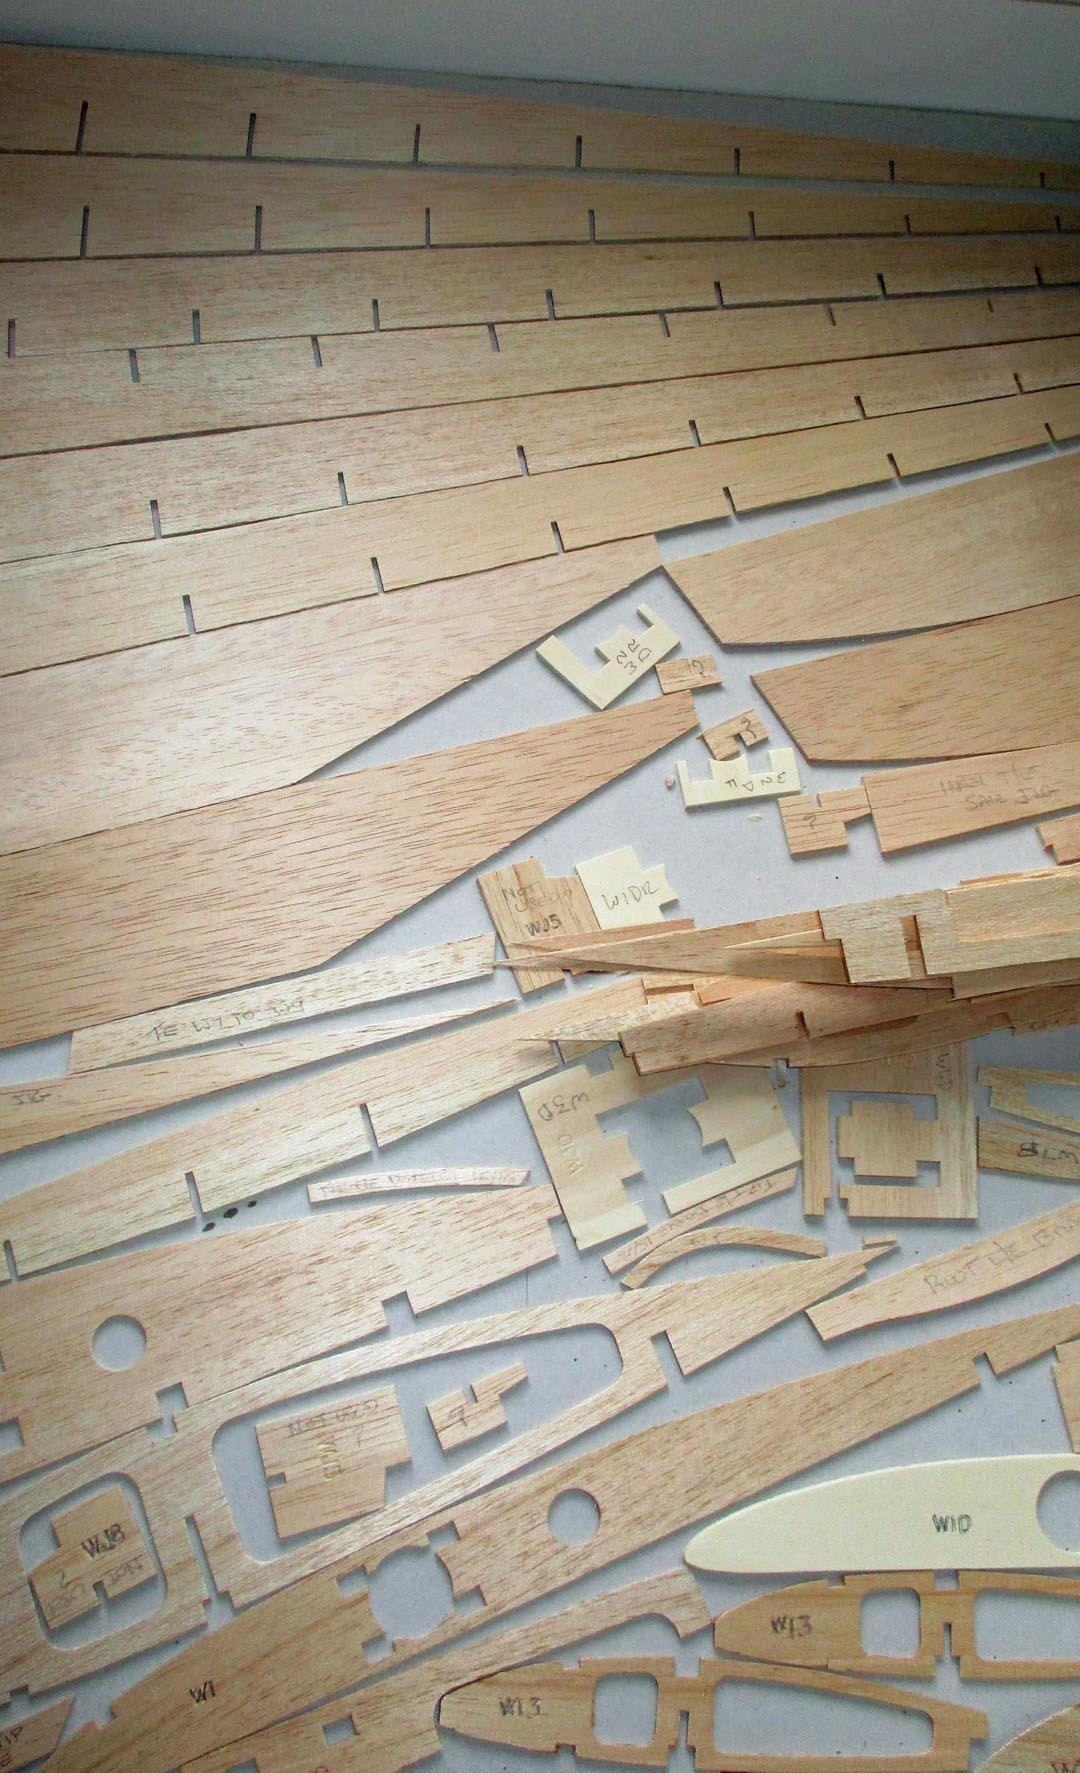
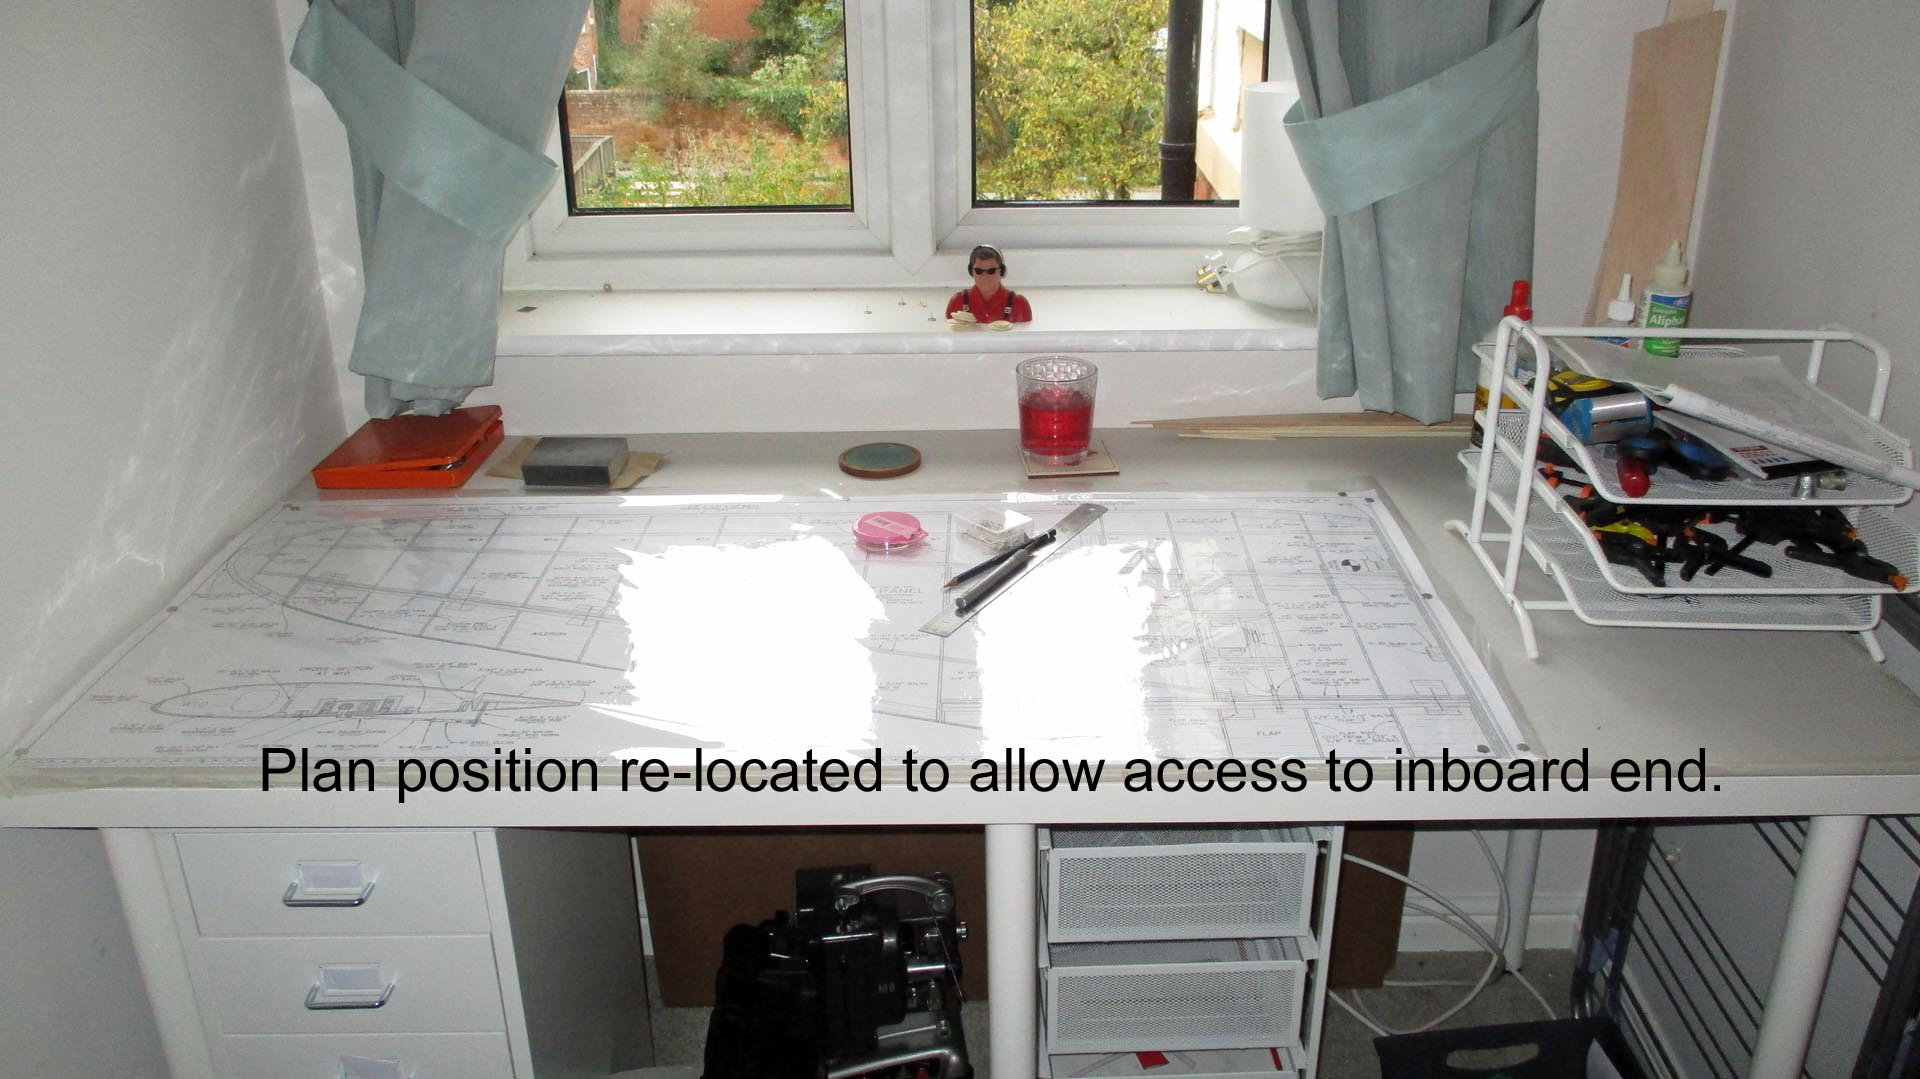
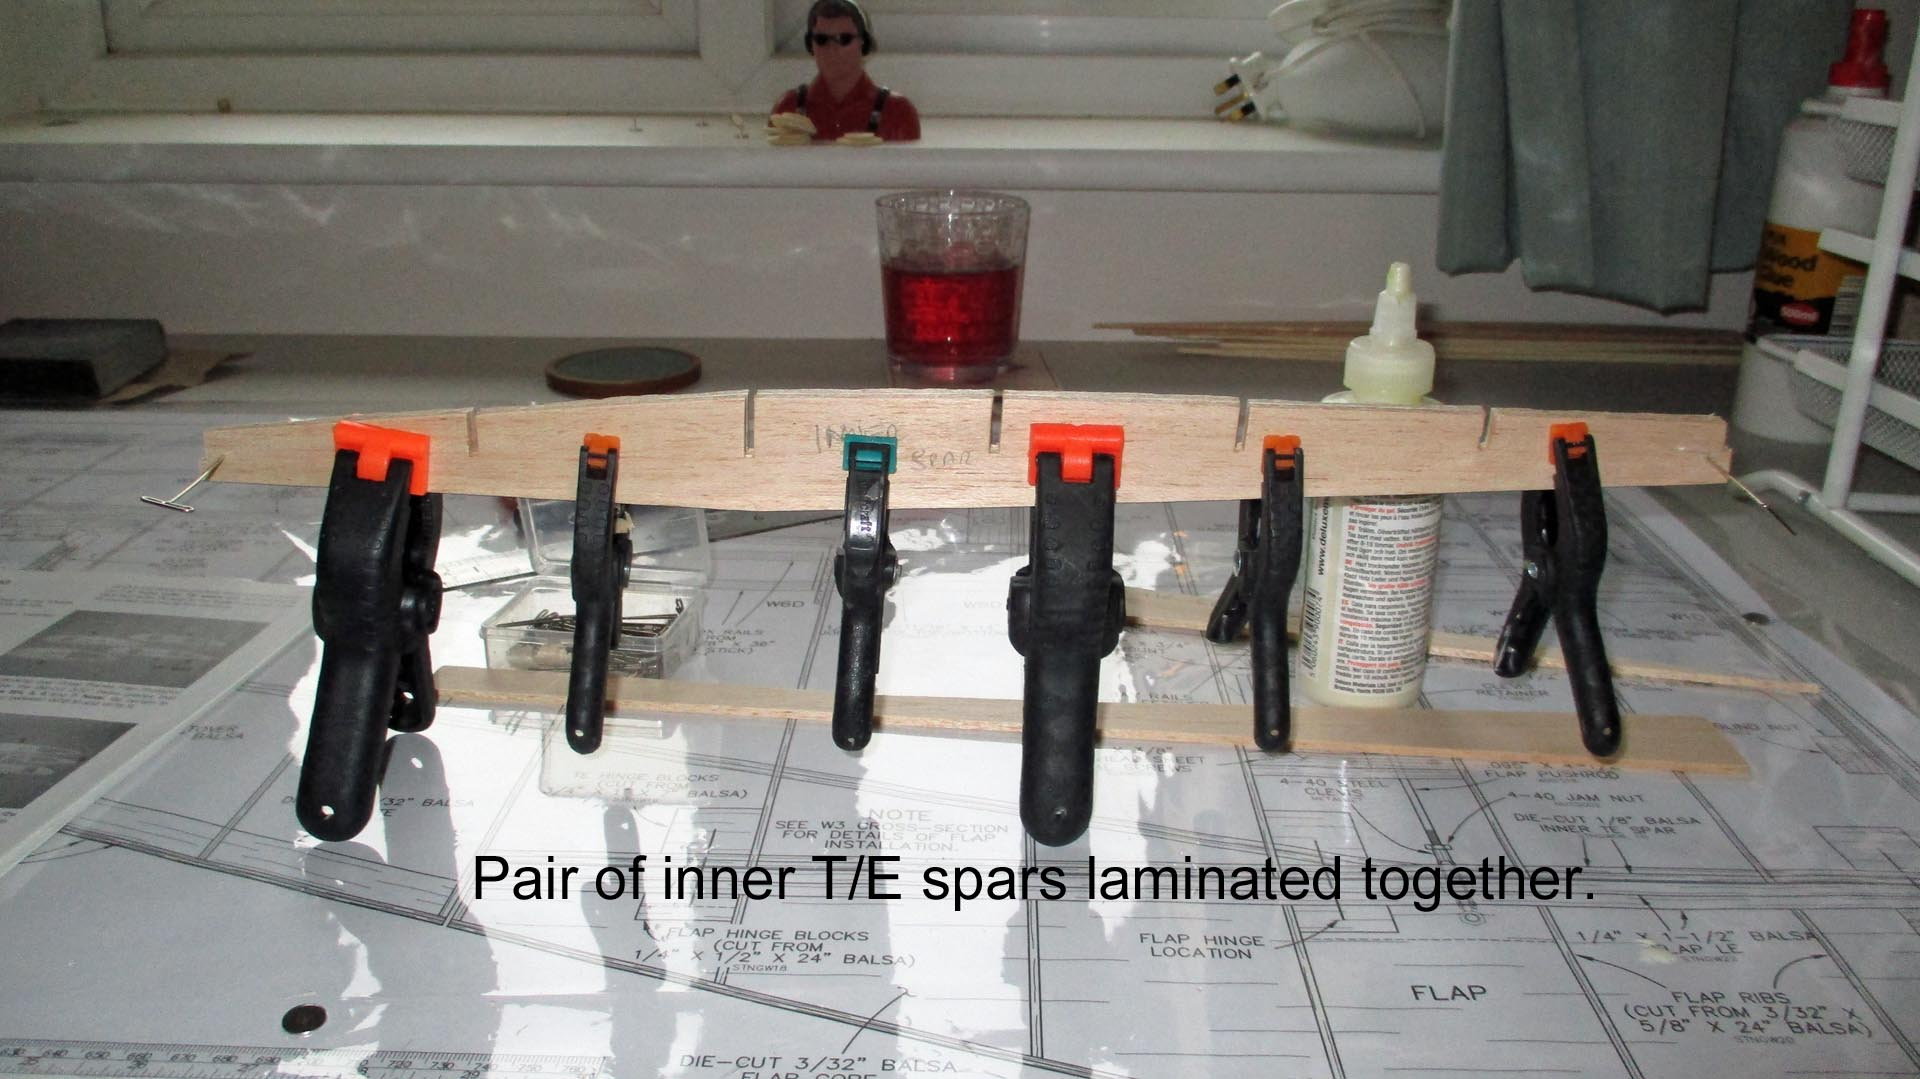
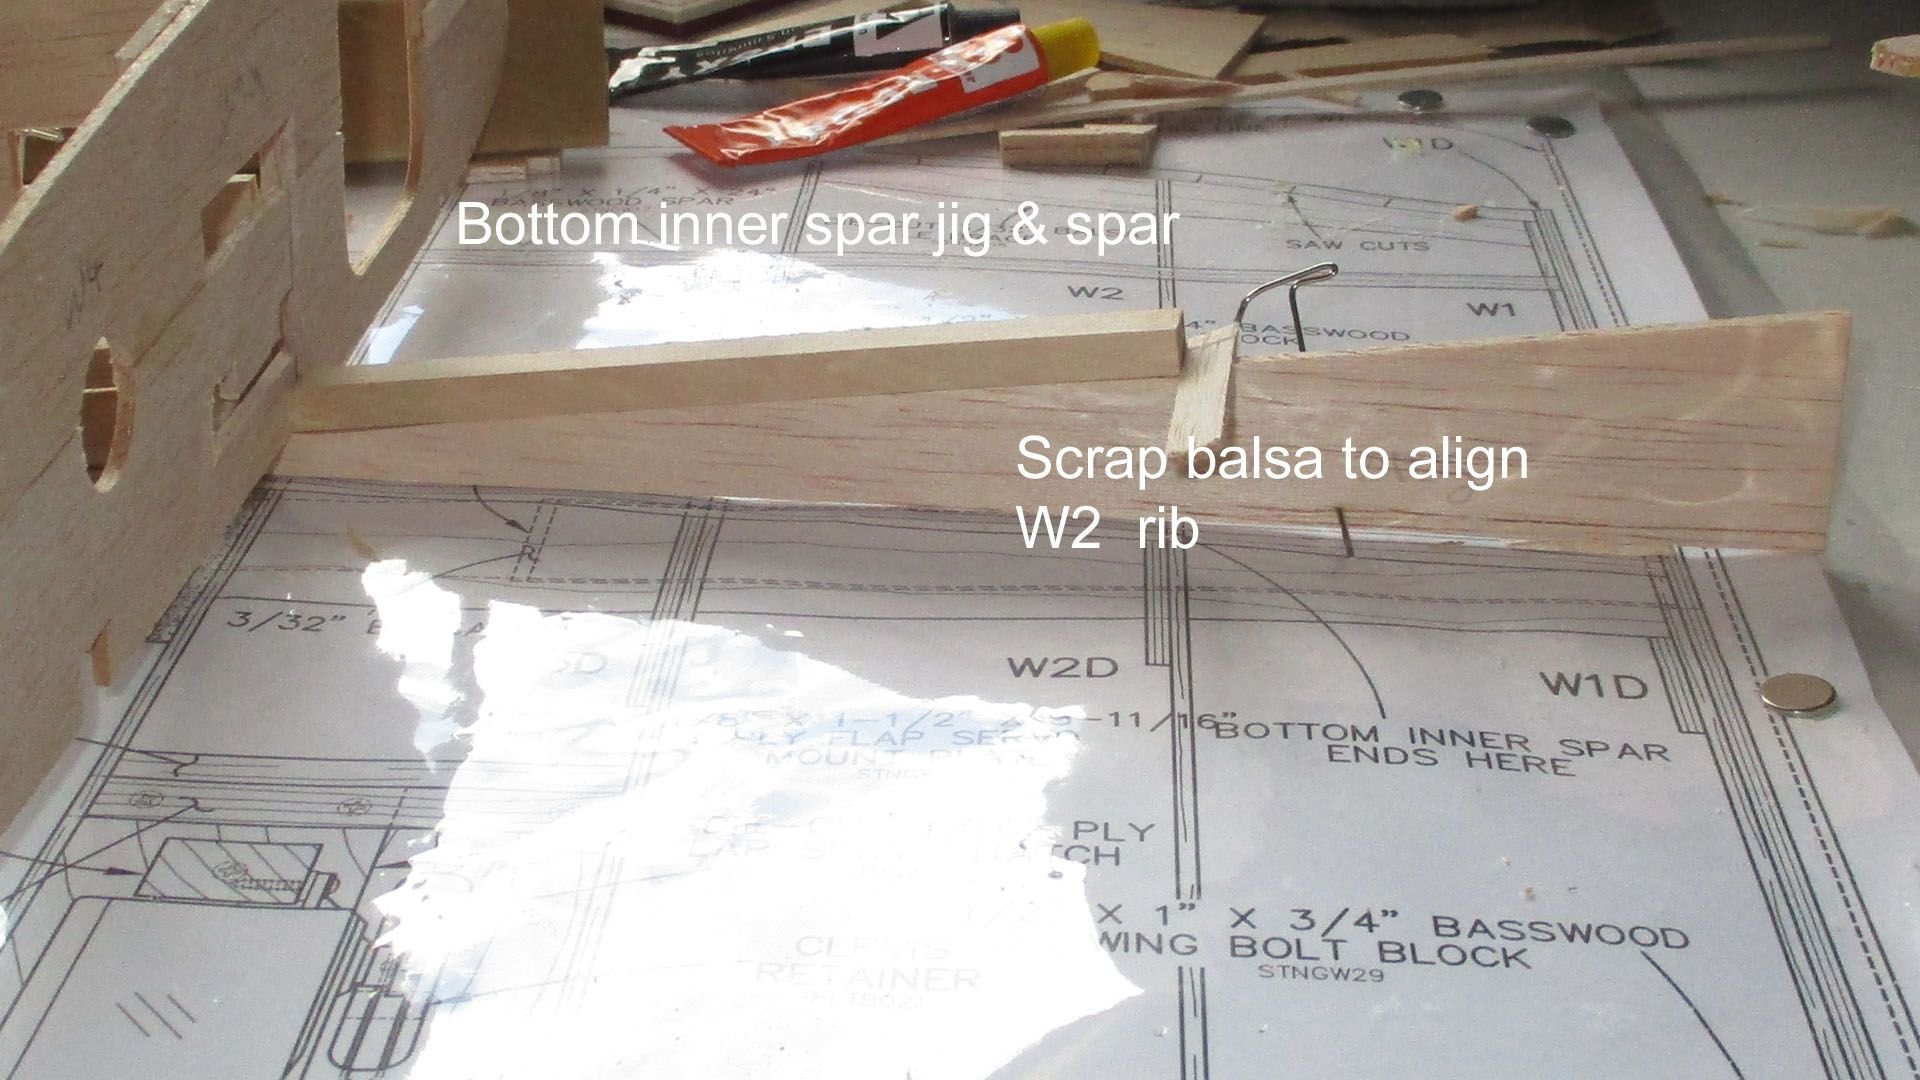
I spent around 7 hours over 3 days separating the components from the die cut ply & balsa sheets. If you are starting this kit or any so called Top Flite Giant Scale kits, make sure you mark each component as you remove it from the sheet. The sheets are pictured in the manual, so use either the paper version or a PDF file on a PC if you have access nearby. The components came out relatively easy, the ply being cleaner than the balsa. I woke yesterday after dreaming about the build & realised with my restricted work space, I couldn't insert the cardboard wing joining tube with the plan as I had carefully fastened it down. So after clearing the bench, I once more re-located the plan. Before that I spread the components on the bench to photograph them but still ended up with a small pile in the middle & no more room. With the plan re-located I read & re read the instructions before committing to glue, The first paragraph & drawing are confusing, the section through the spar misleading, it shows 5 items where there are only 3, the 2 spars & the jig. I've left the two spars with the glue drying while I relax at the PC..
PS almost forgot, I've compiled a simple AV show of the first part of the build, it's on YouTube, this link should get you to it.
10-09-2018, 07:58 AM
#57
Thread Starter
Join Date: Mar 2006
Location: Southport UK
Posts: 187
Likes: 0
Received 0 Likes
on
0 Posts


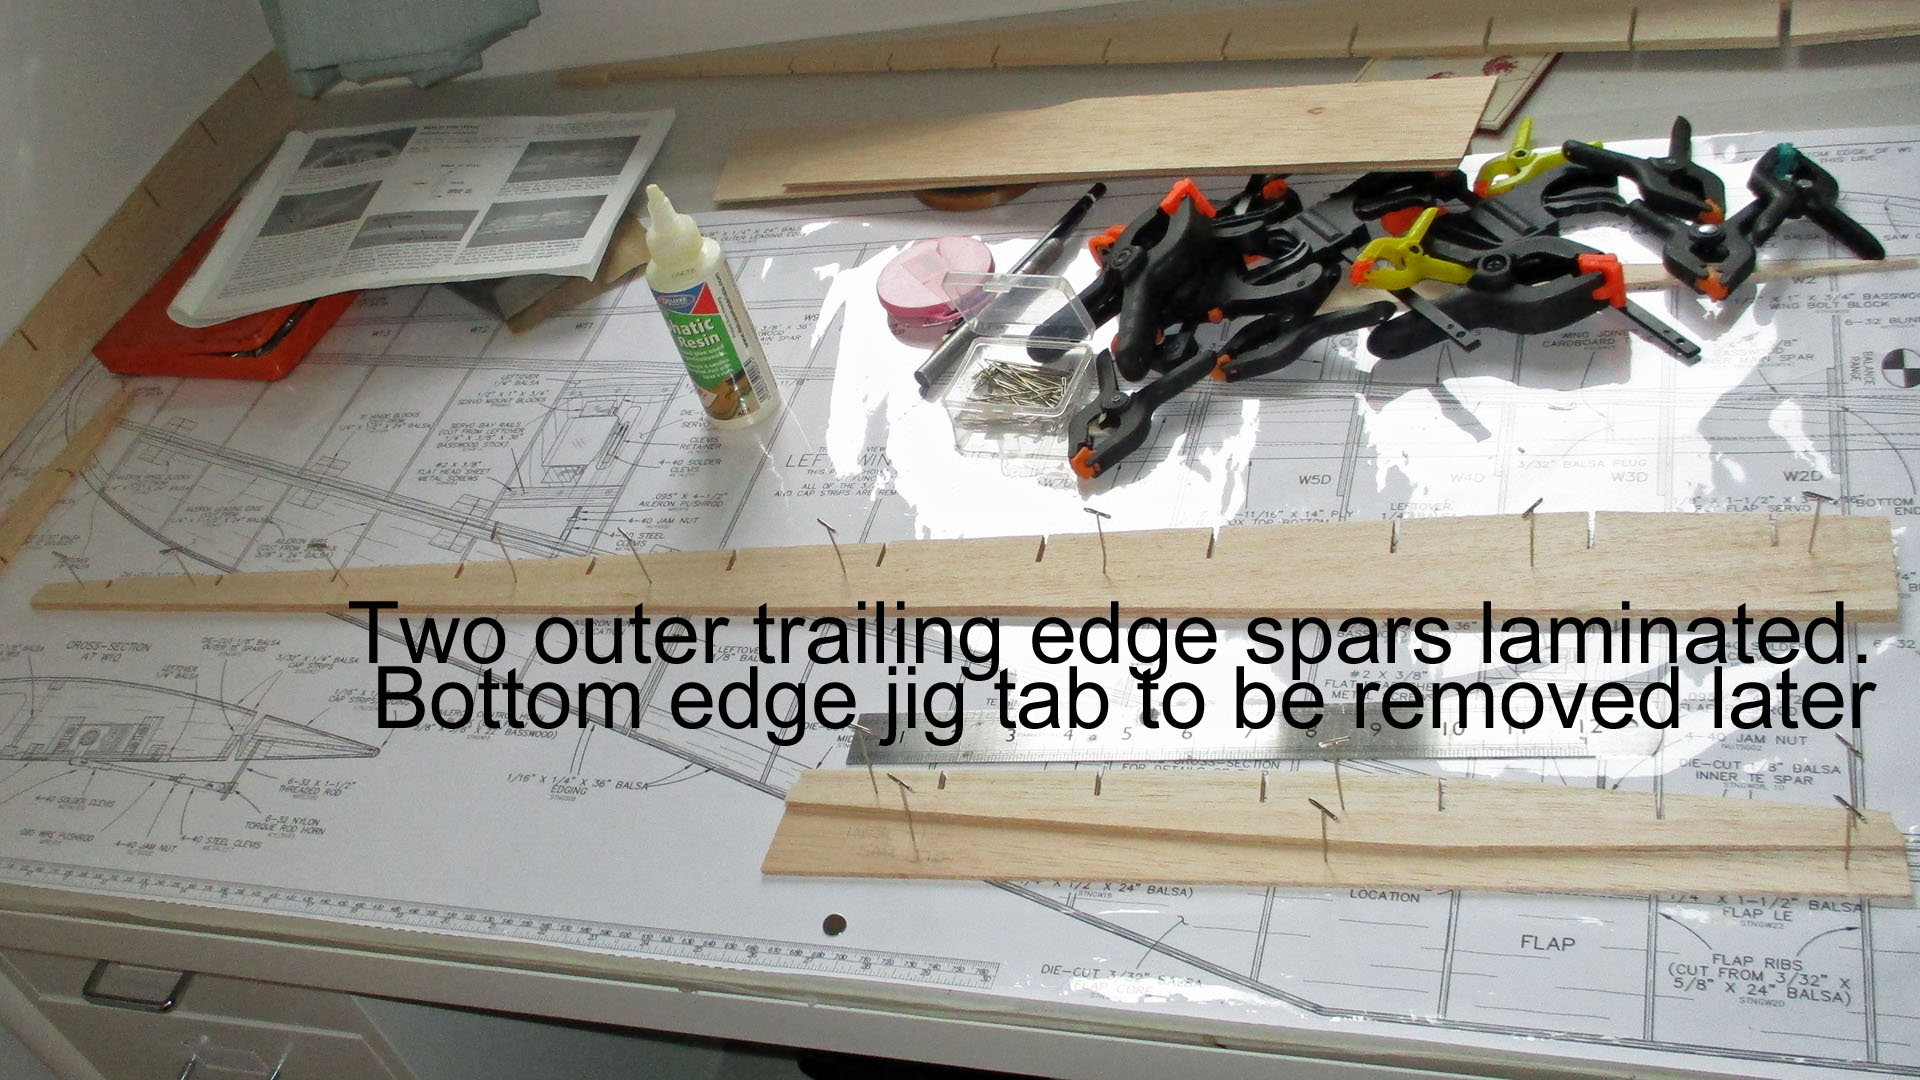
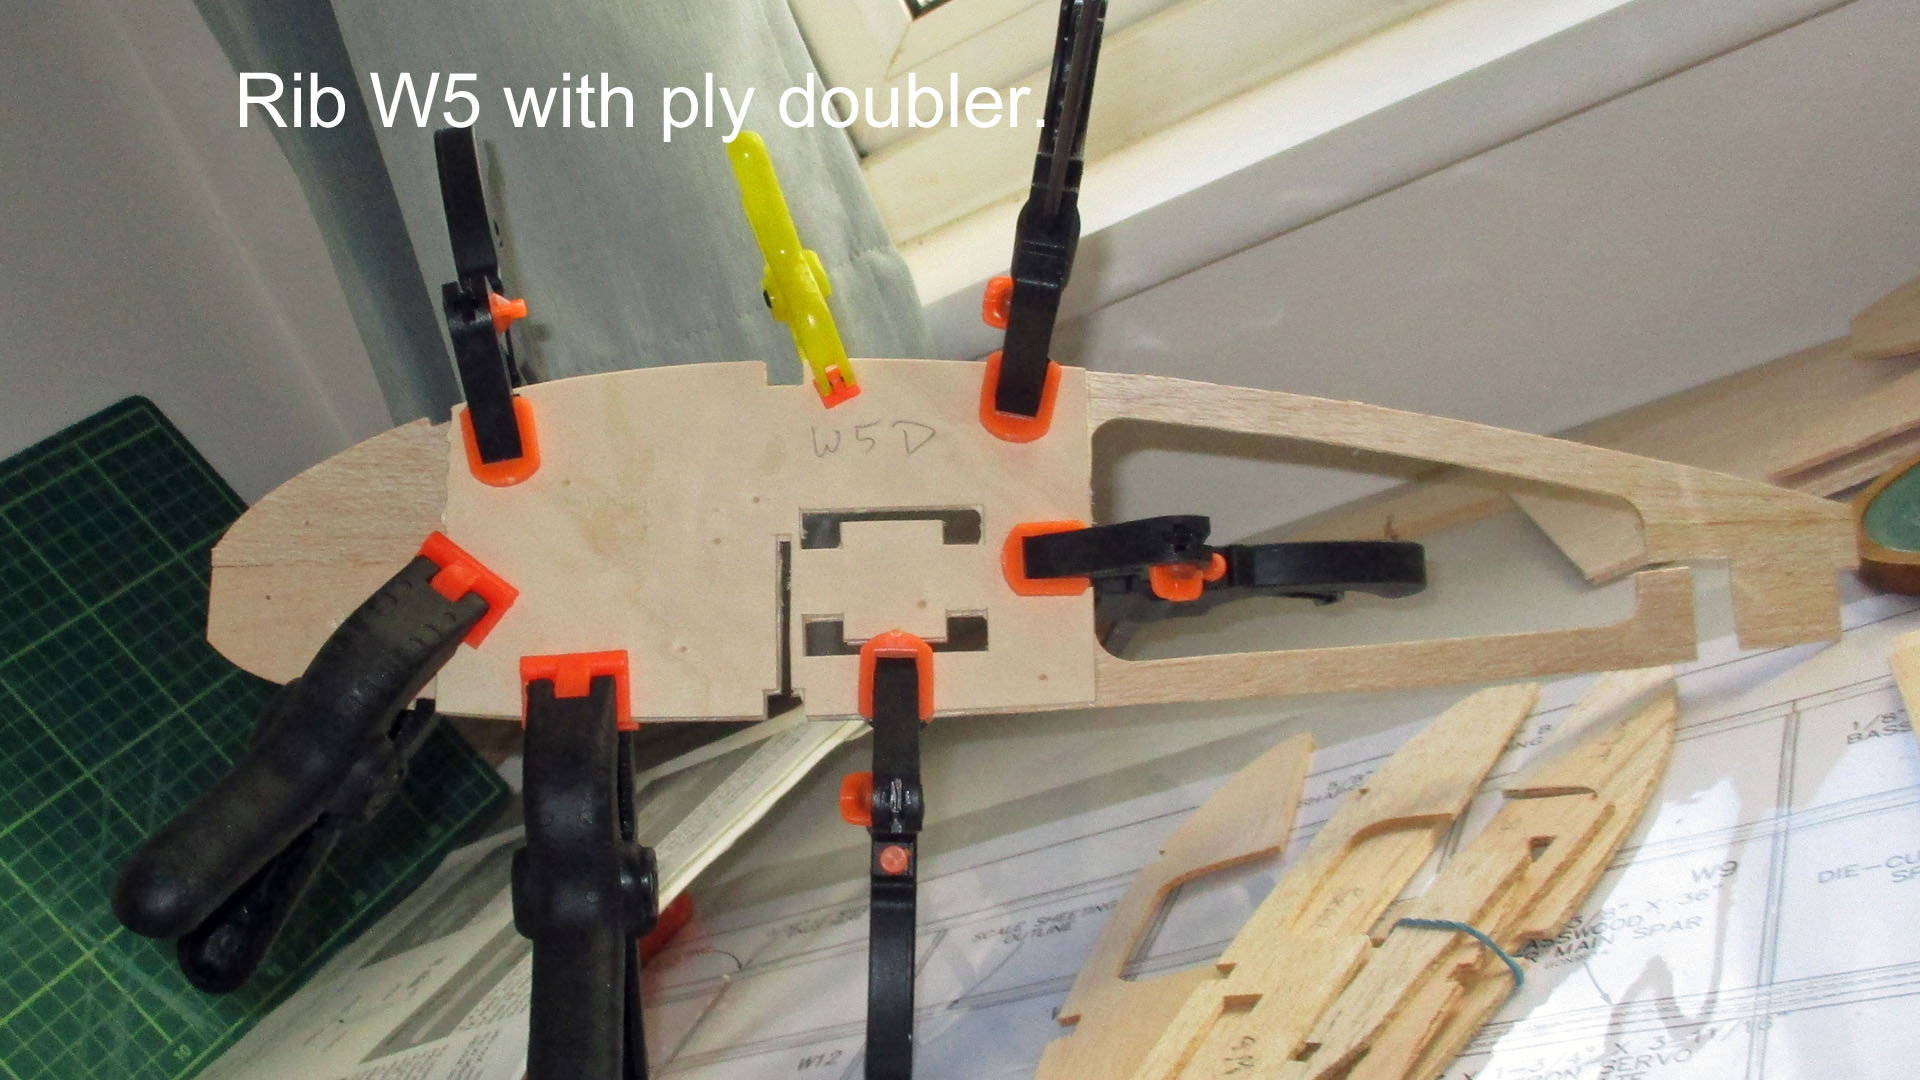

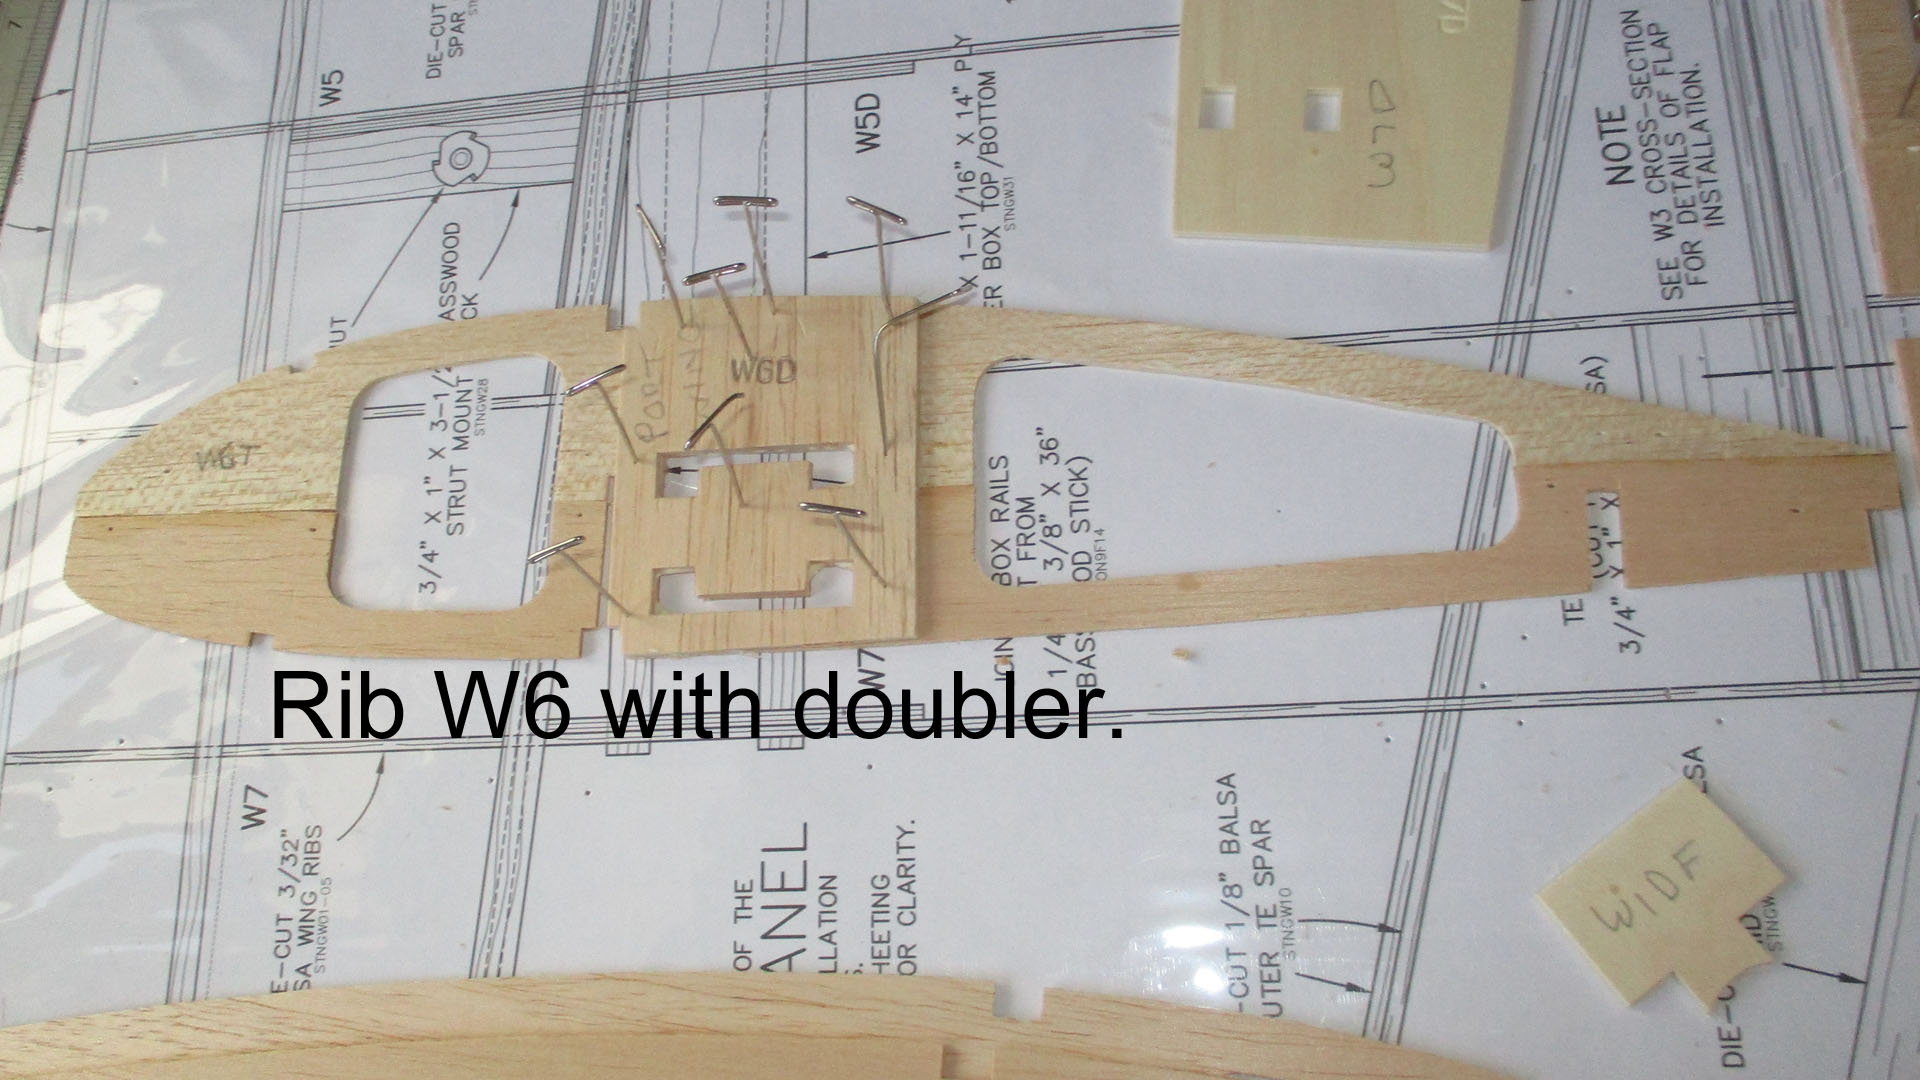
Really having trouble interpreting the plans & manual. Having to blow up the PDF file on the PC, move to the workshop then back to the PC. Eventually brought the multi component ribs to the PC to help indentifying which was which. Doing so I identified one puzzle relating to the outer trailing edge spar. on page 17 top right it says "Cut along the partially die-cut line of one die cut 1/8" balsa outer TE spars and remove the jig. Glue that outer TE spar to the front of another outer TE spar that has the jig still attached. which to me was double dutch, (no insult intended to our Dutch friends,) After laminating the two pieces of TE spar & setting them aside for a couple of days, I was puzzling over the multi piece ribs on the PDF & found the partial die cut which just about scores the balsa on the actual piece, still not sure how to proceed, at least I haven't cut off something I shouldn't have.
Last edited by stearman65; 10-09-2018 at 08:27 AM. Reason: no pictures
10-11-2018, 08:37 AM
#58
Thread Starter
Join Date: Mar 2006
Location: Southport UK
Posts: 187
Likes: 0
Received 0 Likes
on
0 Posts
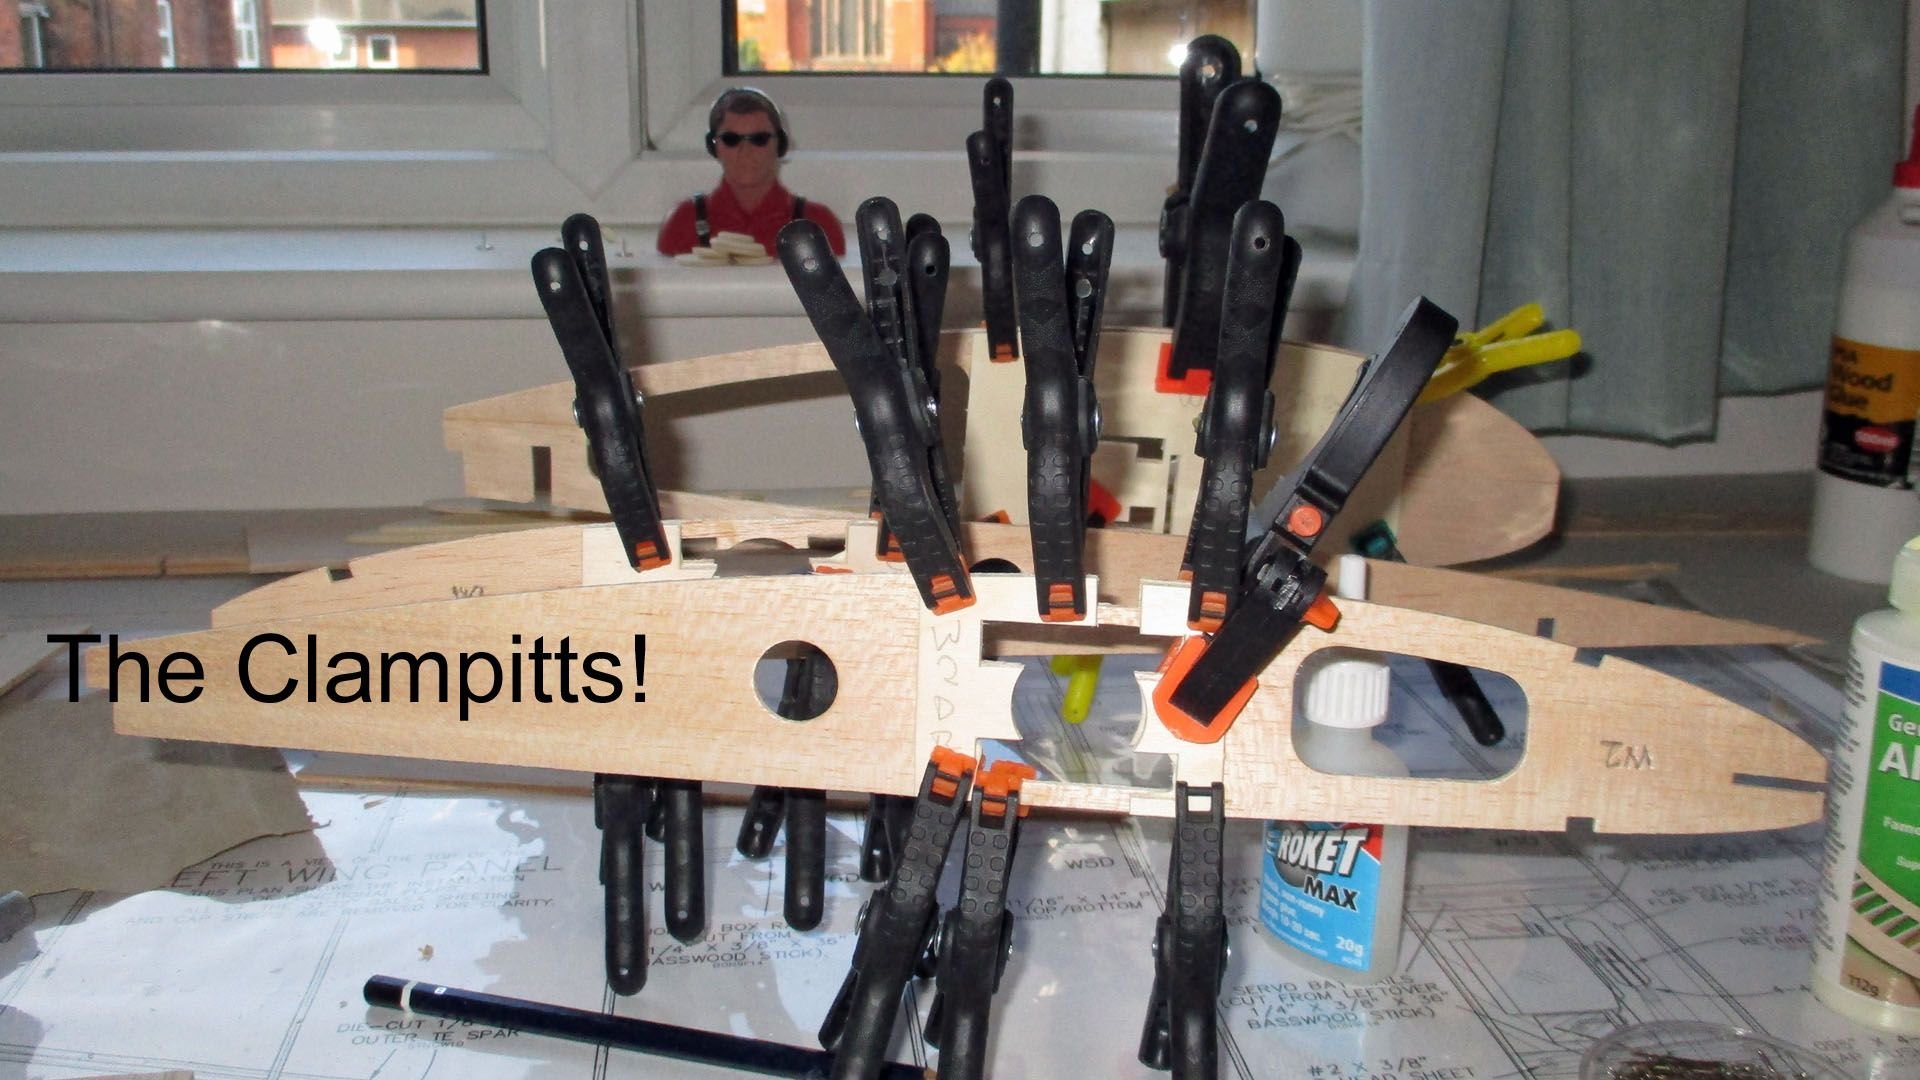
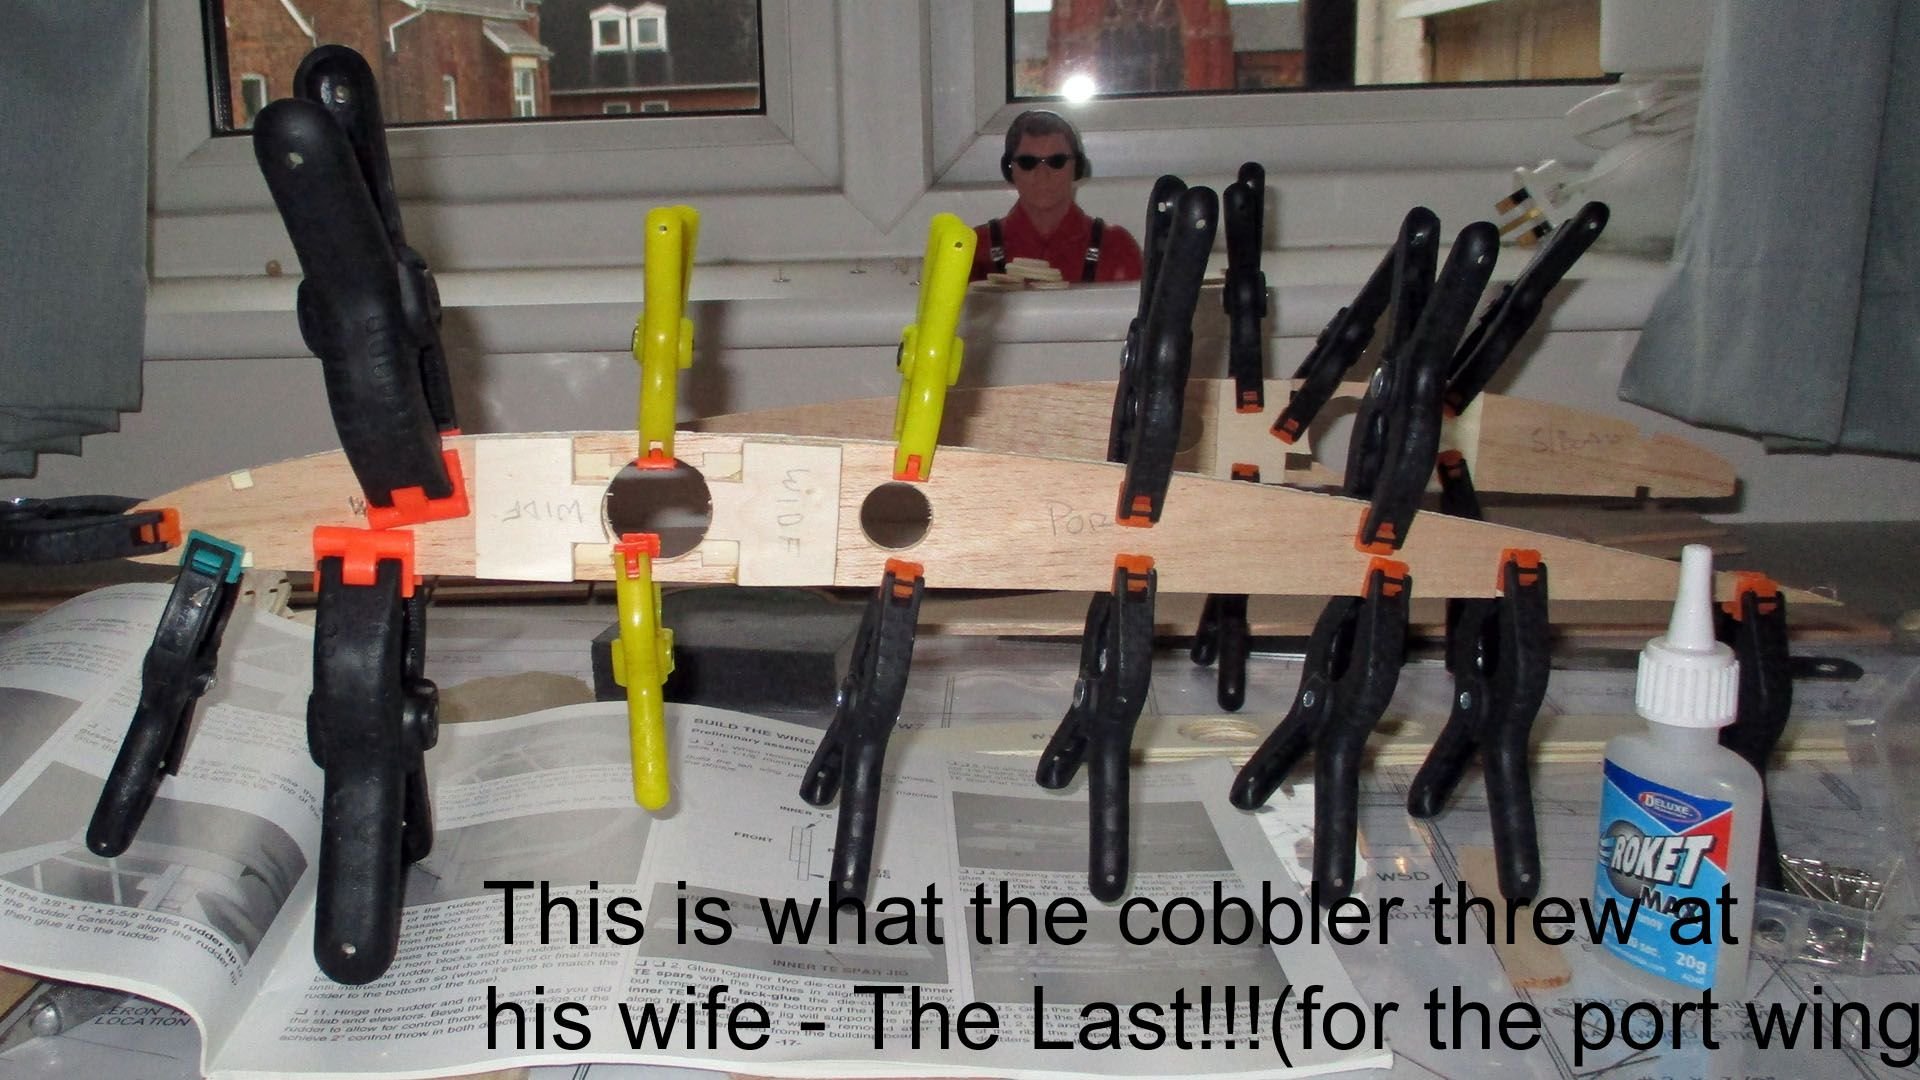


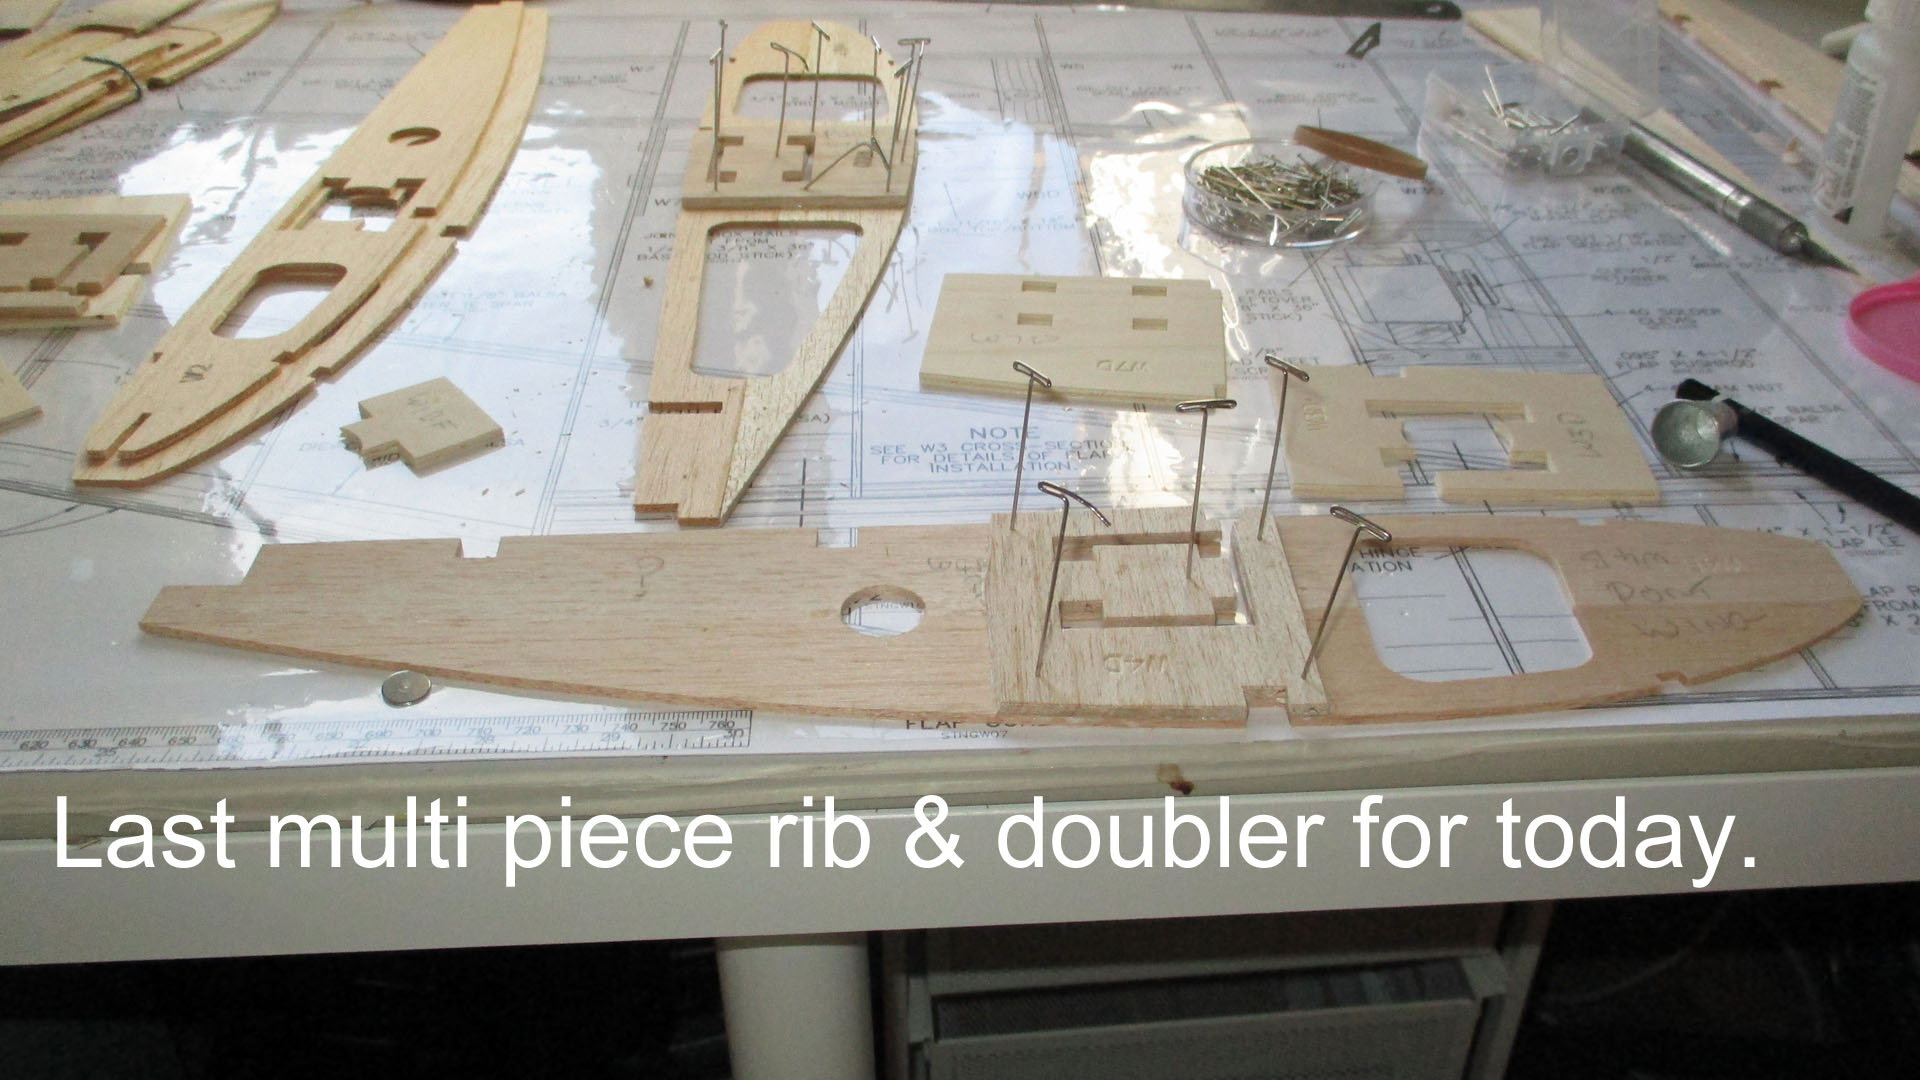
Short spell at the building board. One of our residents is leaving, so it was party time this afternoon. It's taken the whole of the week to assemble, sort & get the ribs into some semblance of order. Finished off the last of the port wing, with one doubler left over, whether it's an extra or I've missed something, not sure. Tomorrow will tell. I must stress, take this stage slowly, it's so easy to get it wrong, luckily I only made one goof by not cutting off the rear spar jig, will sort that tomorrow. Ordered some 30 minute epoxy & the extra clamps arrived in time for the last ribs. I have around 30 now & used them all.
10-11-2018, 11:04 PM
#59
Thread Starter
Join Date: Mar 2006
Location: Southport UK
Posts: 187
Likes: 0
Received 0 Likes
on
0 Posts
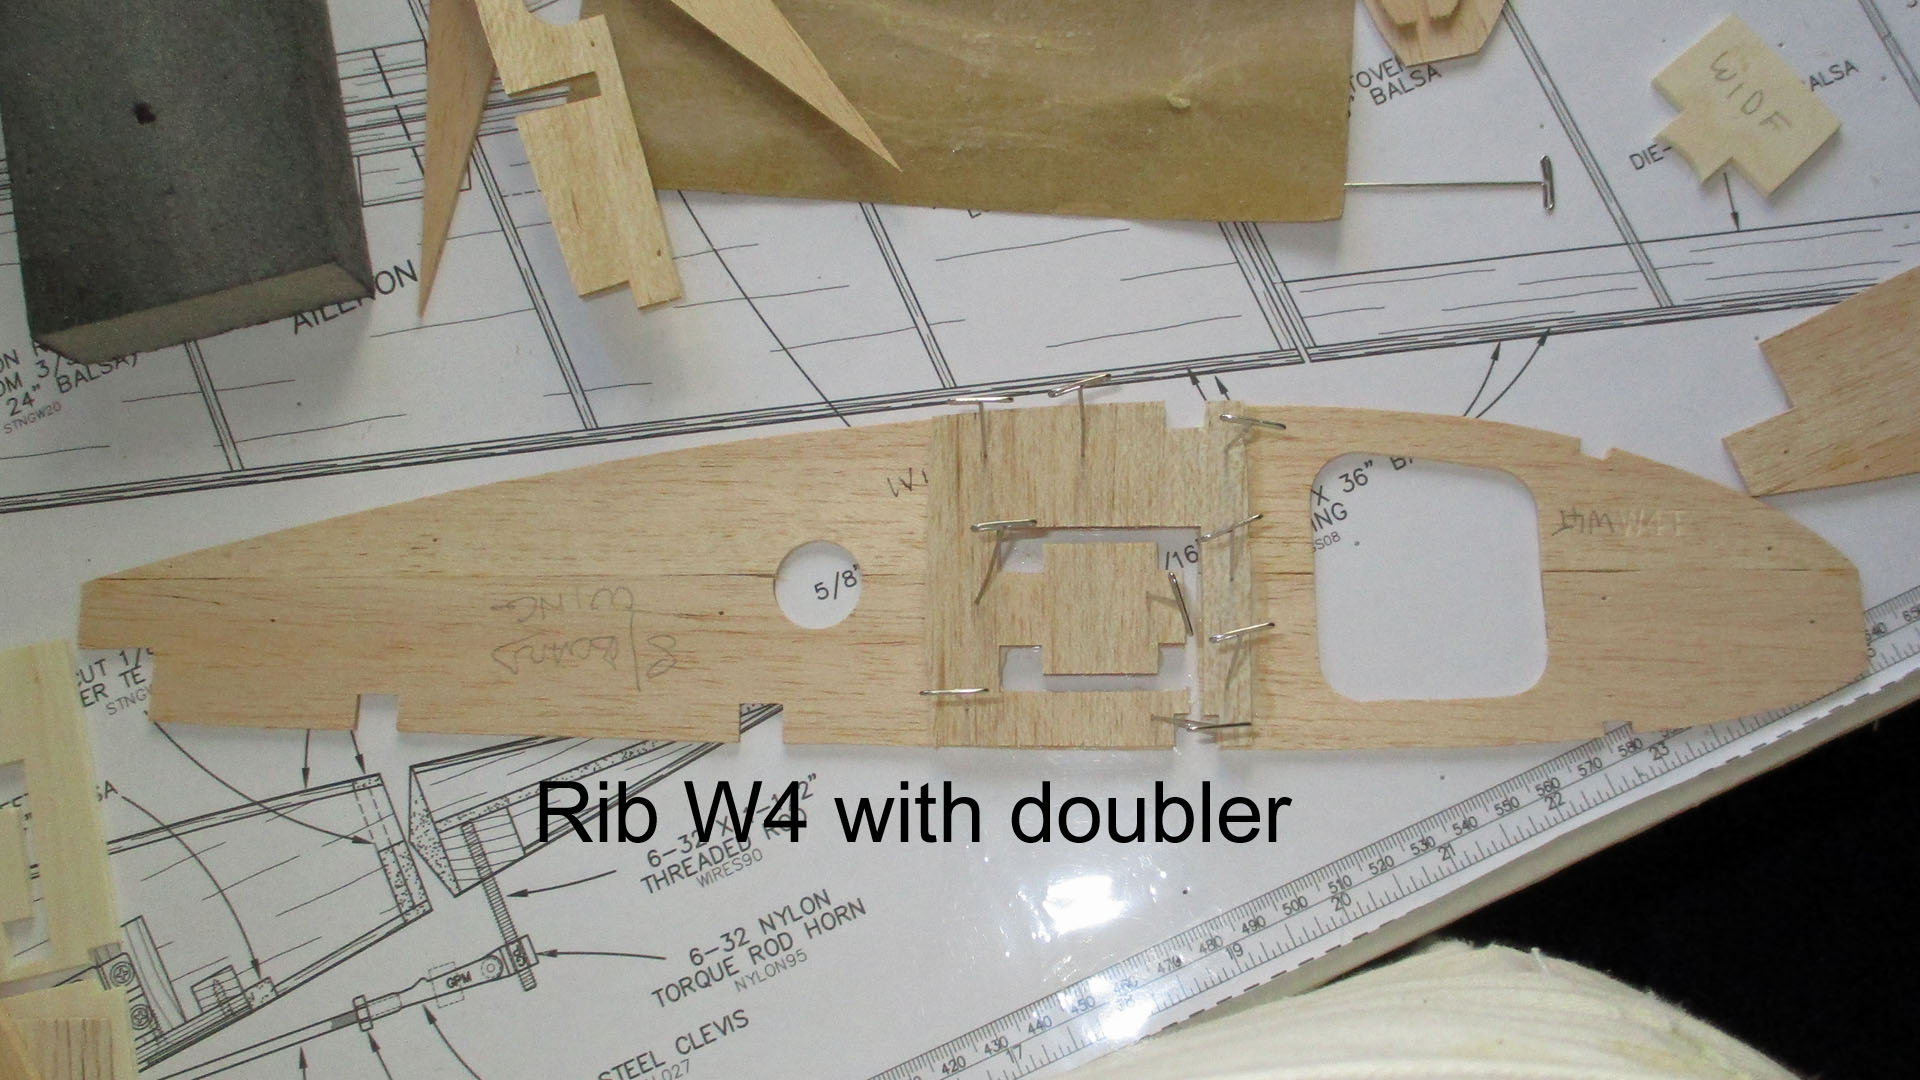
Quick update, I'm not happy with the multi piece ribs. Butt joining a 3/32" sheet of balsa is not good engineering practice IMO. So I've decided to add some of the miles of scrap balsa to the ribs as I can well see in the next section of the build the unbraced butt joints coming apart, as some already did when adding the doublers. No pictures yet, will add an example later.
10-12-2018, 08:33 AM
#60
Thread Starter
Join Date: Mar 2006
Location: Southport UK
Posts: 187
Likes: 0
Received 0 Likes
on
0 Posts


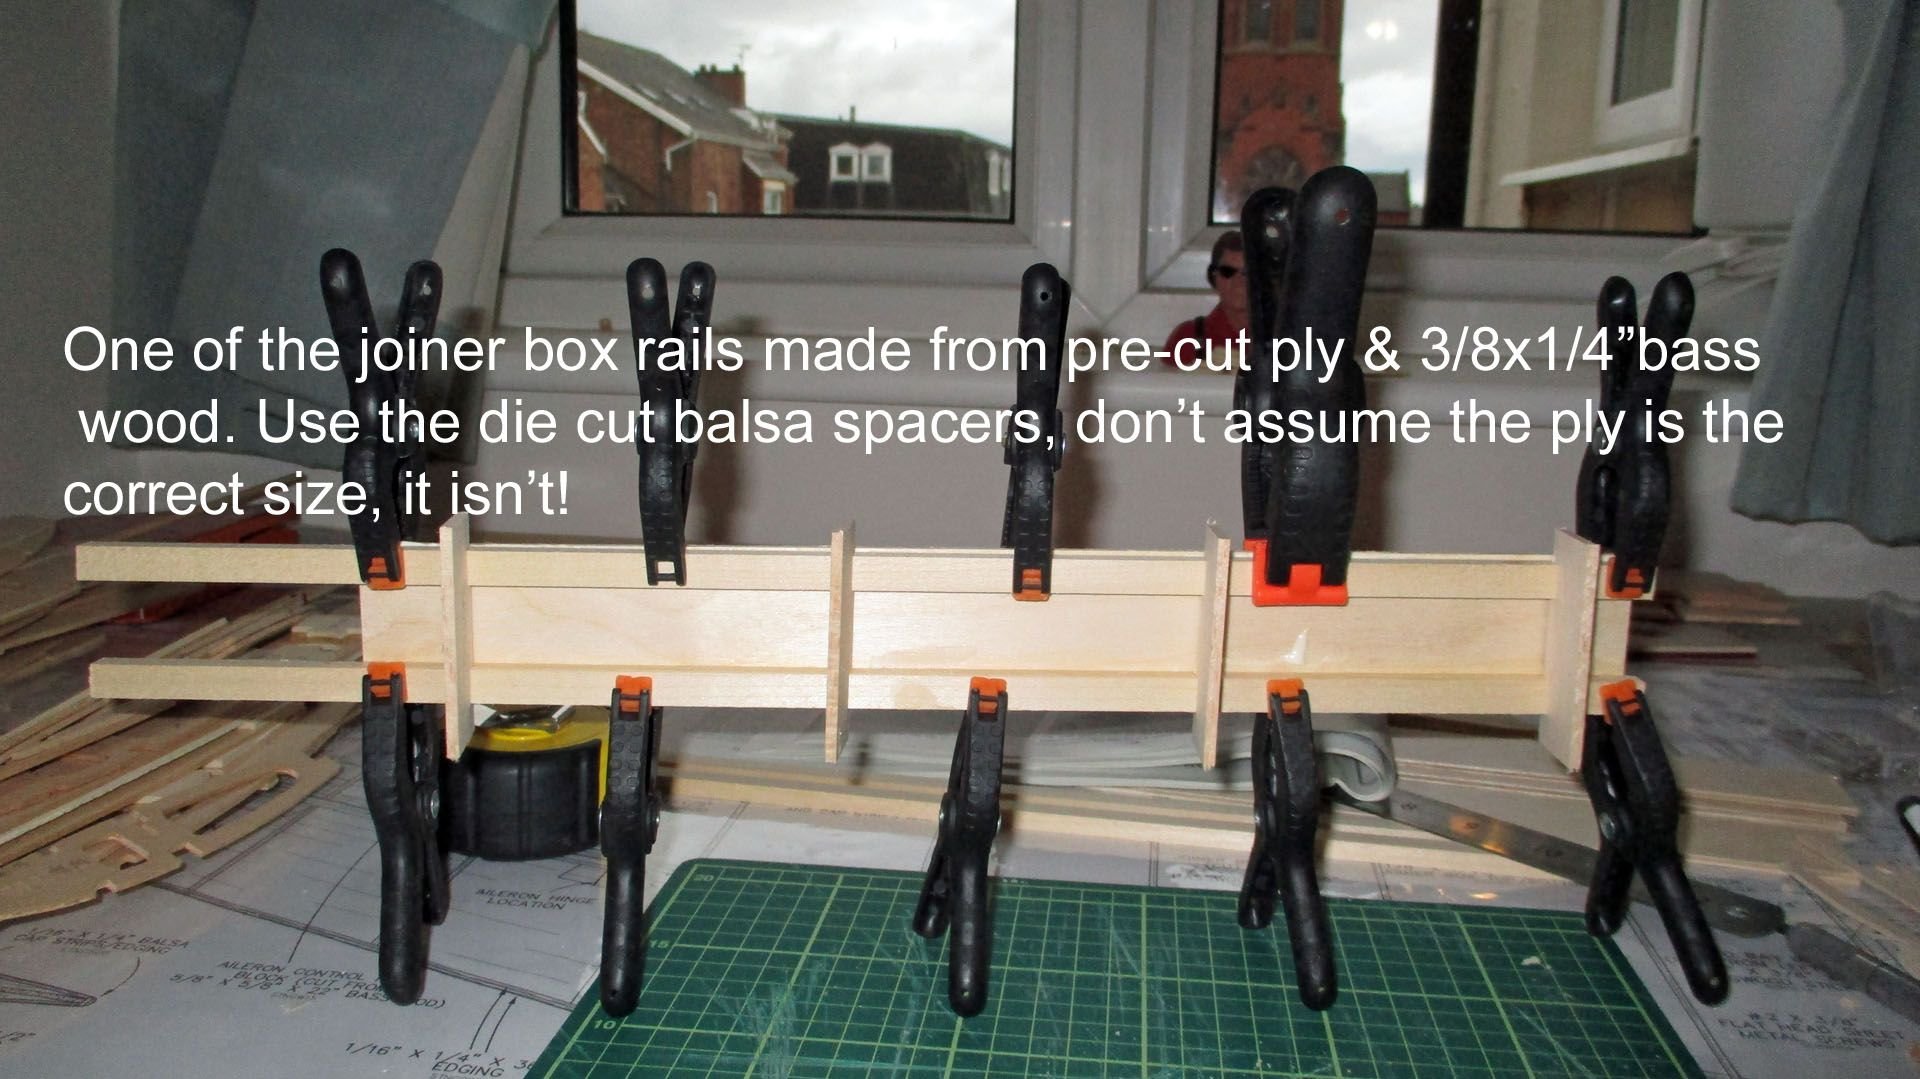
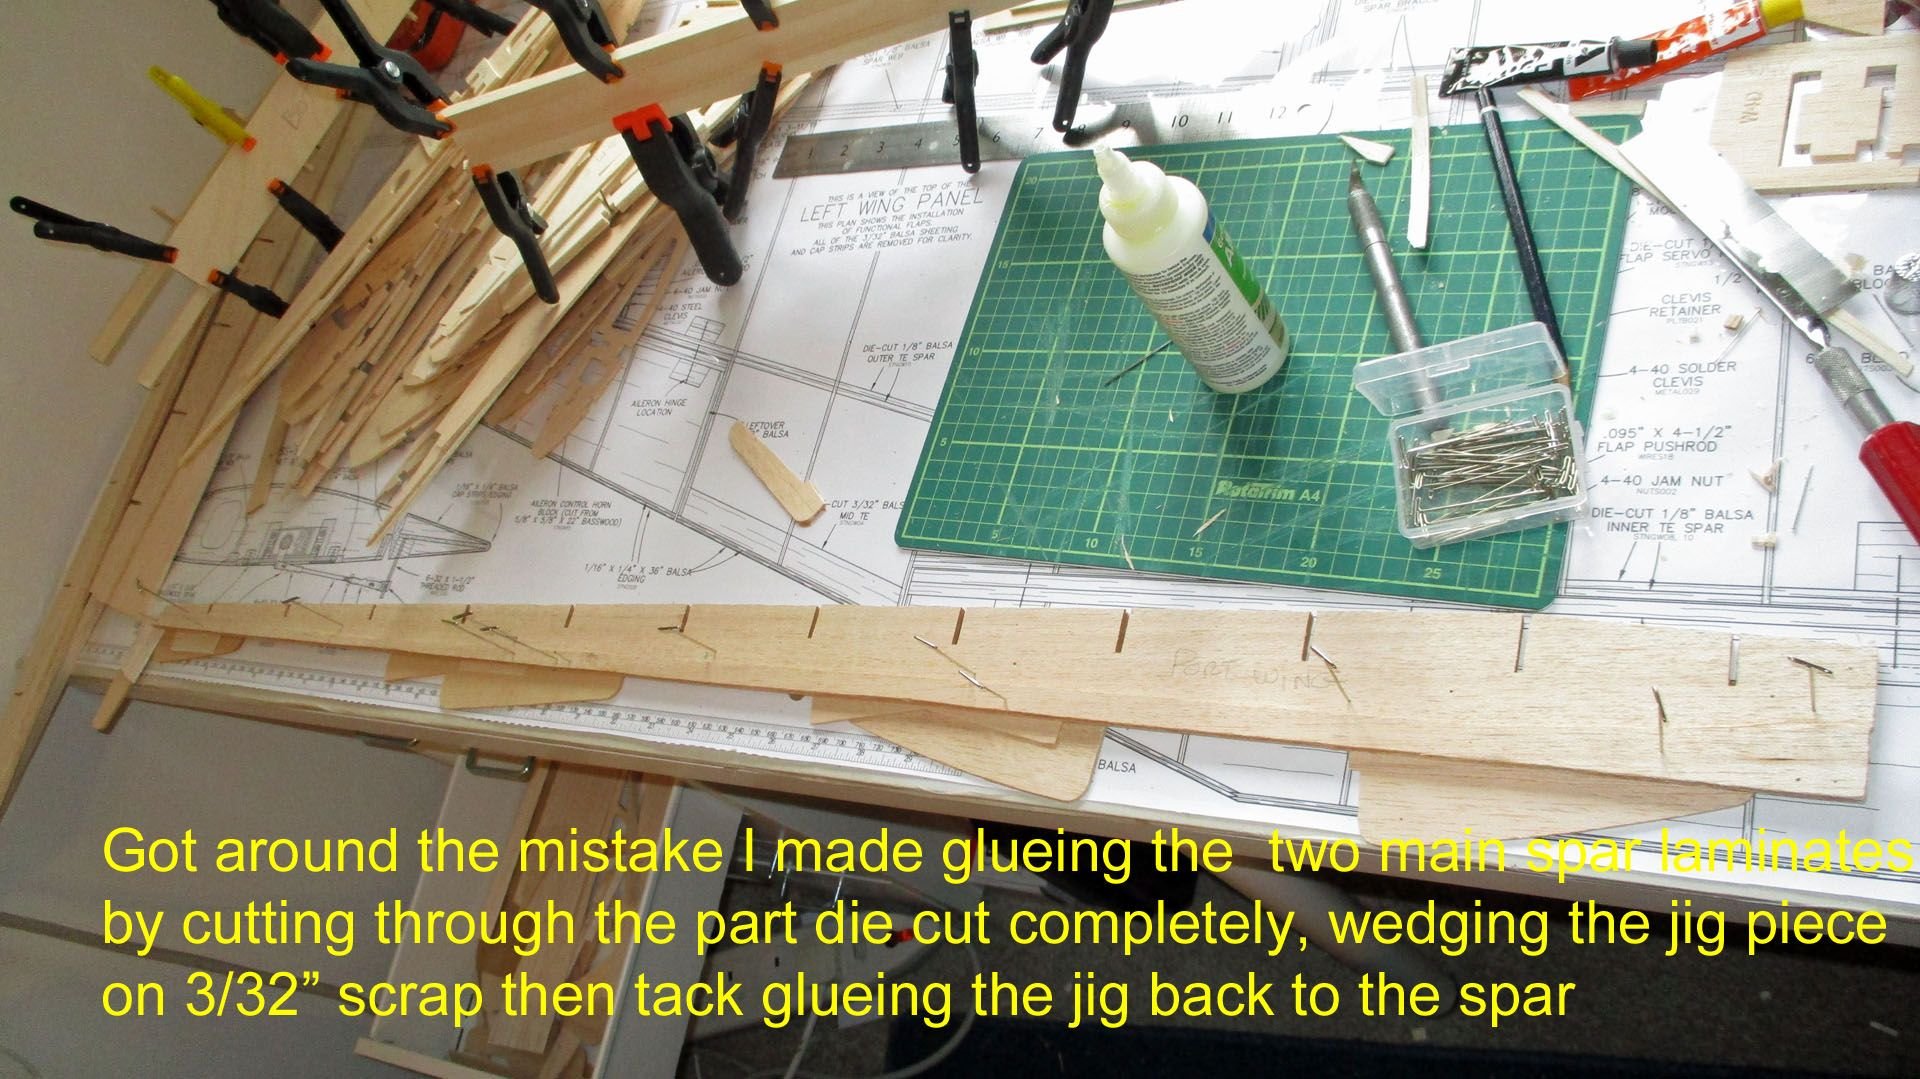
Reinforced the multi part ribs, made up two of the wing tube boxes & corrected a mistake with the main spar jig. Probably a couple of hours more work & I can start building up the port wing. It's taken a full week preparing the parts for both wings. Received notification the fiberglass part are on their way, The 30 minute epoxy I ordered arrived looking like it had been kicked up the motorway, complained to the supplier, waiting to hear what he has to say.
Last edited by stearman65; 10-12-2018 at 08:34 AM. Reason: typo
10-13-2018, 06:56 AM
#62
Thread Starter
Join Date: Mar 2006
Location: Southport UK
Posts: 187
Likes: 0
Received 0 Likes
on
0 Posts


Hi Al
Not only are they huge they are a pain in the seat, to put it mildly. Here's today's antics.
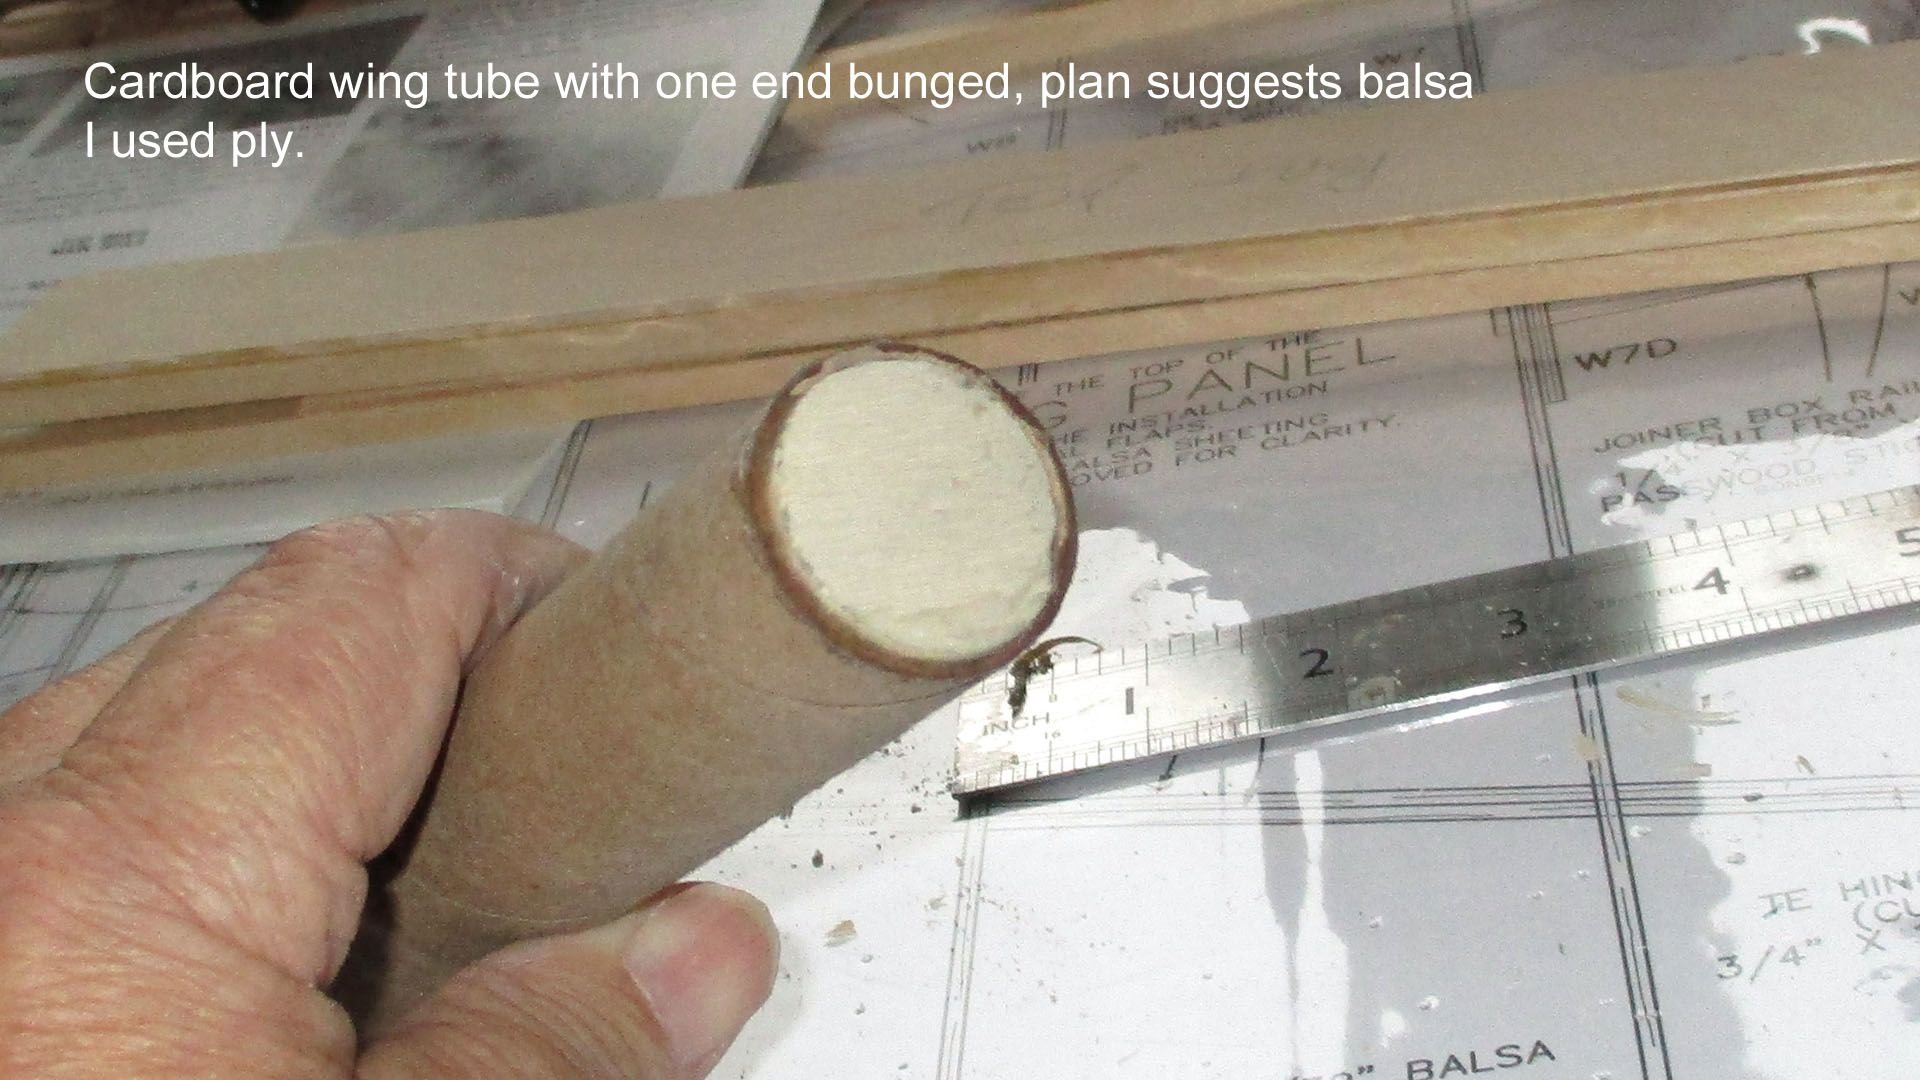
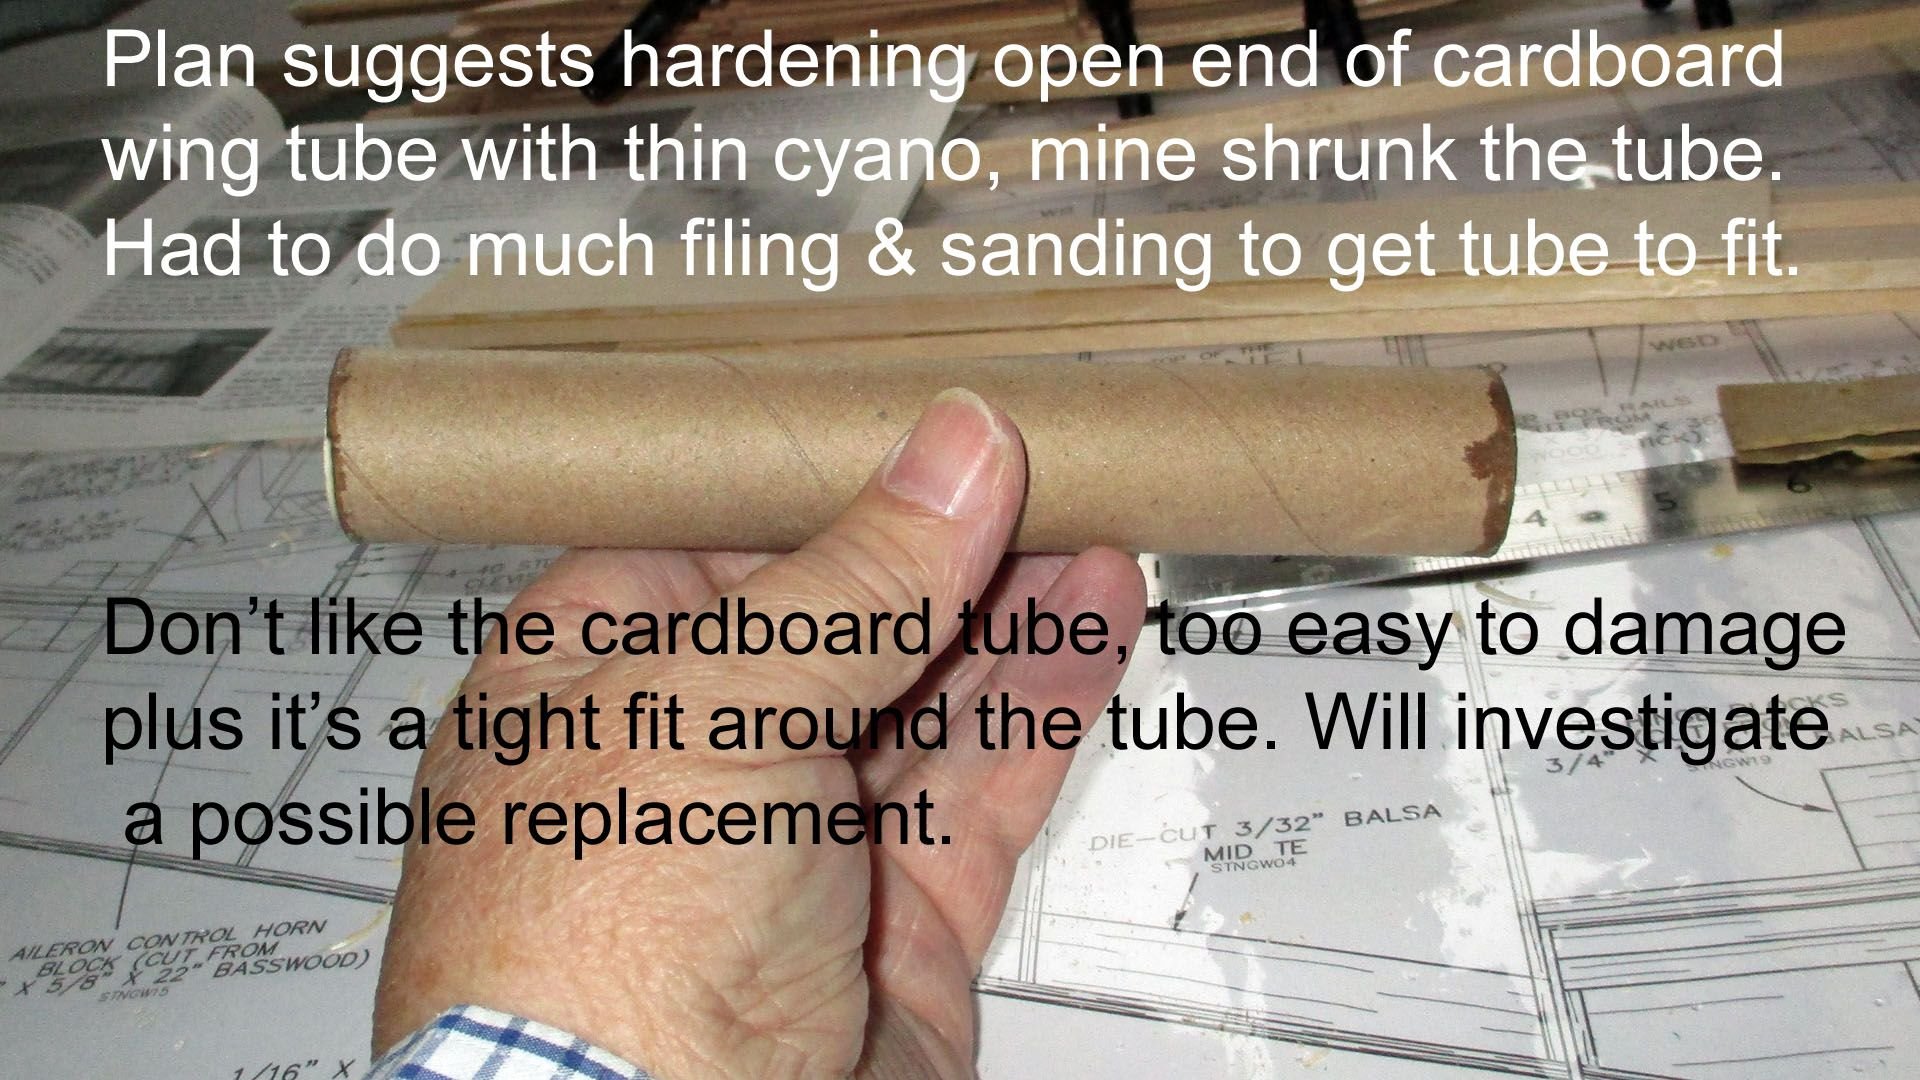
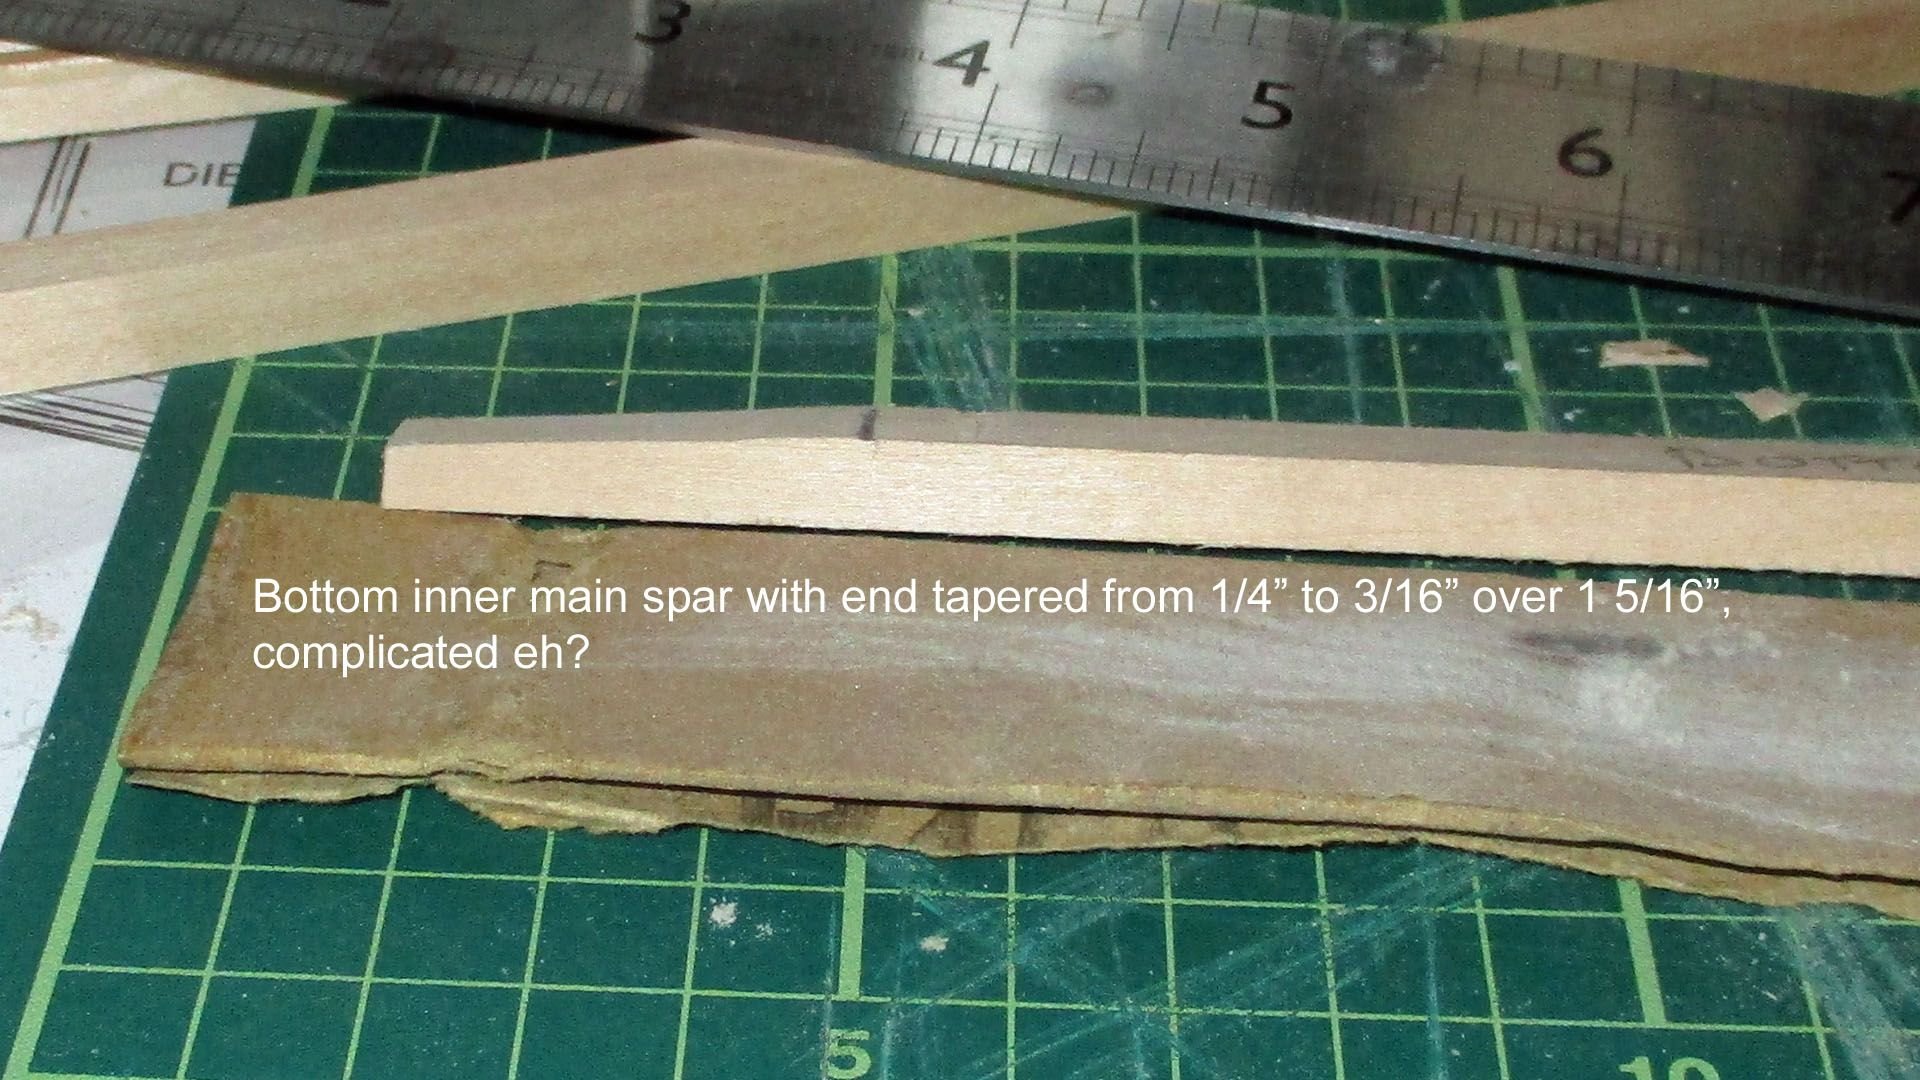
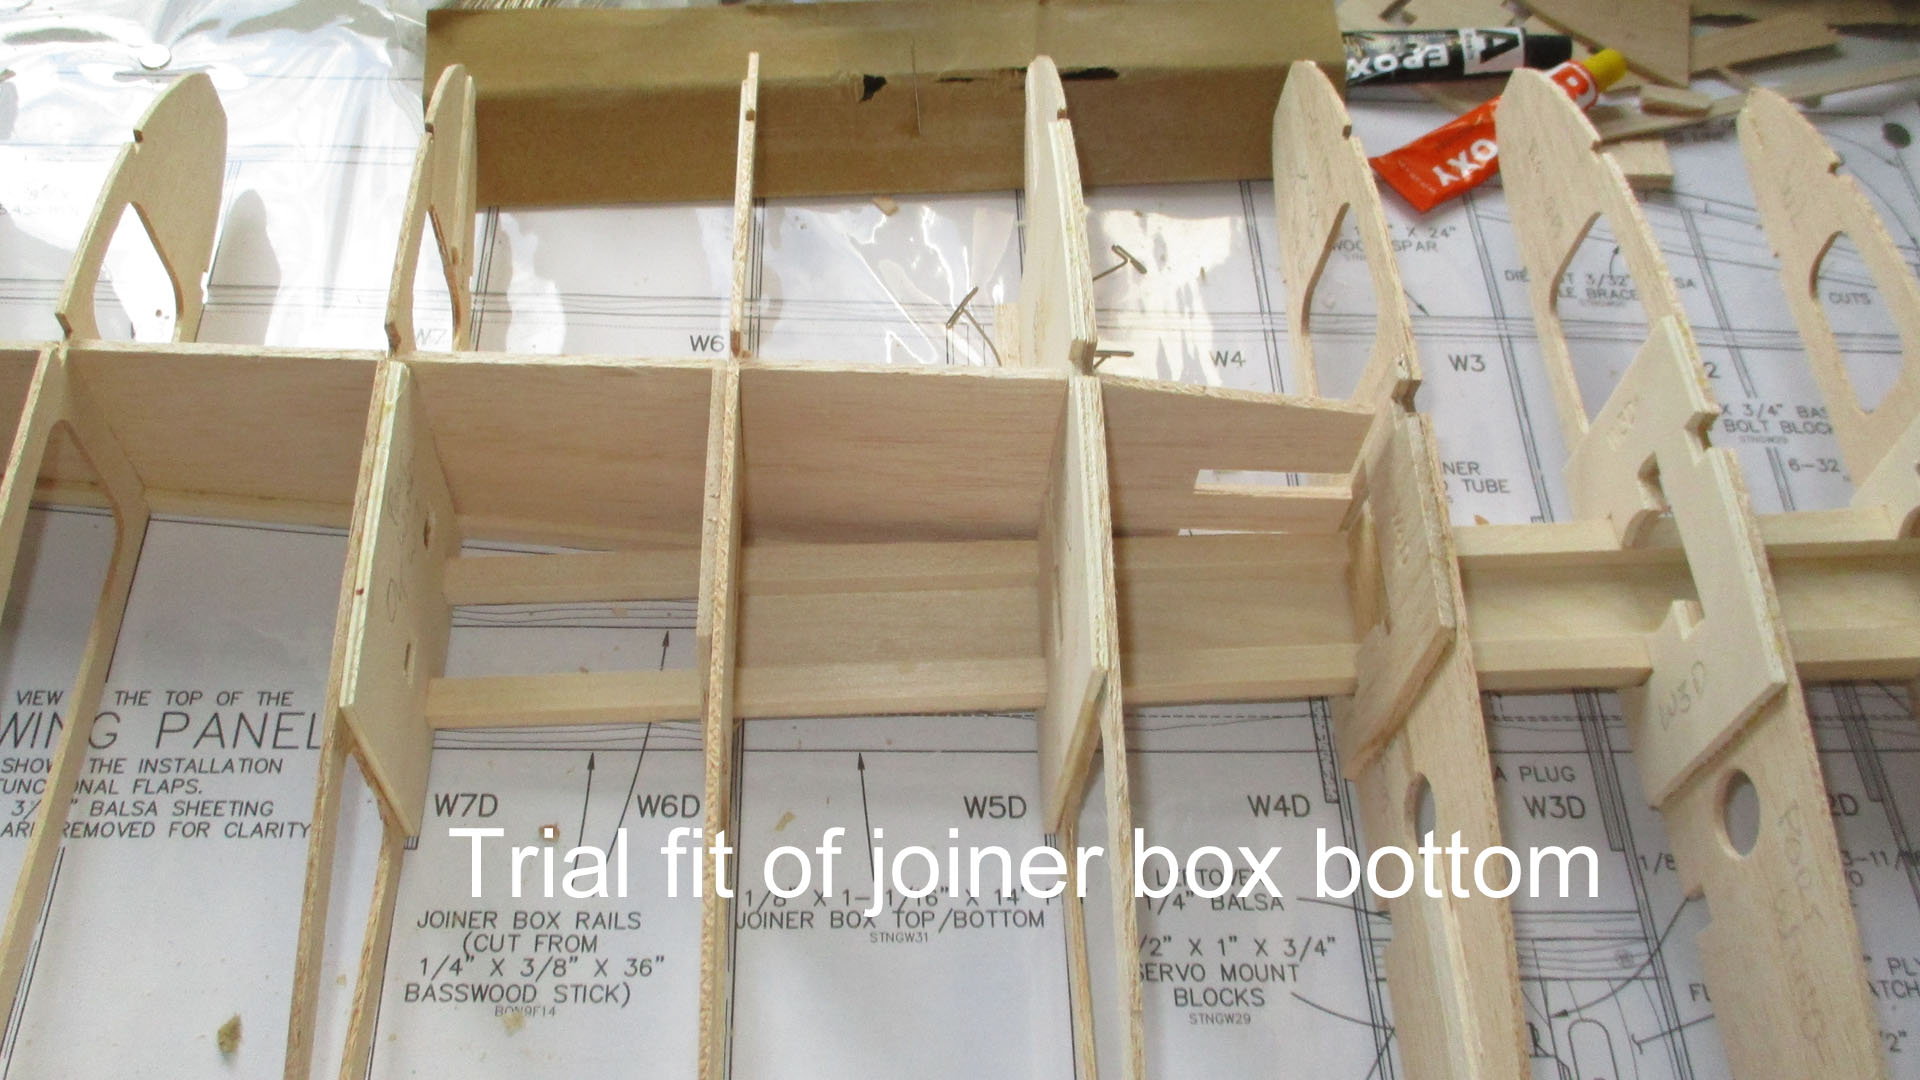
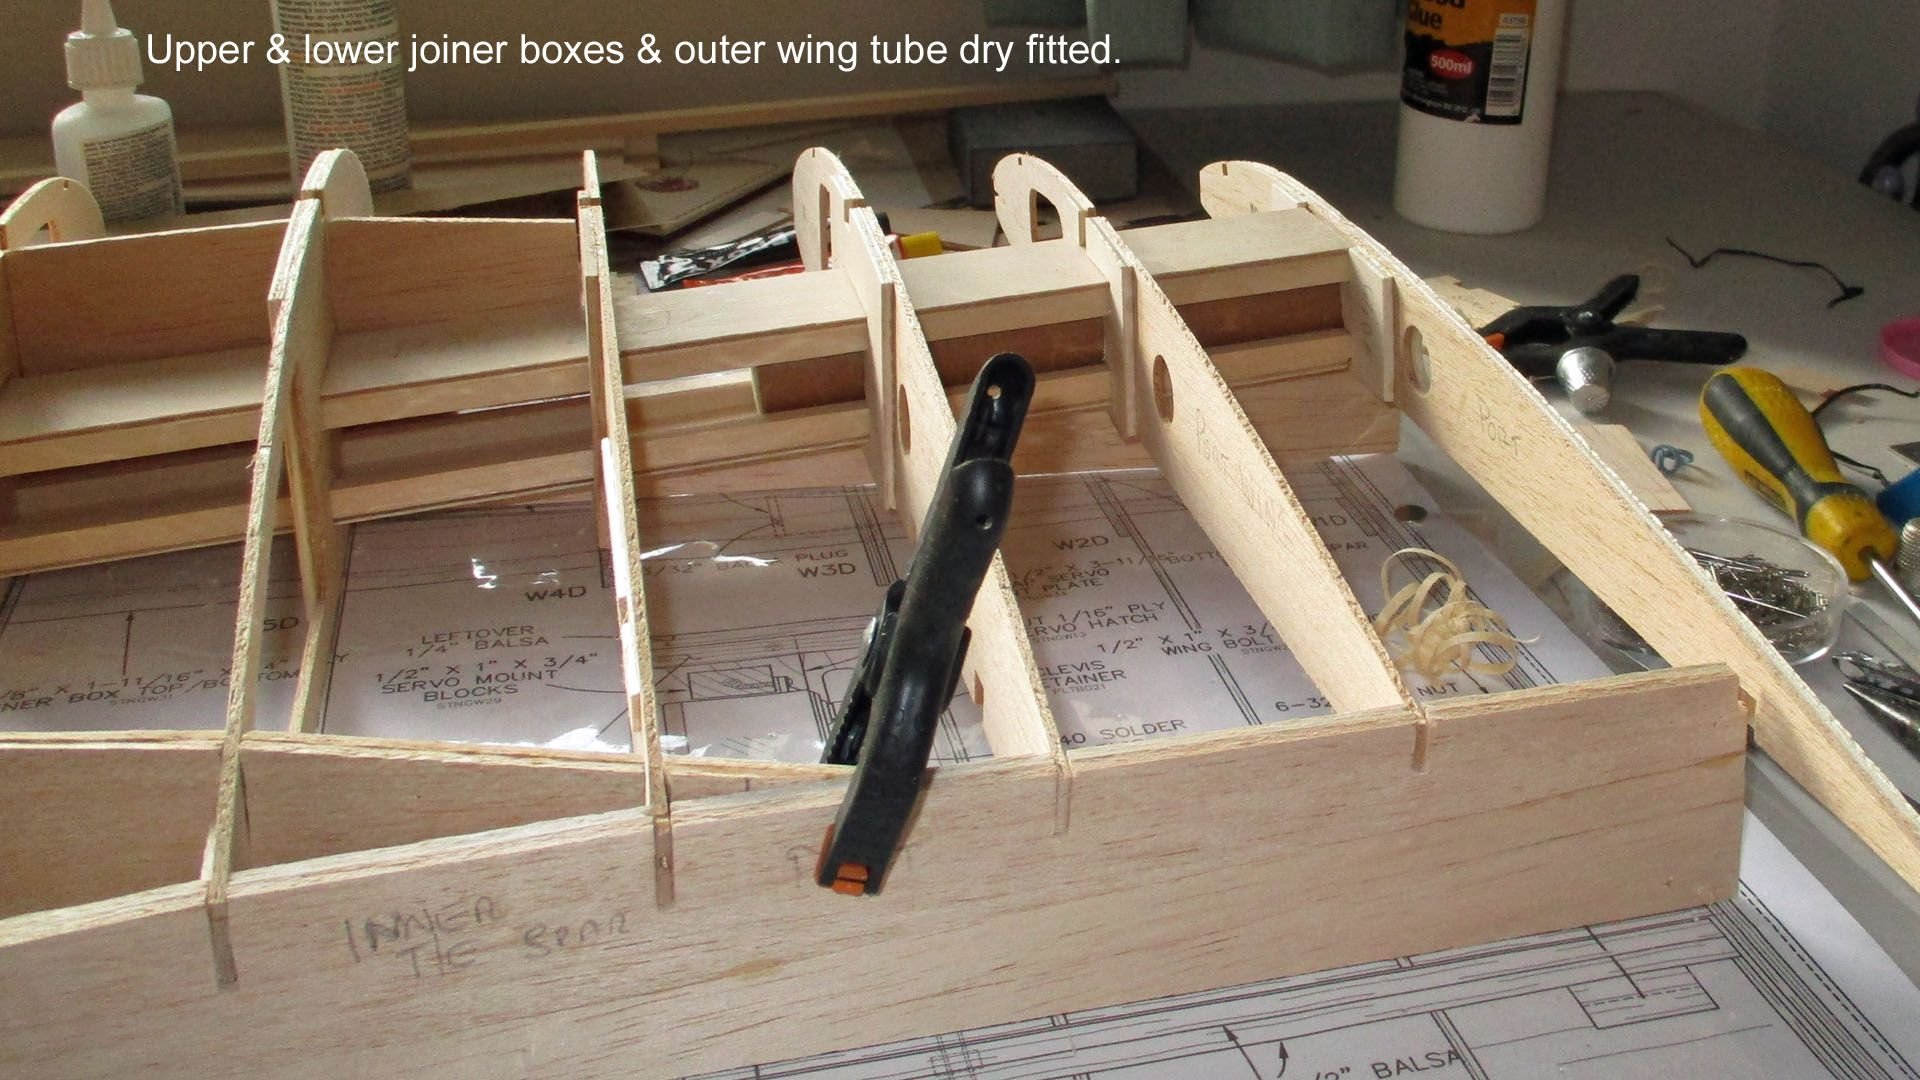
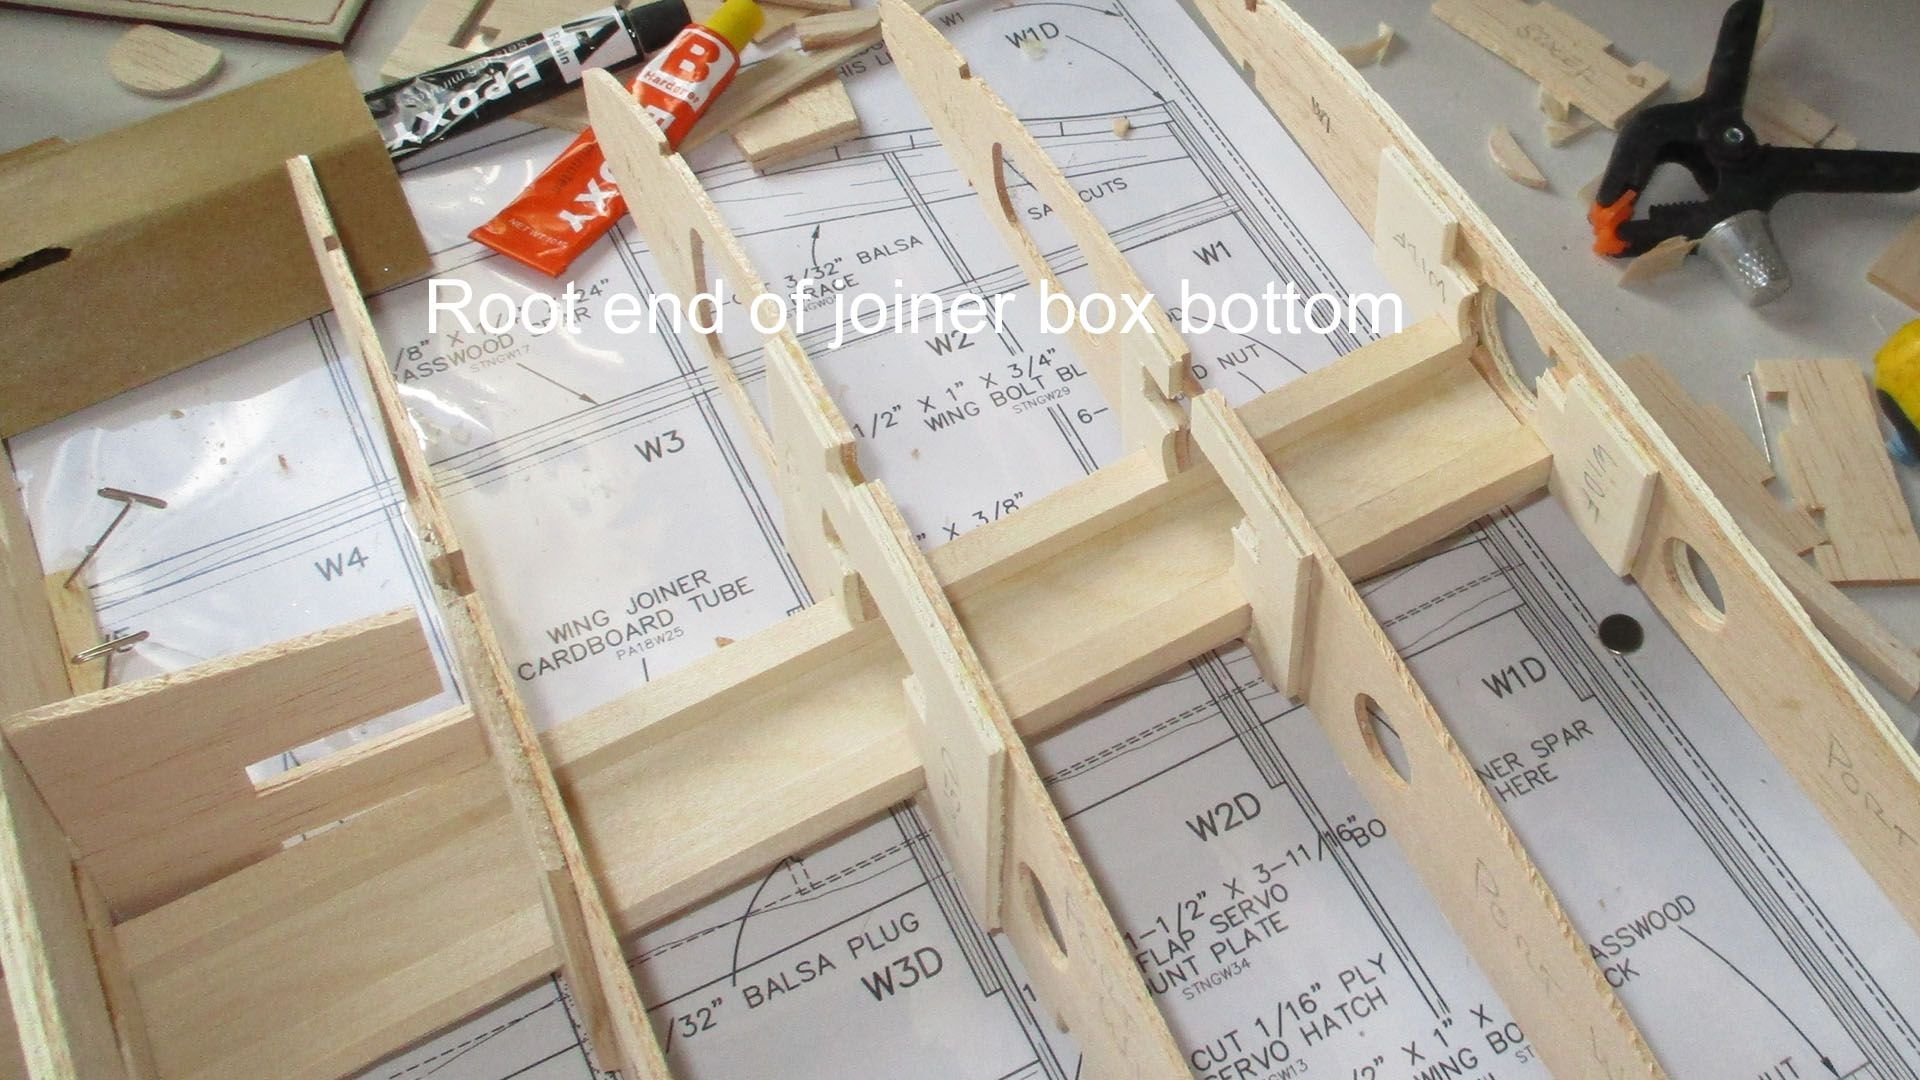
The next stage in the wing build after all the ribs are constructed is to trial fit the wing joining boxes. This was a pain to do. Every built up rib & those with doublers had to be tailored to fit by filing cutting & sanding. Took 3 hours to do one set. Also the main spars have to have the rib slots angled to take care of the tapered shape. I was in no mood after that to set the wing on the plan, so I jumped a step & cut the spars & cardboard wing tube to size, tapered one spar, hardened the end of the tube with cyano as instructed & fitted the bung in the other end. Not balsa as suggested but ply. Unfortunately the cyano shrunk the cardboard tube so the metal tube wouldn't fit. Spent a happy half hour sanding & cutting to get it to fit. Not happy with cardboard, cheap & cheerful & too easy to damage, will be investigating a replacement. My turn to cook dinner today so packed in.
Re the battered epoxy, had a phone call from the UK supplier this morning which developed into a row & he eventually slammed the phone down. Got an email later saying he would email a returns label, that was 4 hours ago, nothing yet. (Bad day at black rock!!!)
10-13-2018, 07:19 AM
#63
I've used cardboard tube for wing joiners before with success, but can't comment on the quality in the TF kit. It is critical that they fit well. There are a lot of shops offering carbon fiber wing tubes now, but they can be bit pricey. Given the overall cost of giant bird like this, it may be a worthwhile investment though.
Here is one example (but I'm sure there are others): www.jtecrc.com
Here is one example (but I'm sure there are others): www.jtecrc.com
10-13-2018, 11:27 PM
#64
Thread Starter
Join Date: Mar 2006
Location: Southport UK
Posts: 187
Likes: 0
Received 0 Likes
on
0 Posts
I've used cardboard tube for wing joiners before with success, but can't comment on the quality in the TF kit. It is critical that they fit well. There are a lot of shops offering carbon fiber wing tubes now, but they can be bit pricey. Given the overall cost of giant bird like this, it may be a worthwhile investment though.
Here is one example (but I'm sure there are others): www.jtecrc.com
Here is one example (but I'm sure there are others): www.jtecrc.com
10-14-2018, 06:41 AM
#65
Thread Starter
Join Date: Mar 2006
Location: Southport UK
Posts: 187
Likes: 0
Received 0 Likes
on
0 Posts
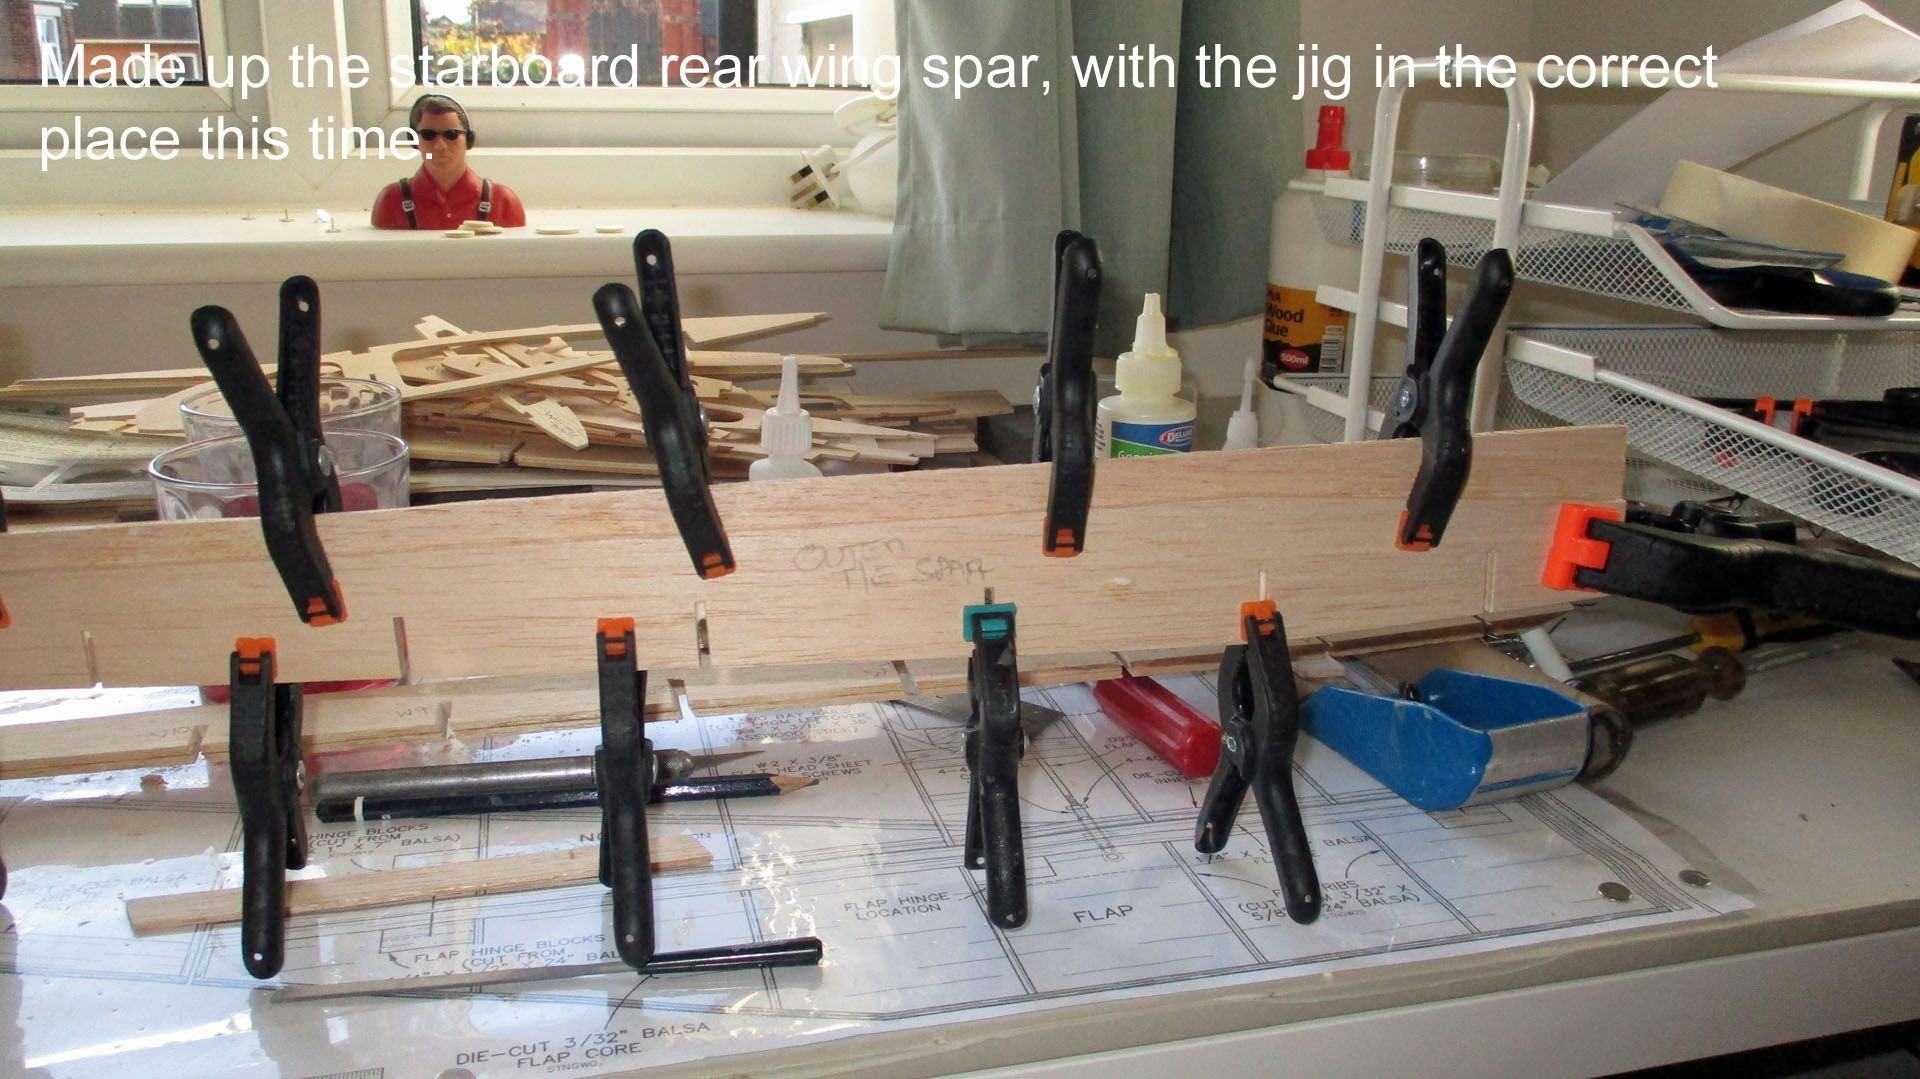

Hopefully sorted a replacement wing tube arrangement, either from Falcon or Slec UK. Spent a happy hour beveling the rib slots to the rear spar, the hardened glue made it difficult to sand so had to file & cut. Assembled the starboard rear spar, hopefully with a single piece jig in the correct place. Incidentally when I was re-checking the cardboard tube size, I noticed it was slightly oval, hence the difficulty getting the metal tube inserted, B minus for Top Flite..
10-16-2018, 01:06 AM
#66
Thread Starter
Join Date: Mar 2006
Location: Southport UK
Posts: 187
Likes: 0
Received 0 Likes
on
0 Posts

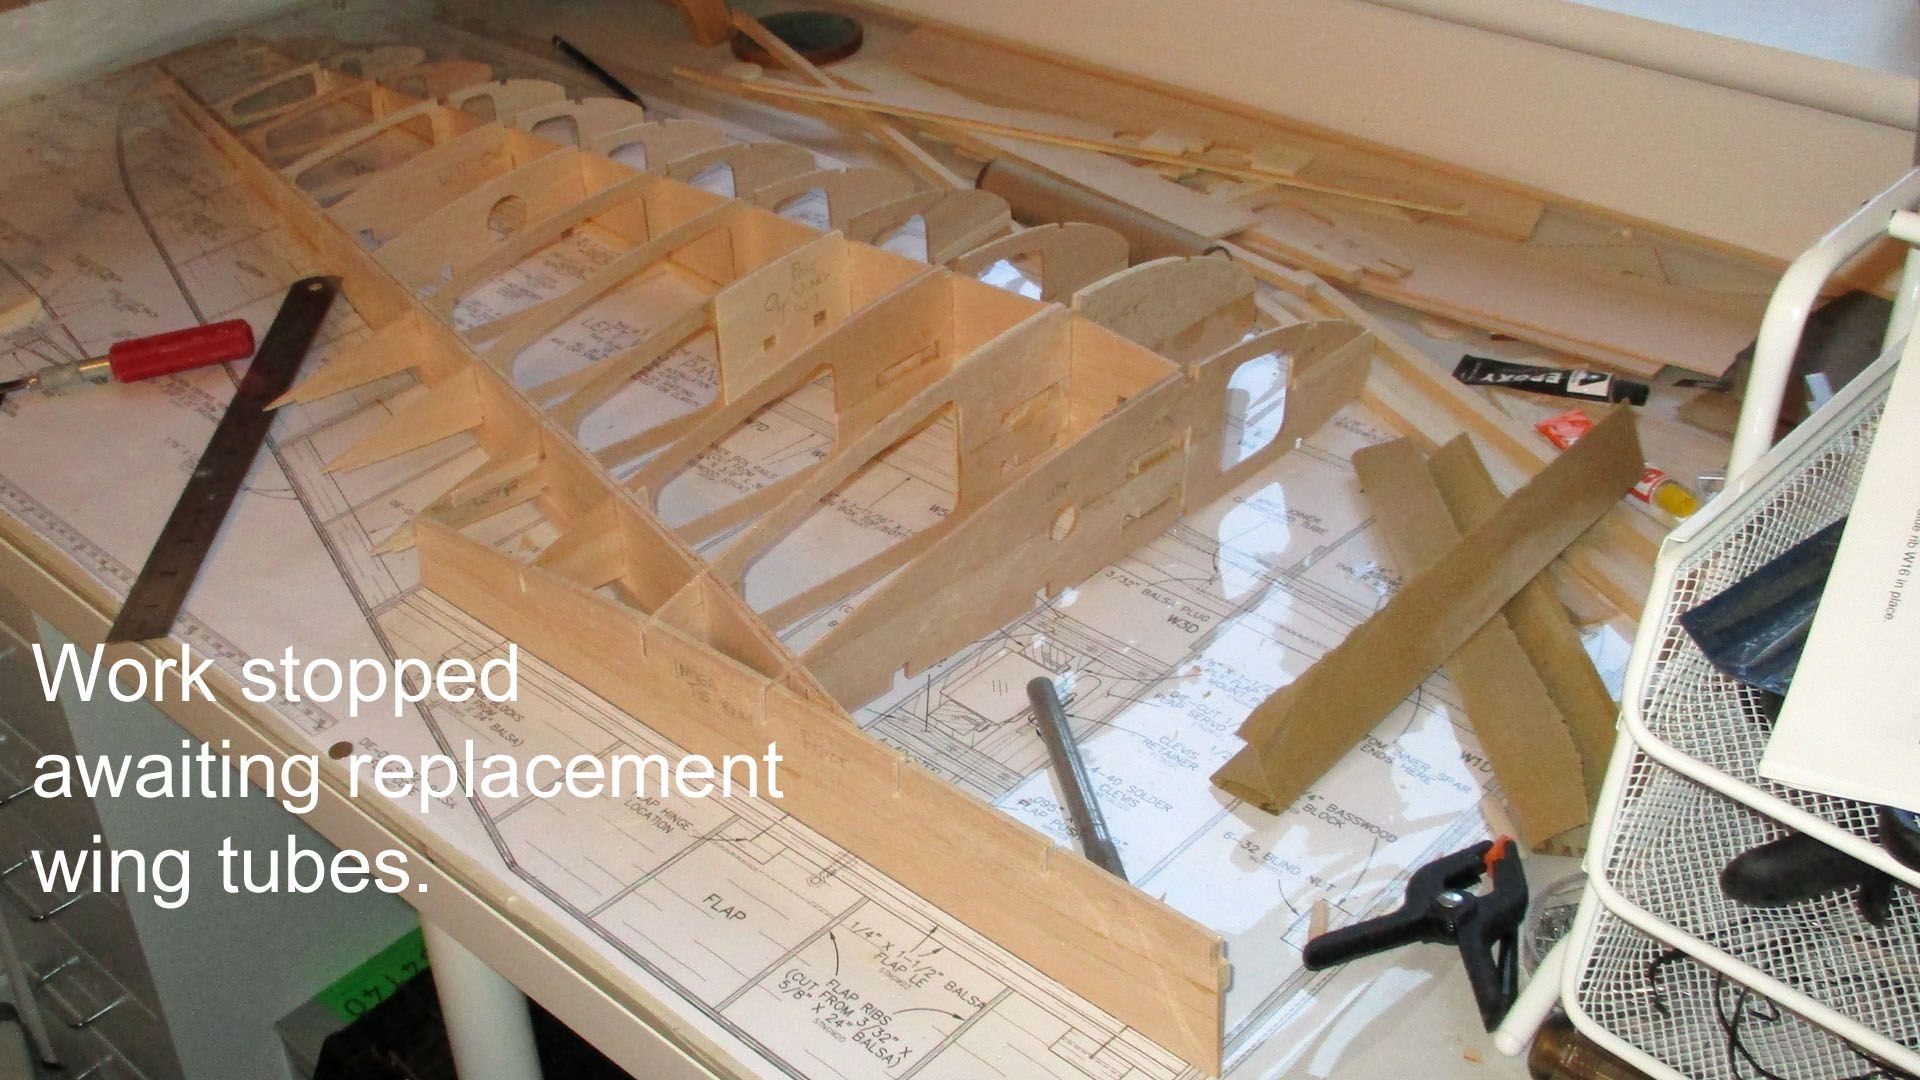
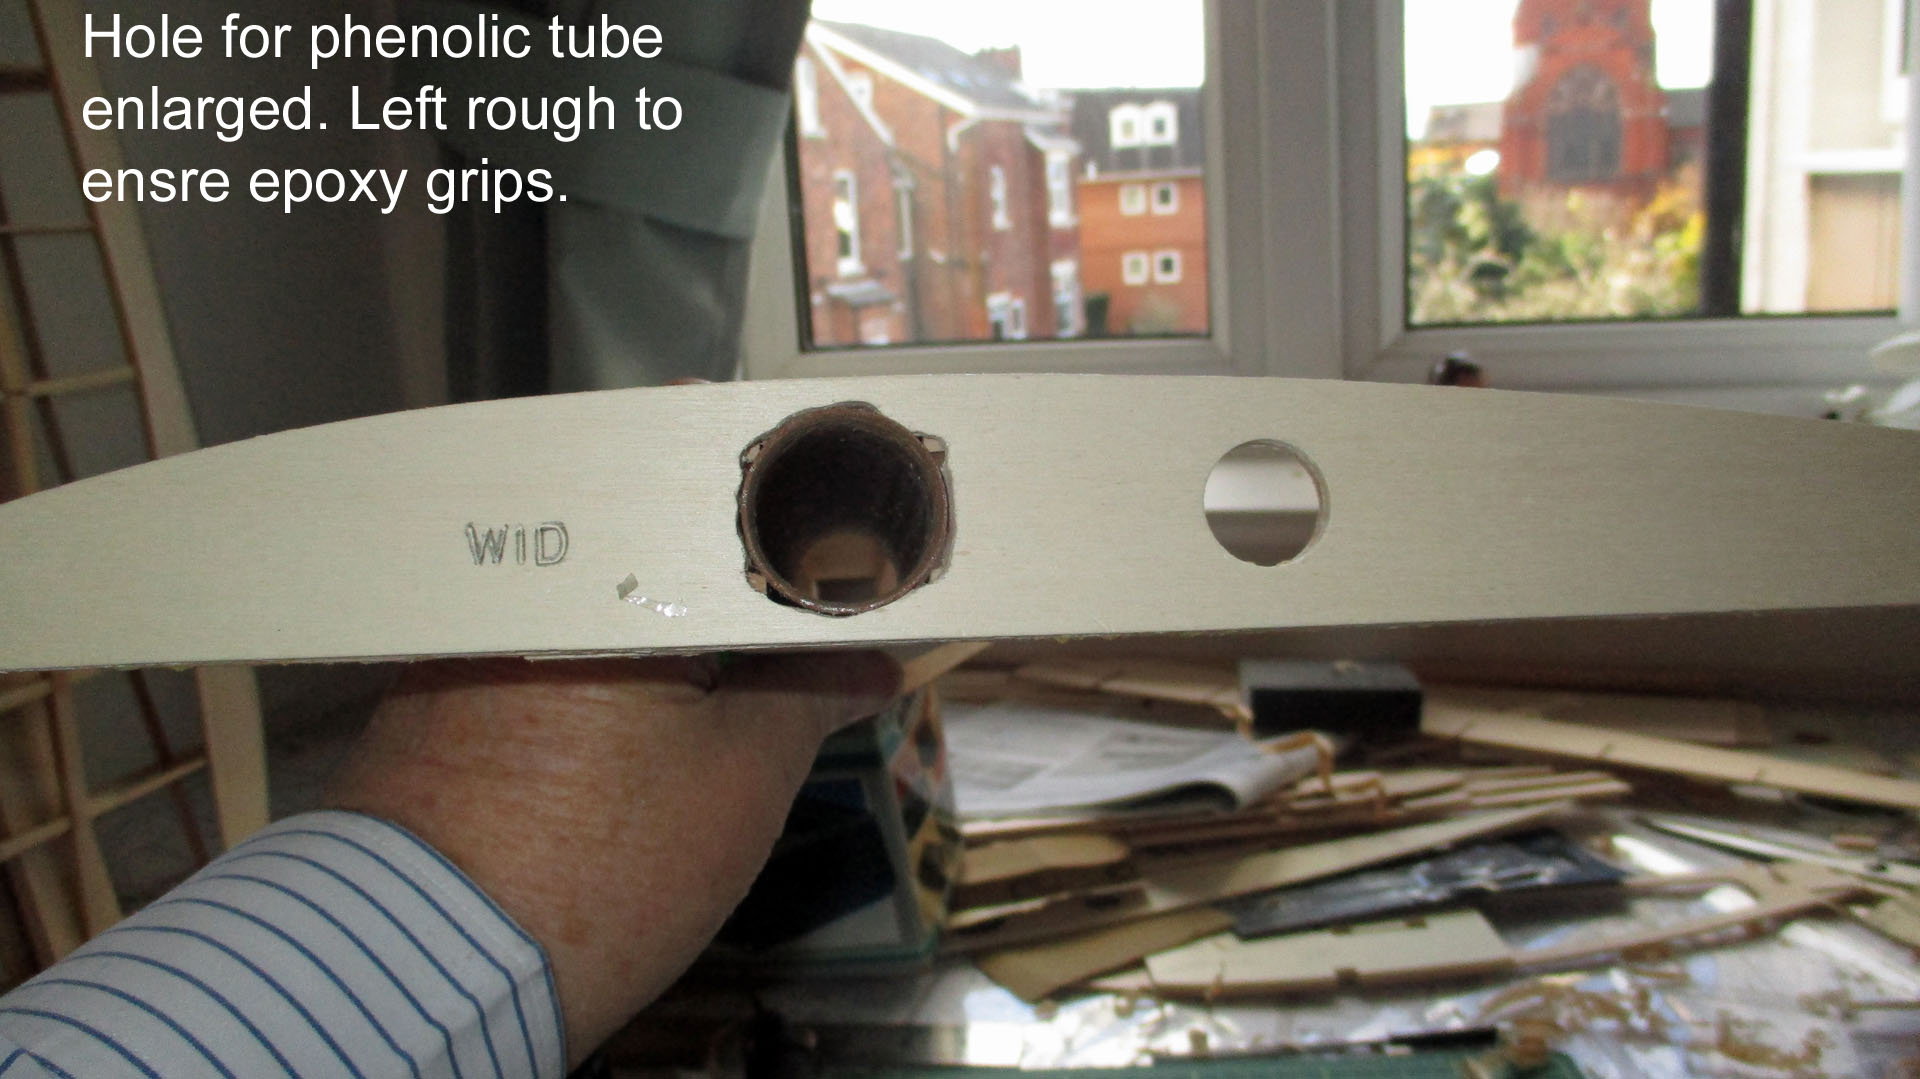
 I may be quiet for a couple of days. I decided a model of this size wasn't worth risking to a cardboard wing tube the same quality as a kitchen roll centre. So I've ordered a phenolic /aluminium matching tube set, nominal diameter 25mm see
https://www.slecuk.com/cgi-bin/bb000...T25-PWT25.html
10-16-2018, 08:25 AM
#67
Thread Starter
Join Date: Mar 2006
Location: Southport UK
Posts: 187
Likes: 0
Received 0 Likes
on
0 Posts


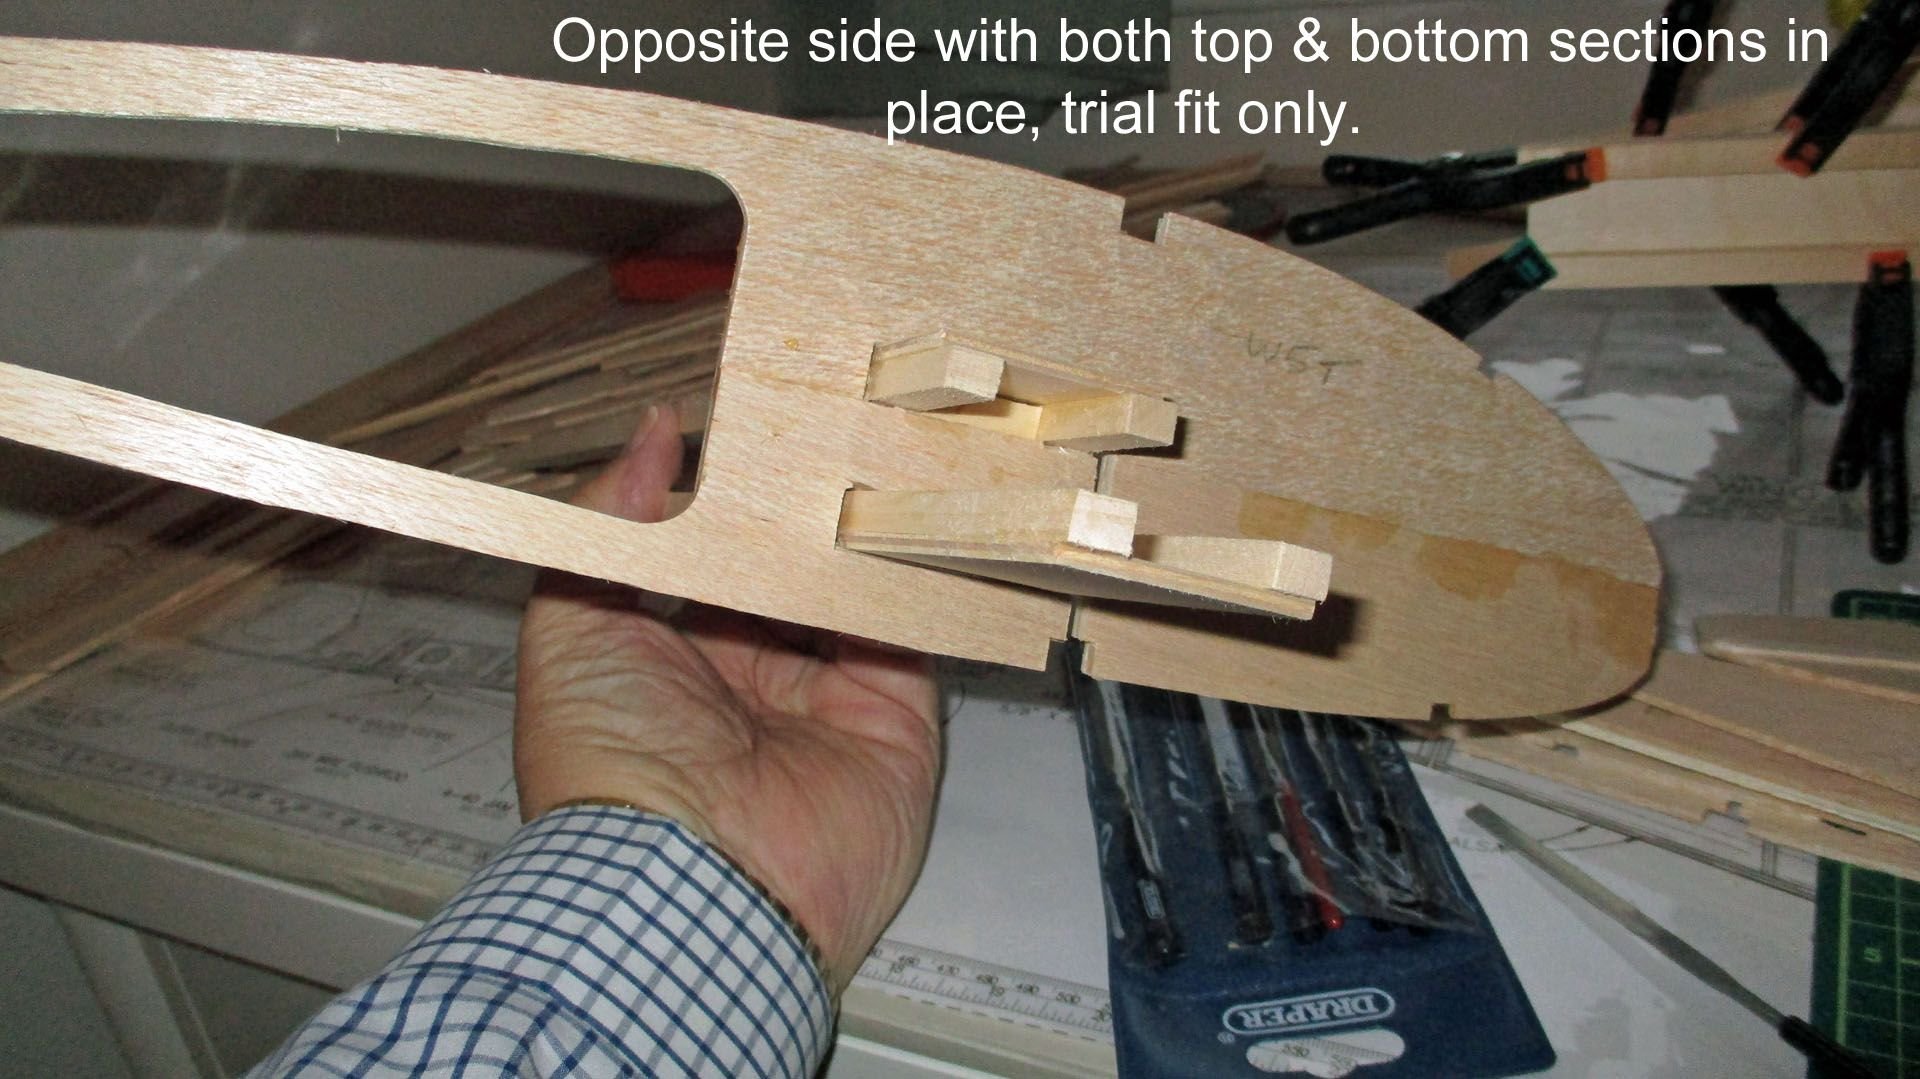
Just as I was about to relax away from the build, our doorbell rang, it was the parts I'd ordered from SLEC. Fantastic service, ordered Sunday, delivered Tuesday 10.30 AM. The parts were really well packed & after examining them I set to & cut a length off the 36inch phenolic outer tube to match the poor substitute.. The outer was approx' 1mm larger diameter than the original, small price to pay for a secure system. Having read & re-read the manual, plan & Bob Benjamin's build write up, I was still unsure where the lower rear spar & jig were located & what orientation. Eventually I tried TF's web site where there were lots of questions on the build but nothing specific enough to persuade me to commit to tacking the spar to the jig. So I emailed my query, which bounced back an hour later unanswered. So I had lunch then sat down in earnest & tried various set ups. Eventually I found one that was as near as dammit & tacked the spar to the jig, fitted ribs 1 to 4 & tried the lower wing joiner, it was too tight. I was distorting the ribs & cracked a couple. So back to the file & sandpaper, trying each rib as I went & making allowances for the oversized outer wing tube. Eventually everything fitted & I was reasonably happy & hoped I would remember what I did when the starboard wing was built.
10-17-2018, 07:47 AM
#68
Thread Starter
Join Date: Mar 2006
Location: Southport UK
Posts: 187
Likes: 0
Received 0 Likes
on
0 Posts


I didn't put my carpenters apron on before I started building this morning & managed to cyano a decent par of slacks to my cutting mat, can only use them to build now.
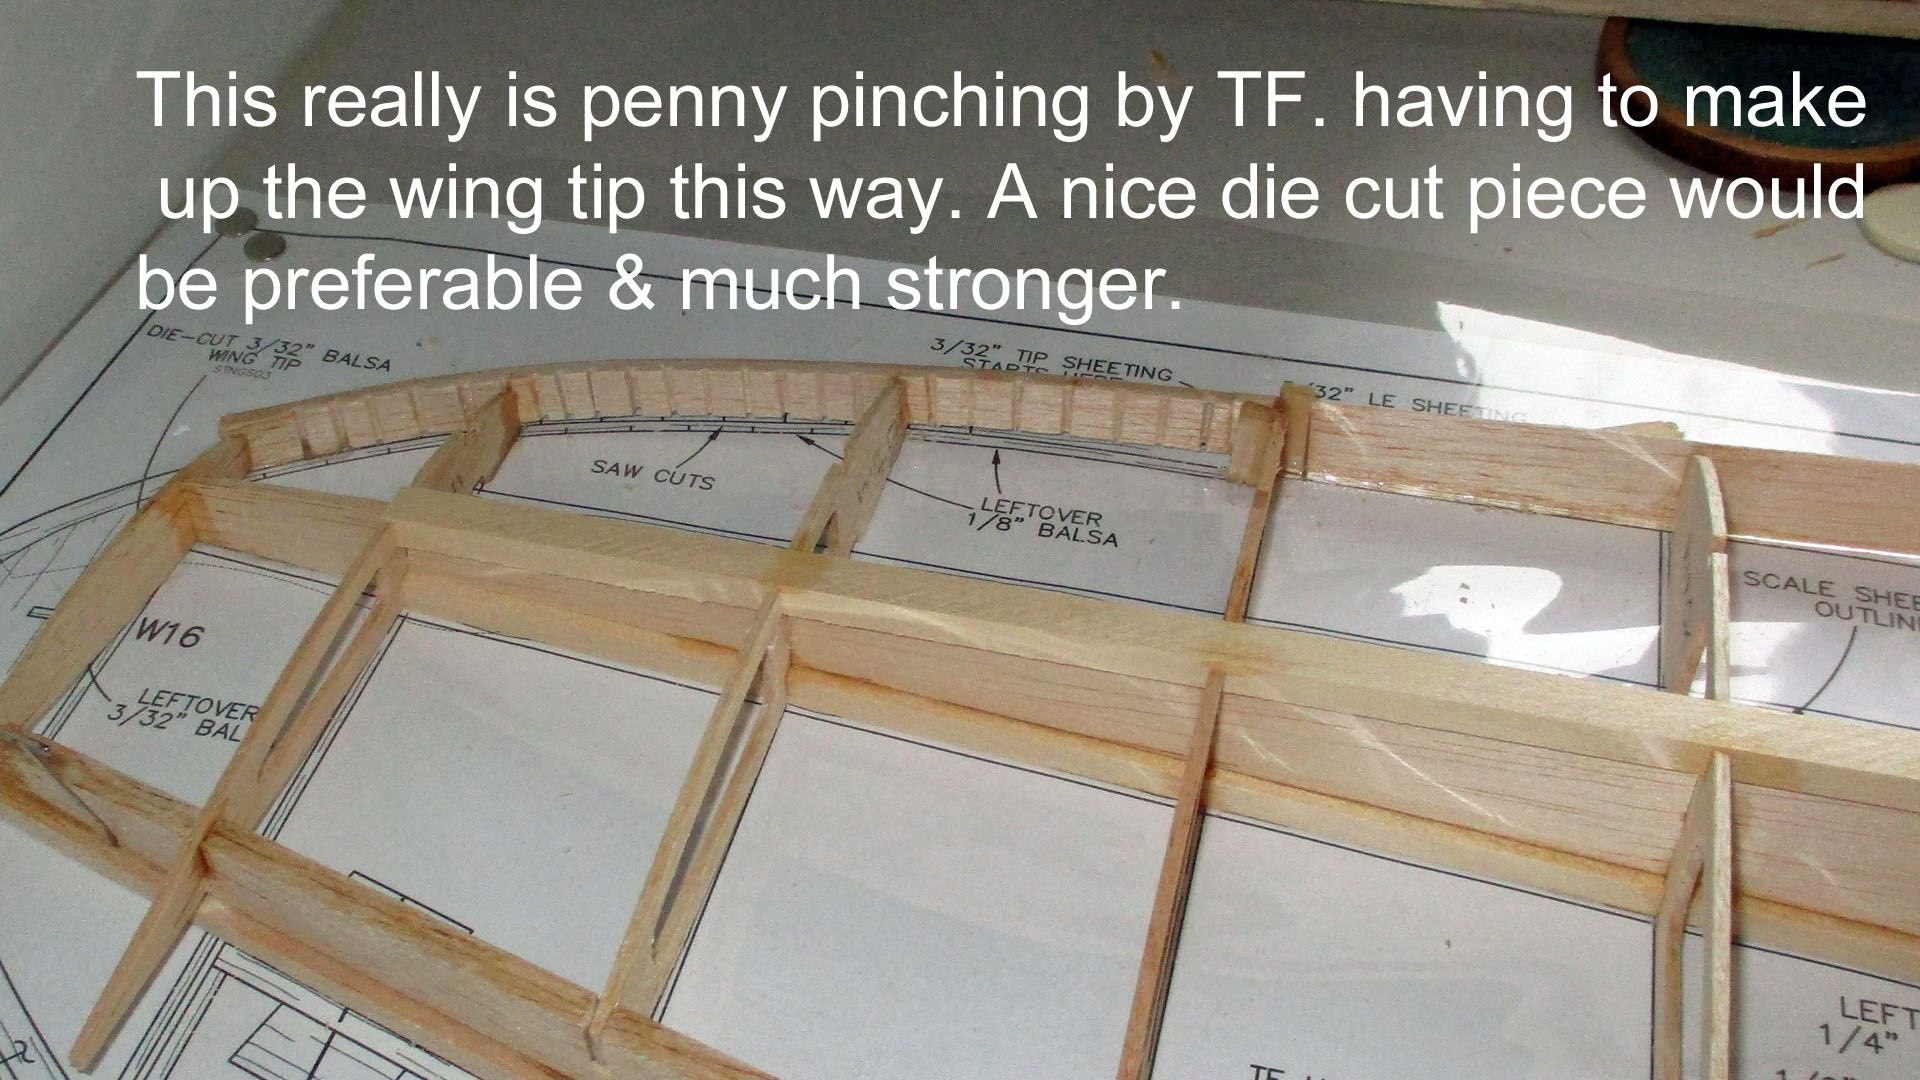
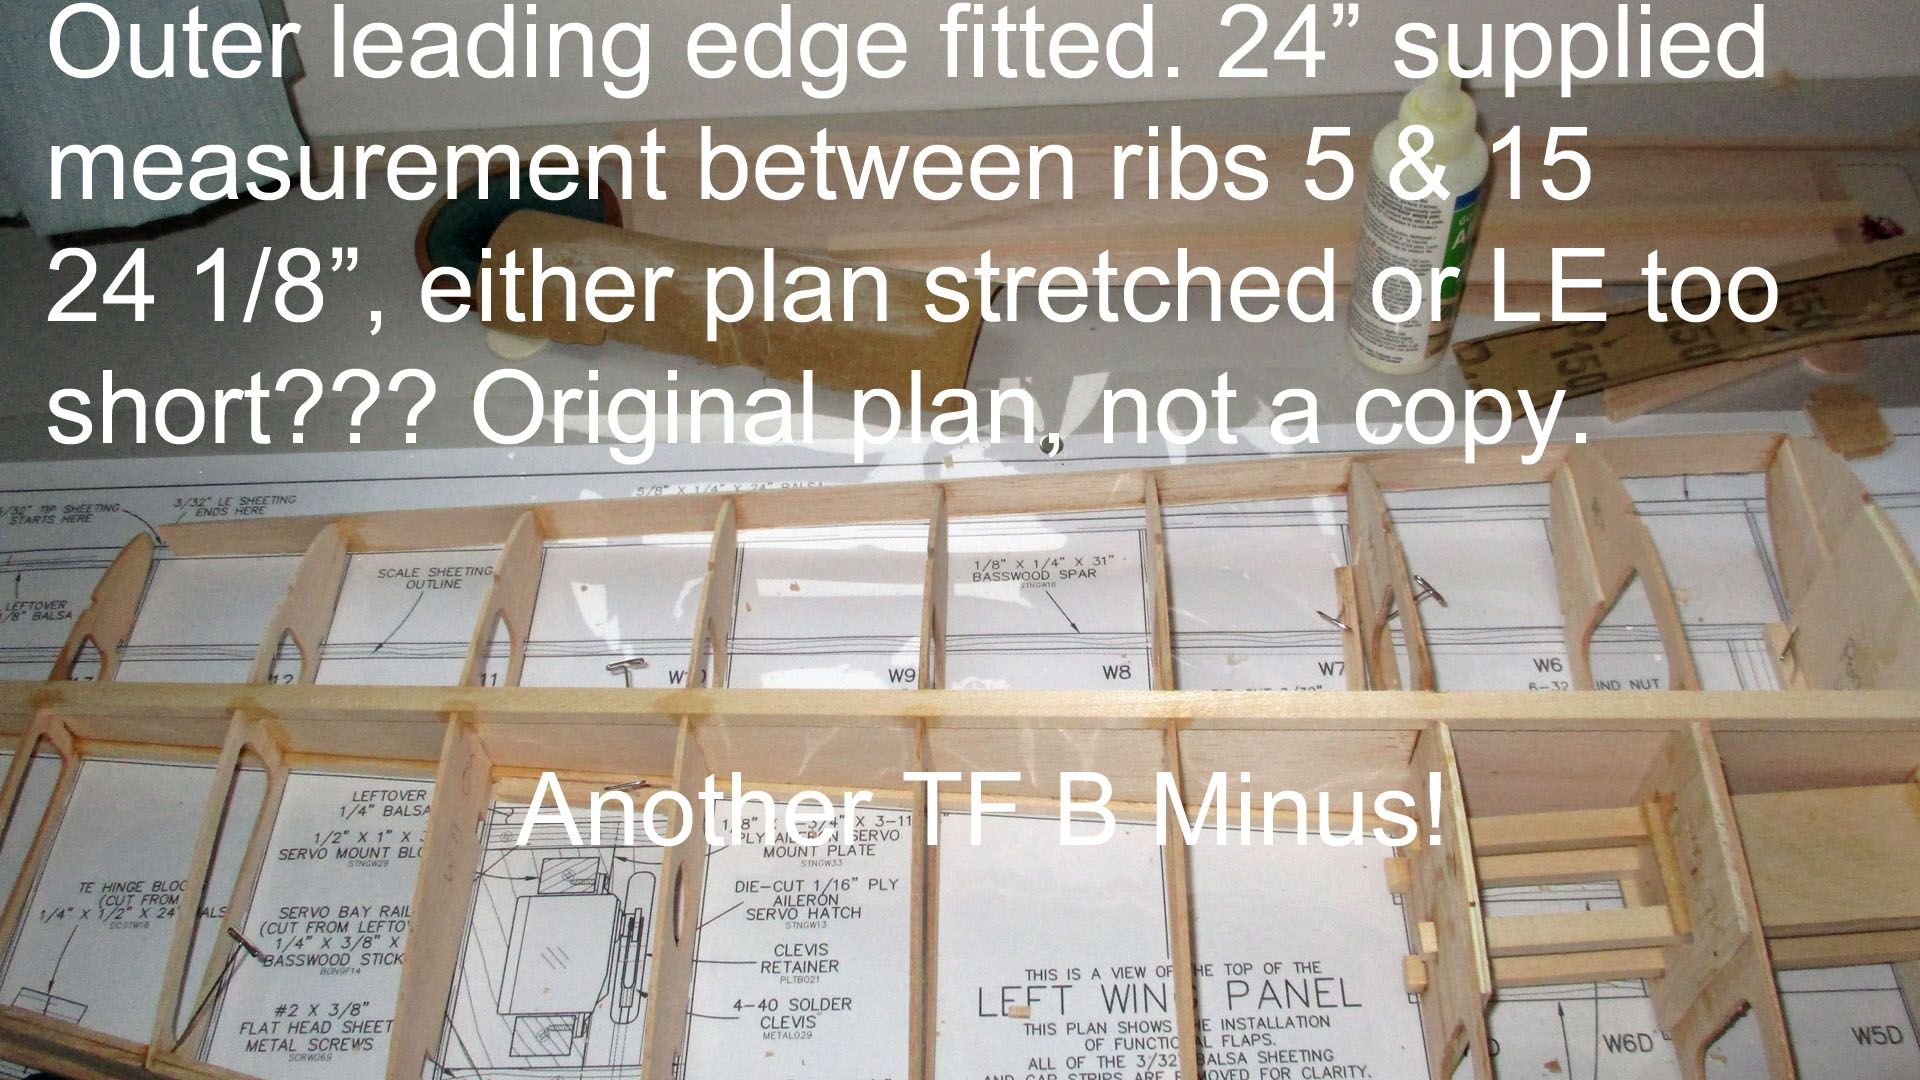
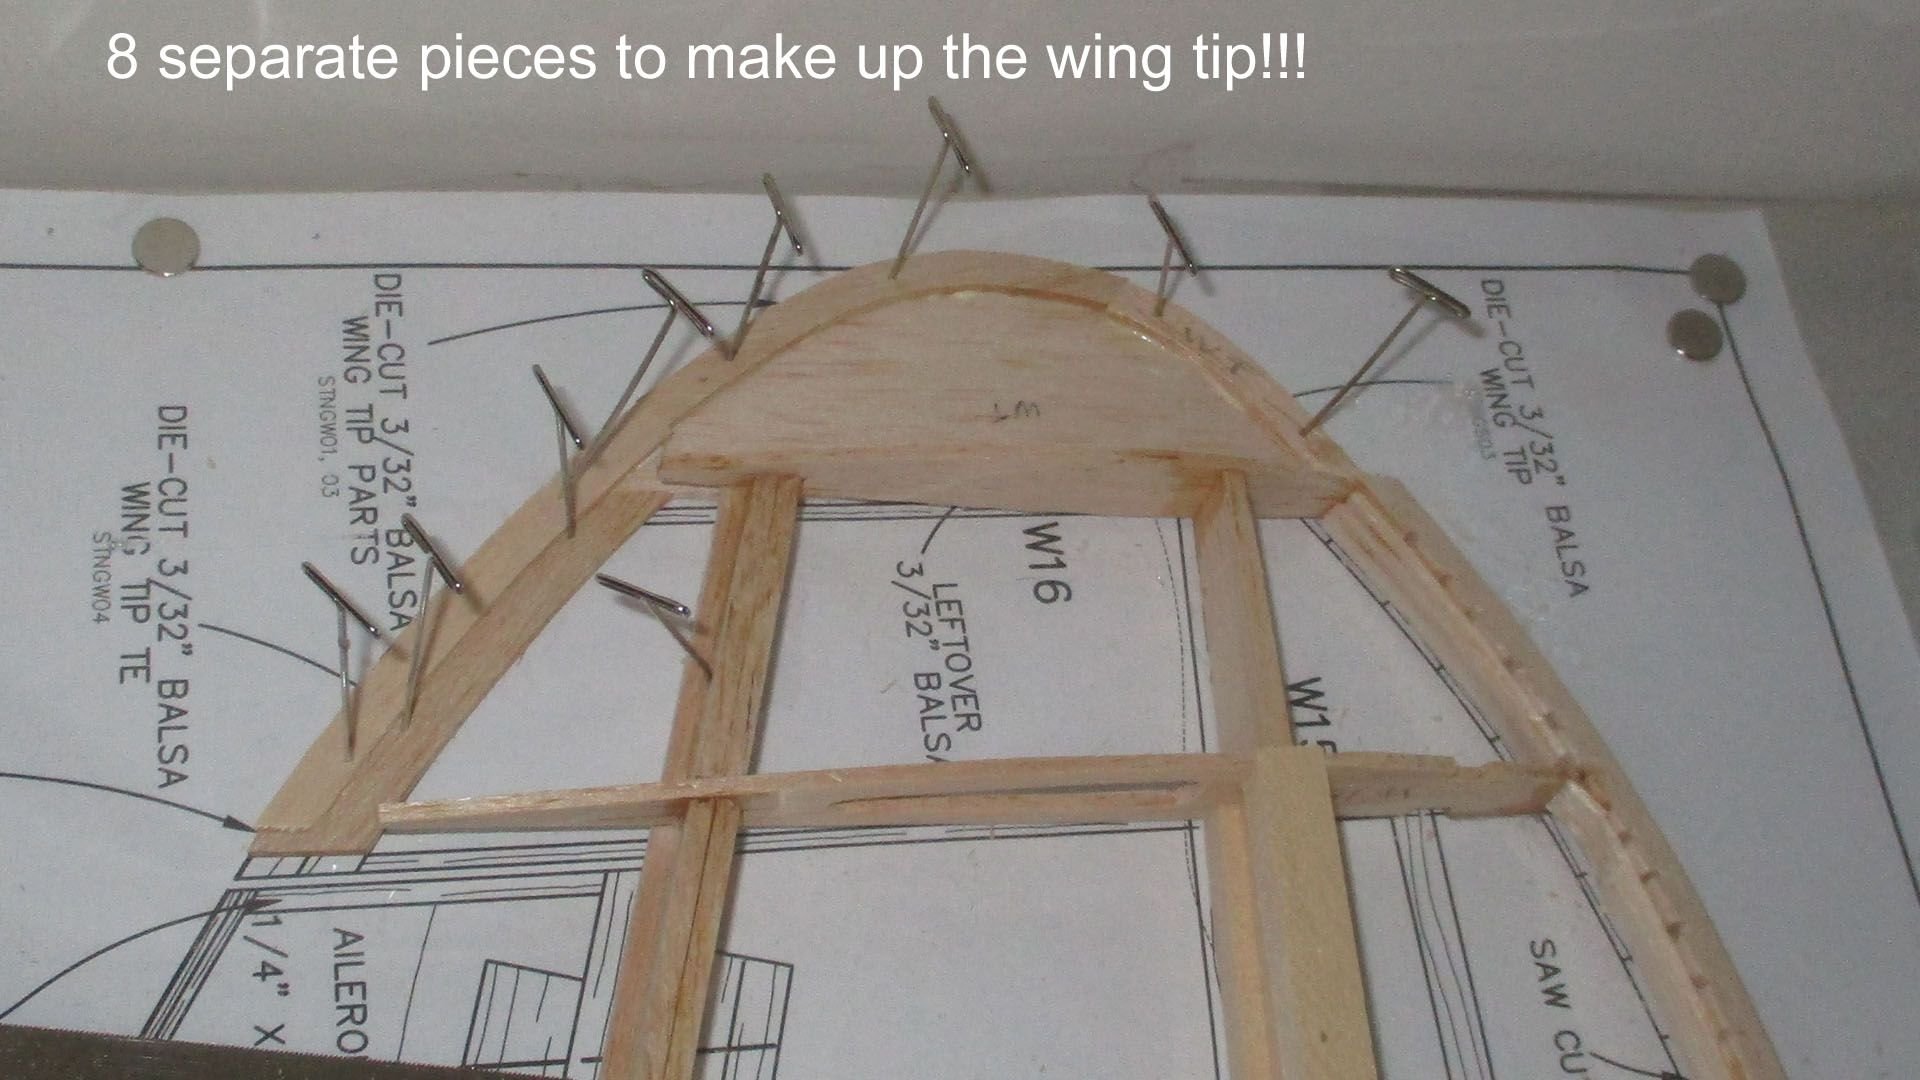
Went over the wing assembly, making sure everything was where it should be & touching the board as it should, then cyanoed all the joints I could get at with instant cyano. Then I fitted the 24inch outer leading edge between ribs 5 & 9, found it was 1/8th of an inch too short, either the plan has stretched or TF got the dimension wrong, also found one of the shaped leading edge pieces missing, may have inadvertently used it on the tail-plane, but don't think so. Saw cut the inner leading edge, wet it & bent it into position. Fitted the outer leading edge which is a smaller section than the inner TE. Usual TF cheepo method of bending the balsa by saw cutting part way through, which can only weaken the structure IMO. Made up the port wing tip, 8 pieces would you believe, think I'll deviate from the manual & fit it when the wing is off the board. Finally fitted one of the 1/16th ply spar braces, used aliphatic glue not epoxy as the manual says. Will fit the front one tomorrow when things have dried out.
10-18-2018, 04:17 AM
#69
Thread Starter
Join Date: Mar 2006
Location: Southport UK
Posts: 187
Likes: 0
Received 0 Likes
on
0 Posts
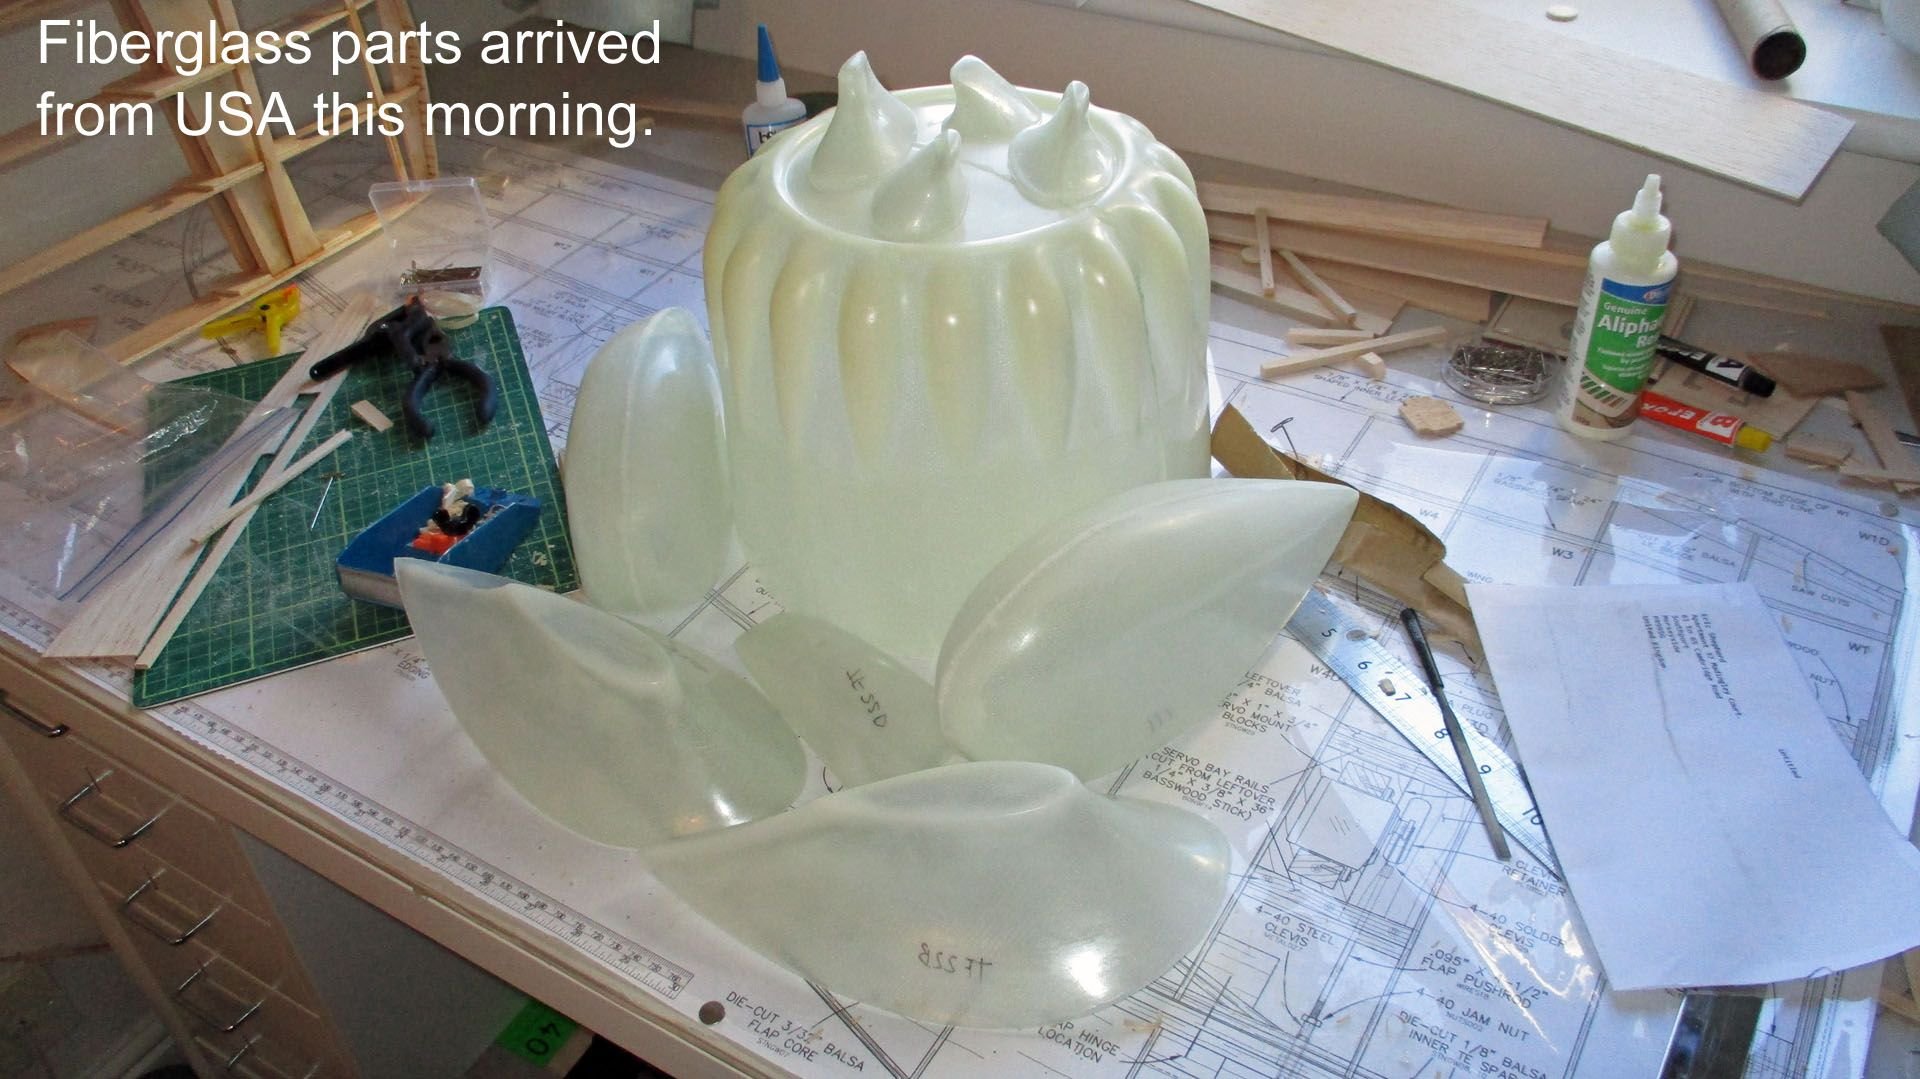

Fitted the 2nd ply spar brace & the bass wood front spar, then took the wing off the board with the intention of fitting the wing tip & switching the wing 180 degrees to make it easier to fit the front sheets. Just got the wing unpinned & off the board & the door bell rang, it was the post man with the fiberglass parts from the USA. No duty, no tax, fantastic. Obviously I had to unpack the box & examine them, so all thoughts of carrying on with the wing went out the window. By the time they were unpacked, it was lunch time & as there is a house birthday party this afternoon, that's it for today.
10-19-2018, 07:35 AM
#70
Thread Starter
Join Date: Mar 2006
Location: Southport UK
Posts: 187
Likes: 0
Received 0 Likes
on
0 Posts
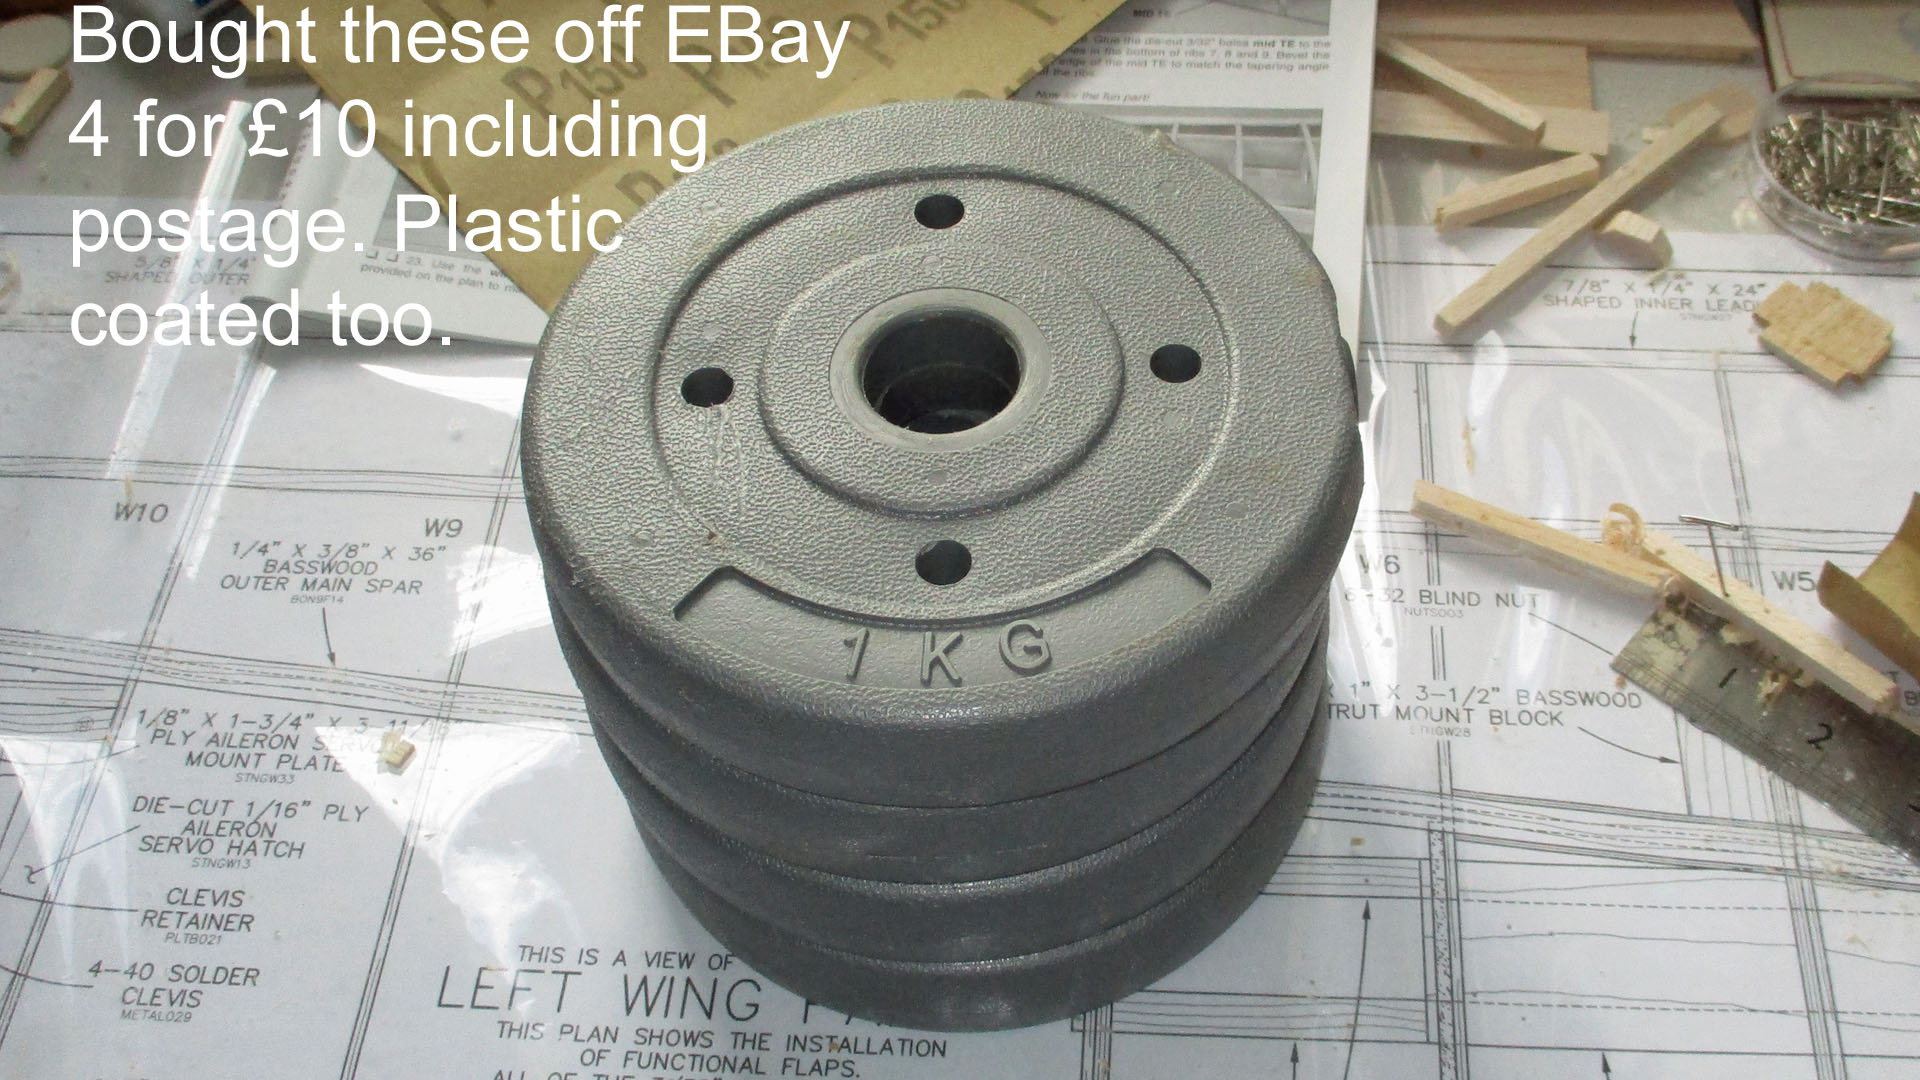

Used the morning to edit the pics from yesterdays party. After lunch I tidied the bench & glued the tip on the wing. I'd been wondering what to use for weights to hold stuff down when pins or clamps are out, & as lead is toxic looked for an alternative. Came across 1kg gym weights plastic coated, 4 for �10 including postage. Arrived this morning, see pics.
10-21-2018, 04:30 AM
#71
Thread Starter
Join Date: Mar 2006
Location: Southport UK
Posts: 187
Likes: 0
Received 0 Likes
on
0 Posts


Saturday morning took a close look at the wing tip, as I mentioned earlier I though the design flawed. Well I applied a little pressure & the whole thing broke off. That put me off doing anything else. However, after an hour or so I went back in the workshop & re-attached the tip using aliphatic glue rather than cyano, which is more flexible. I also added a couple of gussets, one in particular where the tip joins the rib. Final job was to cut out the paper template from the s/board wing plan & cut the four 3/32 tip sheet pieces.
As we were out for the evening I left it to dry thoroughly overnight.
We then set off for Media City Manchester as we had tickets for the BBC recording of the final of " Young Choristers of the Year" which we thoroughly enjoyed apart from the �7.50 car park charge for 3 hours.
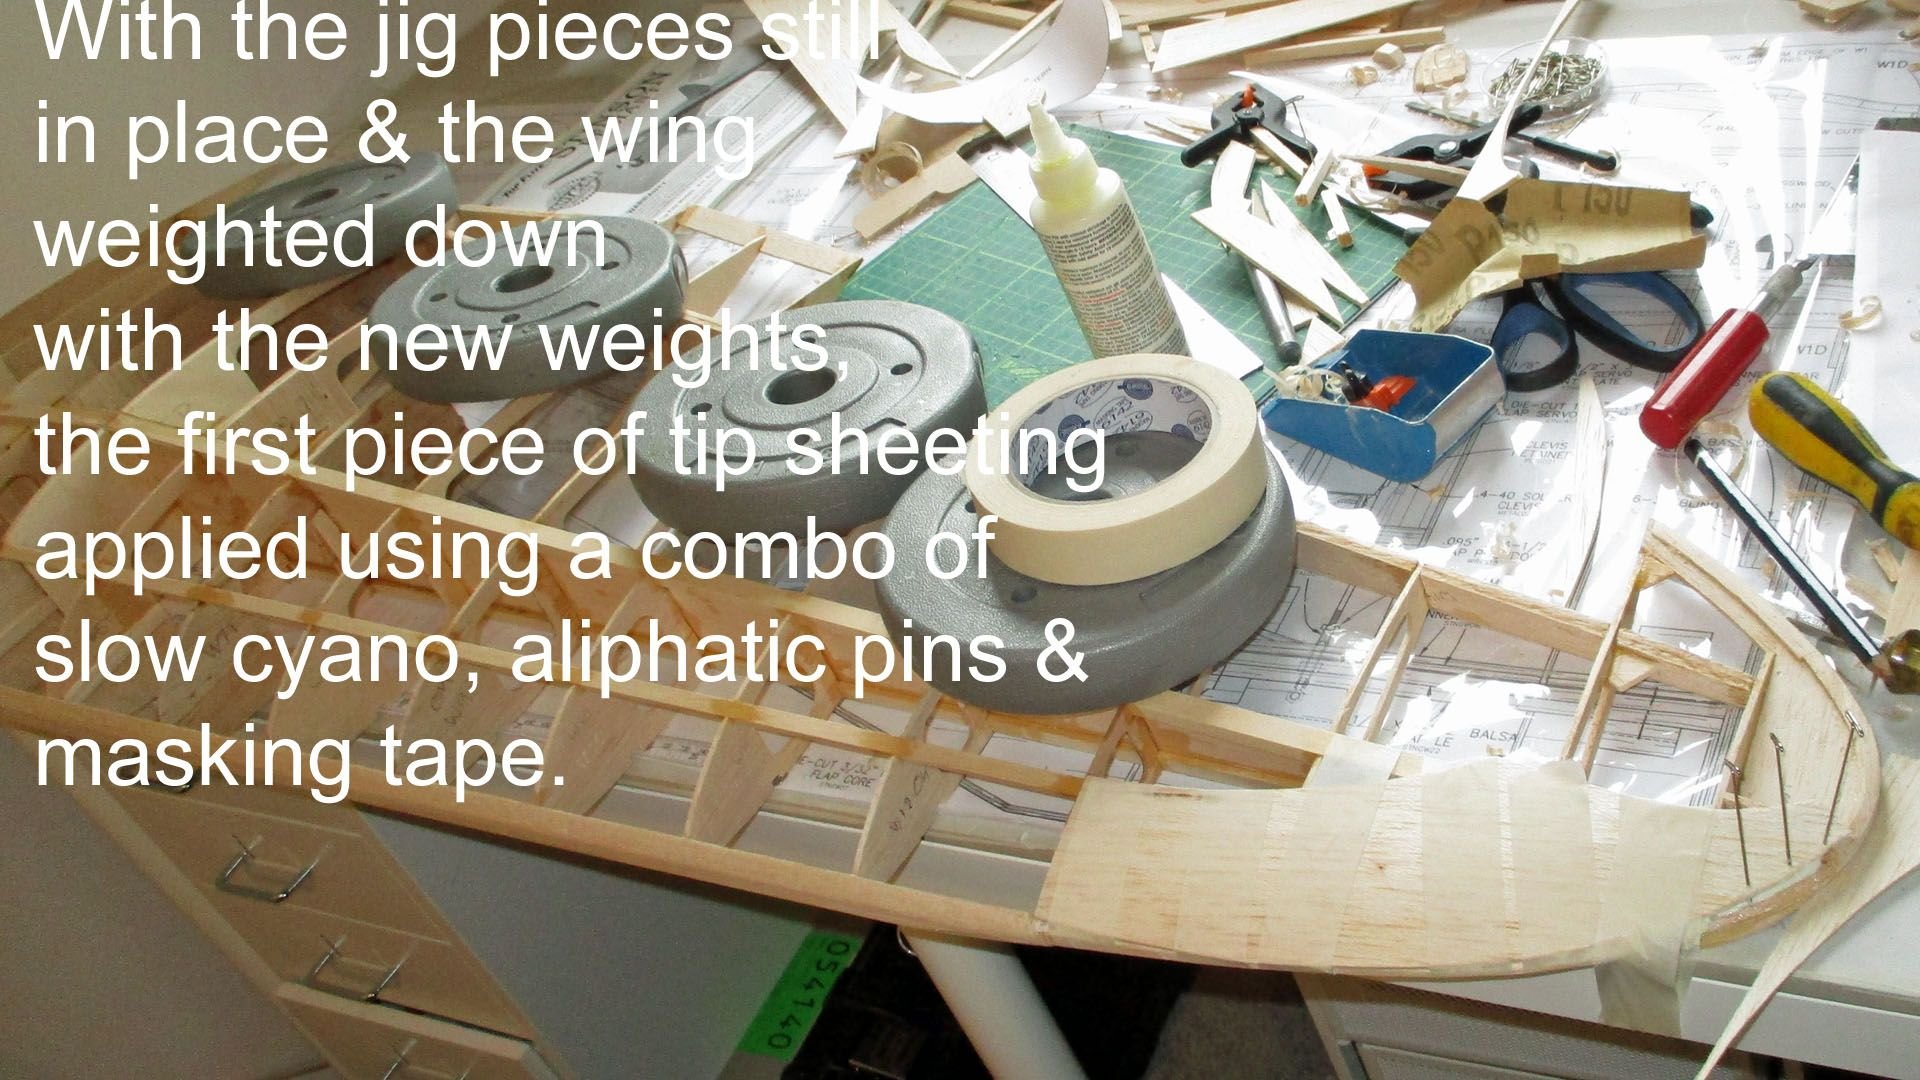
This morning I checked the tip & was much more satisfied with the result. Looking back, if I had followed the manual, I would have added the tip sheeting before removing the wing from the board, I wouldn't have damaged it, however, with my space restrictions, I think it's a better job now. Final task for today as I need to get in the mood for the US Grand Prix from Austin Texas which is to be televised live, was to fit the upper tip sheet using one of the parts cut yesterday. Using the new weights, I set the wing still with the jigs attached, on the board, dry tried the template in a number of positions, finally marked in pencil the upper spar, dampened the tip piece & added slow cyano to the spar & aliphatic to the leading edge & ribs & with a combination of tape & pins placed it on the marks, leaving it to dry until tomorrow.
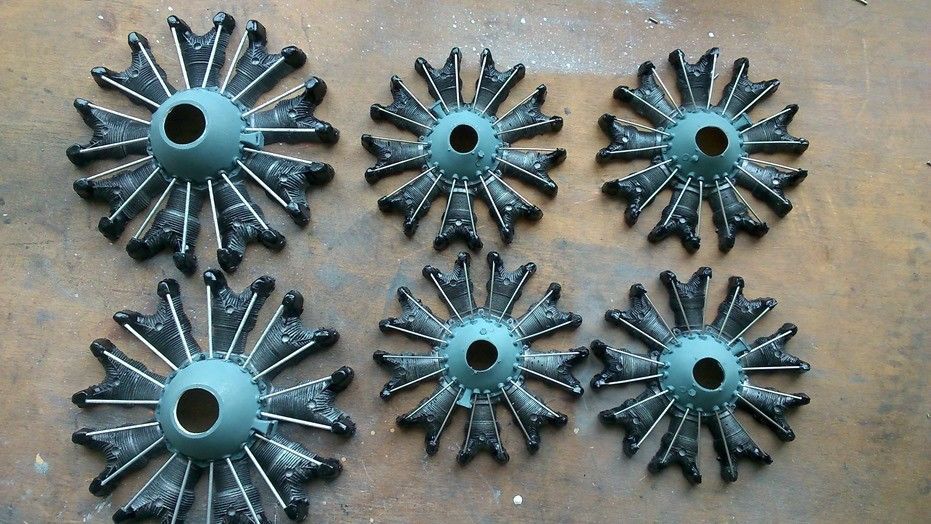
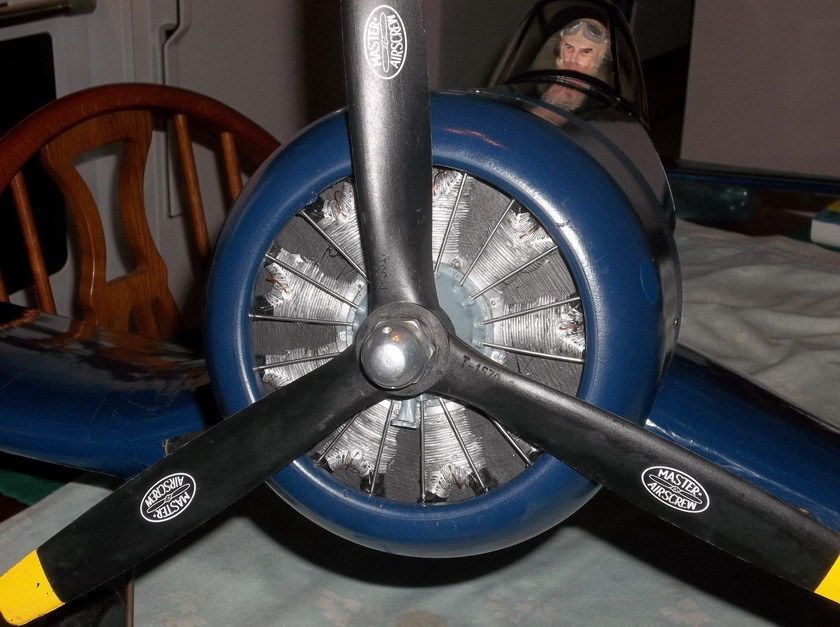
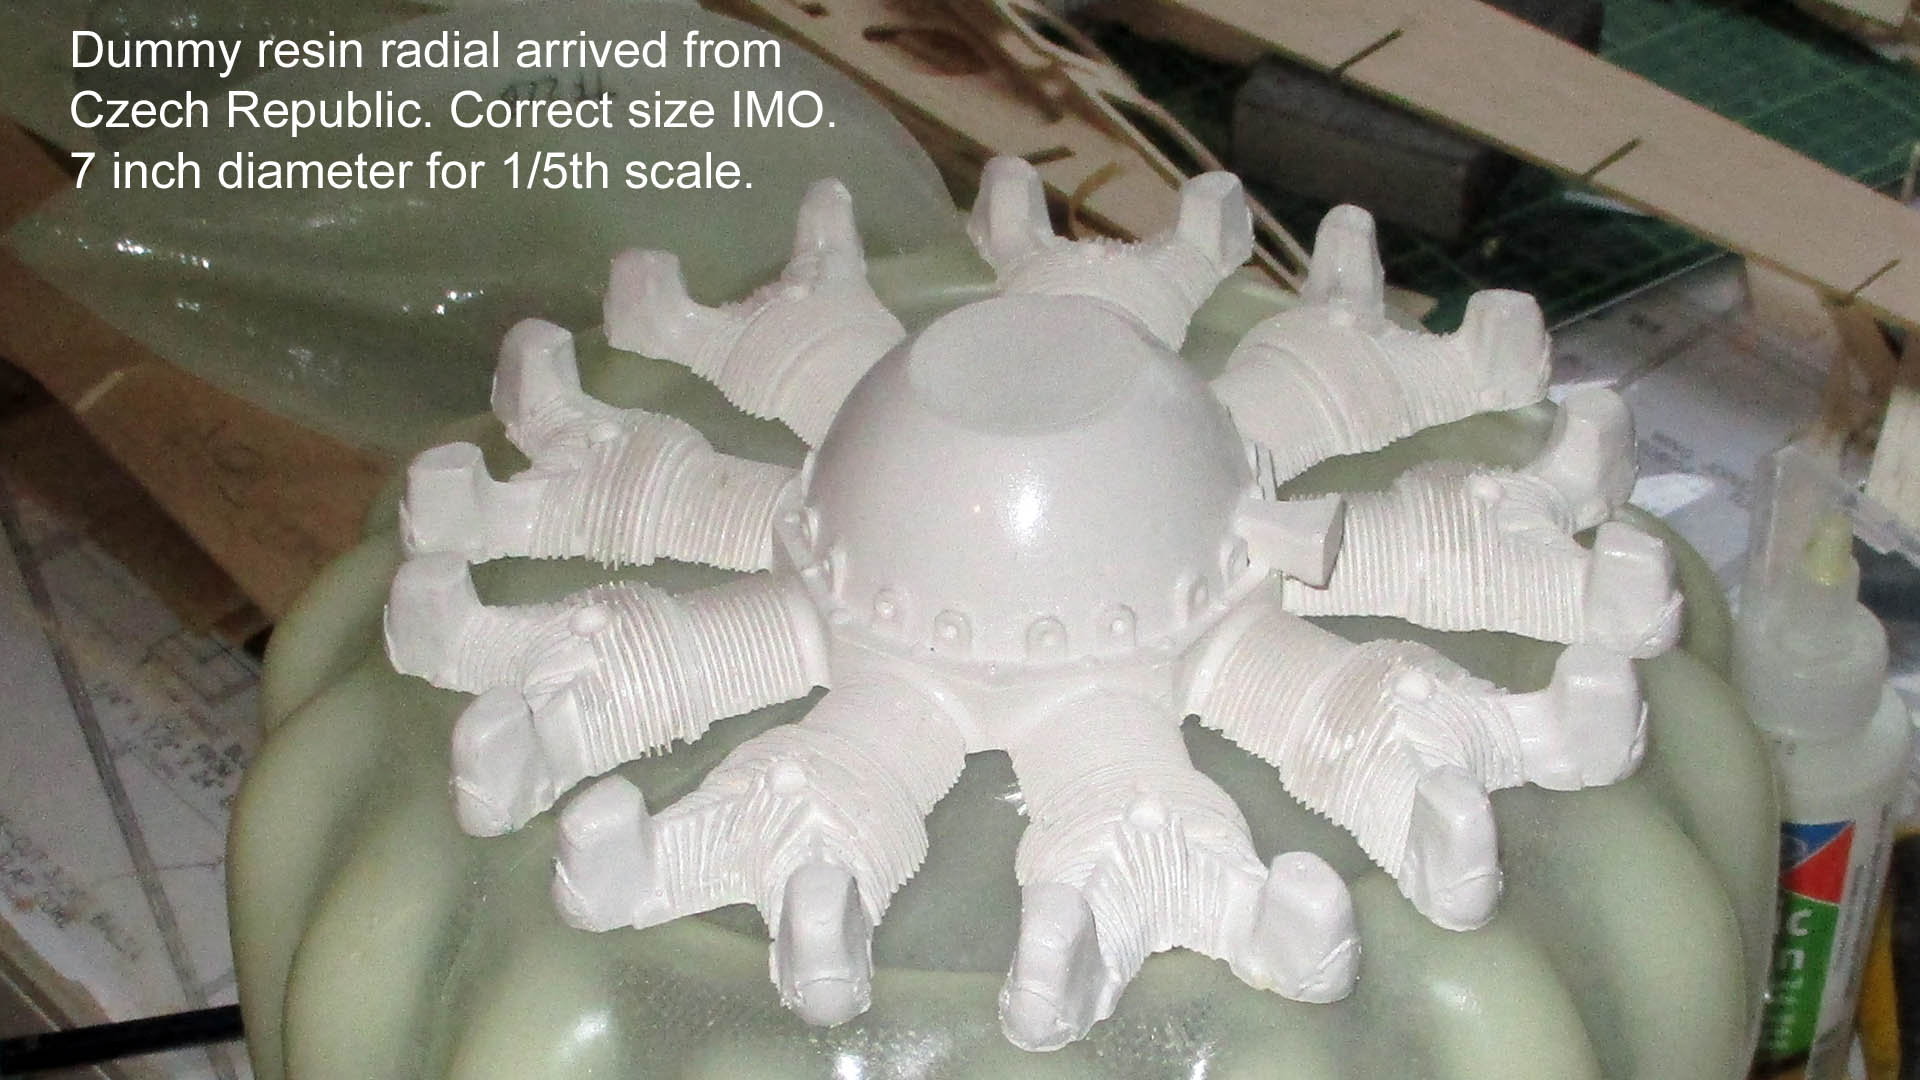
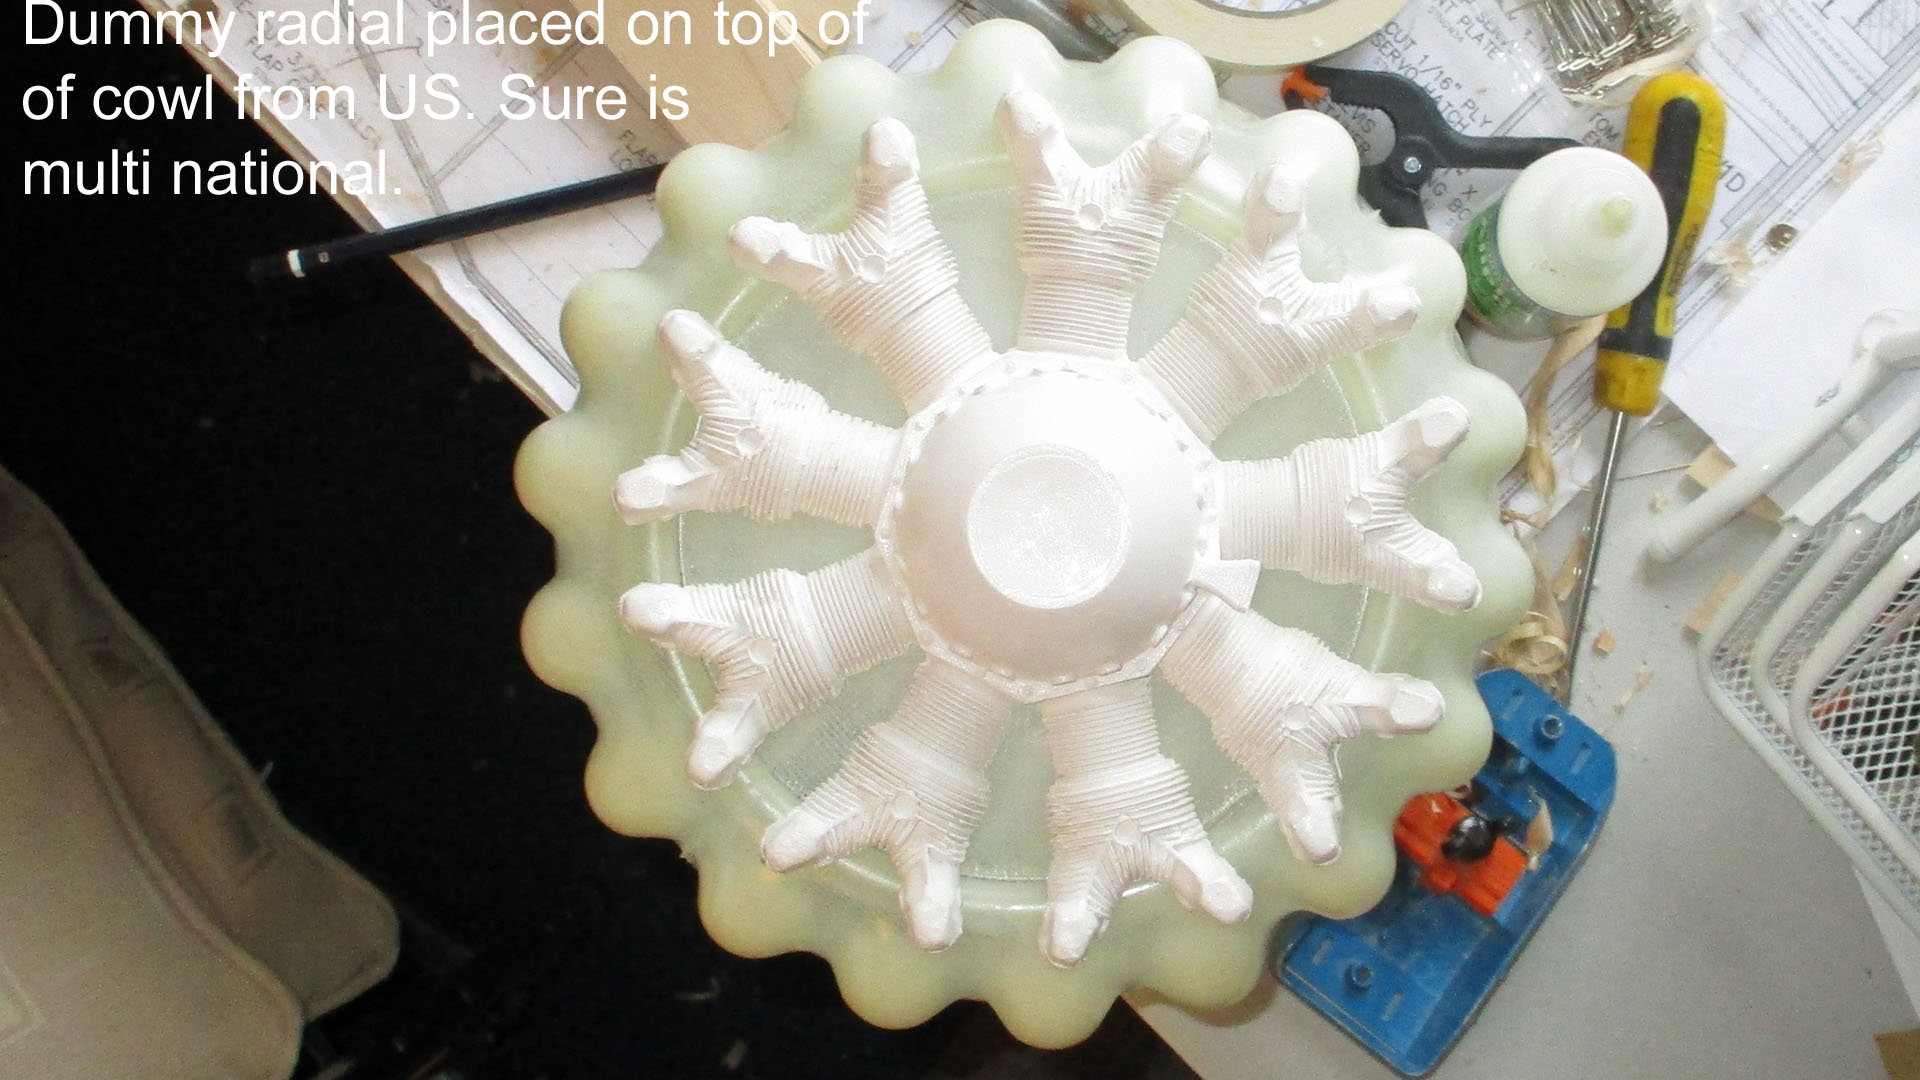
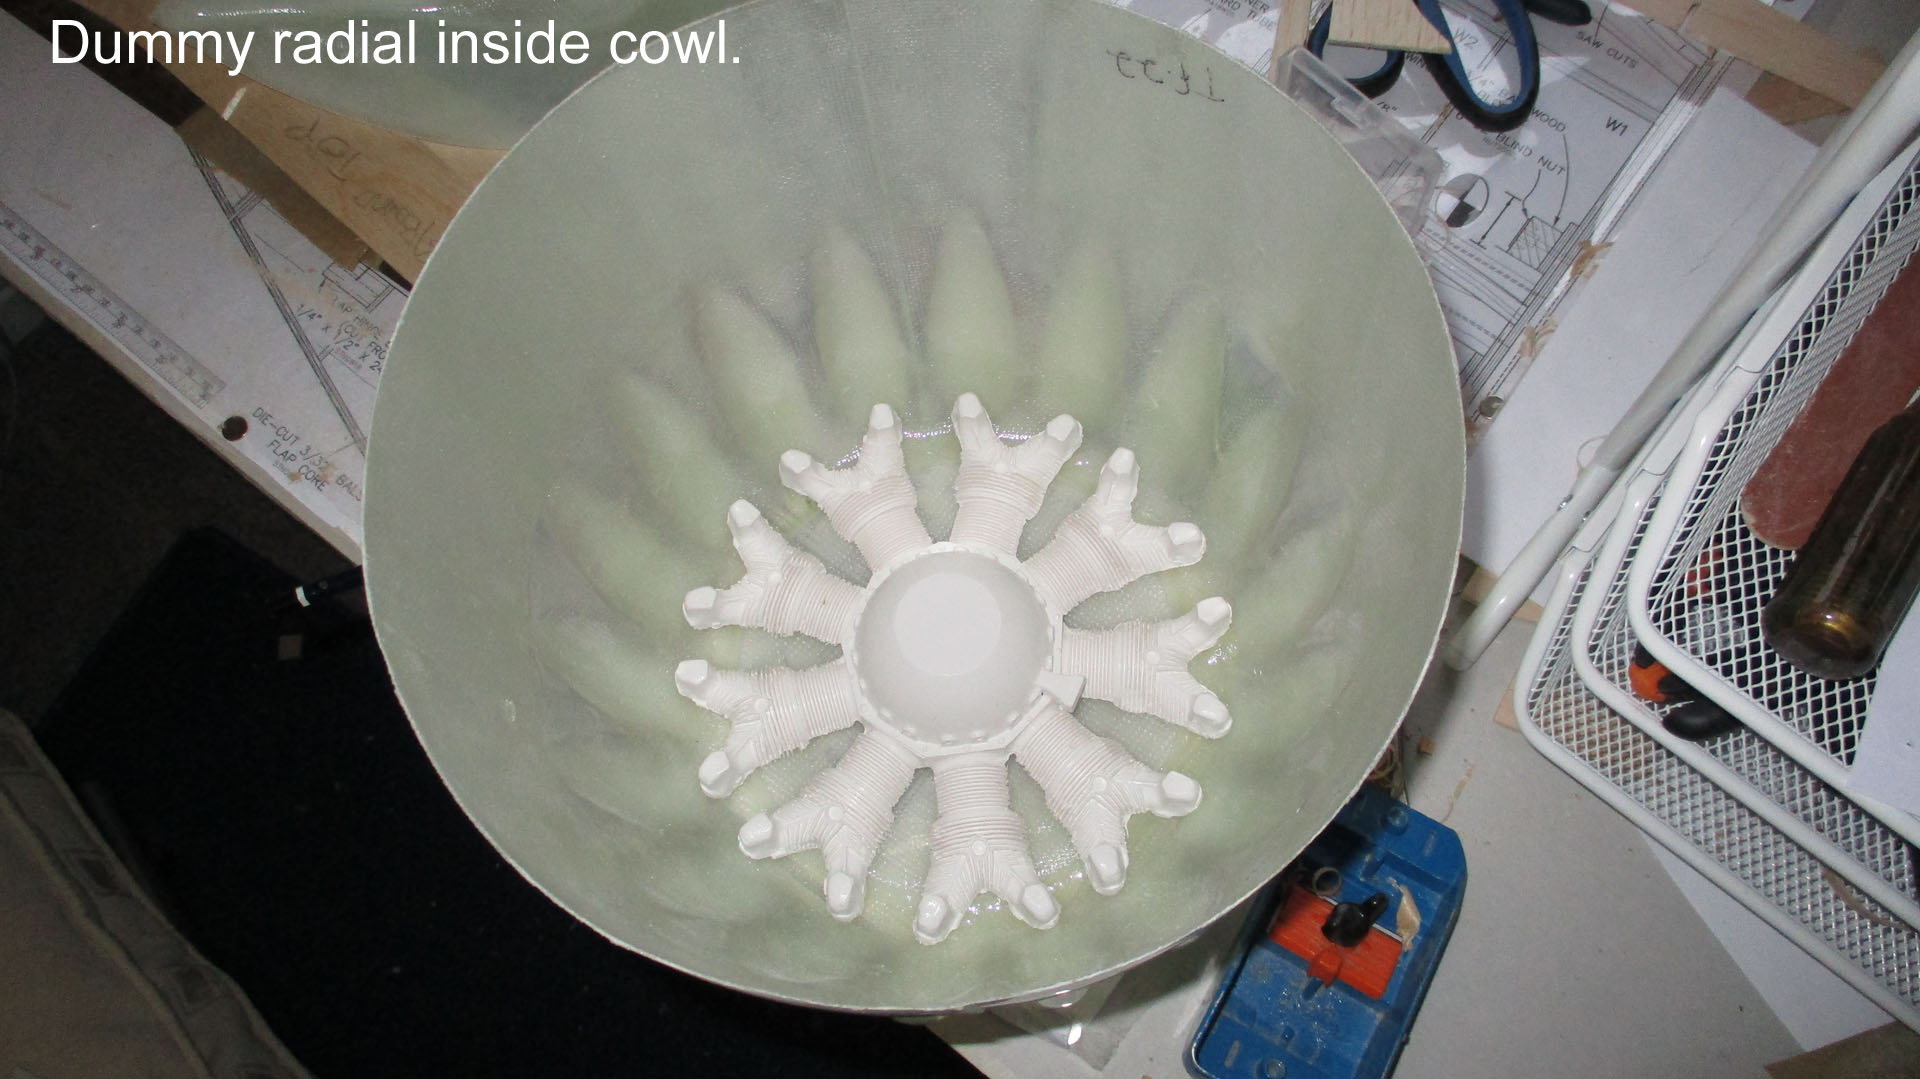
PS forgot to mention, I had been looking around for a dummy radial engine, I had bookmarked one on Ebay from the Czech Republic, & a vac formed one from the UK. As I had got a refund sitting on Paypal for the dodgy 30 minute Zap, I plumped for the more expensive resin version, which at 7 inch dia' fills the cowl more scale like., pictures attached.
10-22-2018, 06:15 AM
#72
Thread Starter
Join Date: Mar 2006
Location: Southport UK
Posts: 187
Likes: 0
Received 0 Likes
on
0 Posts
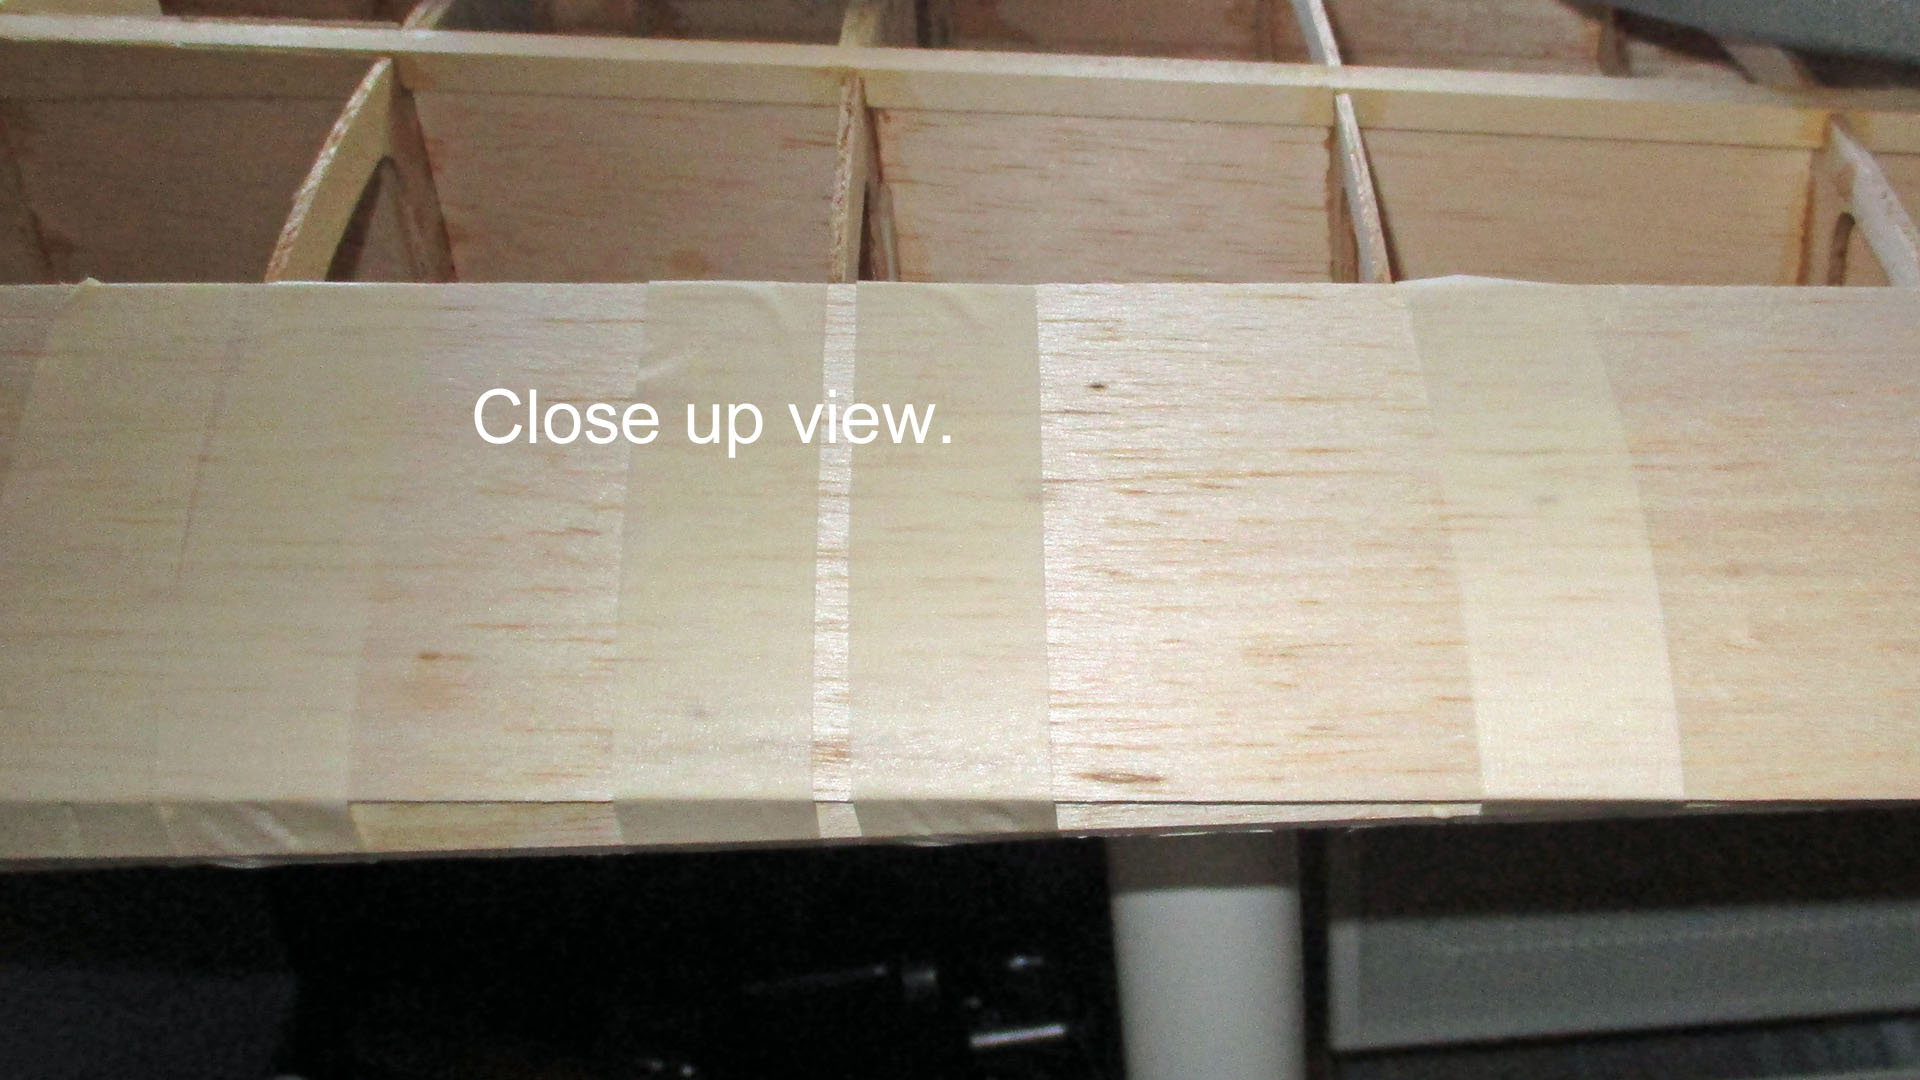
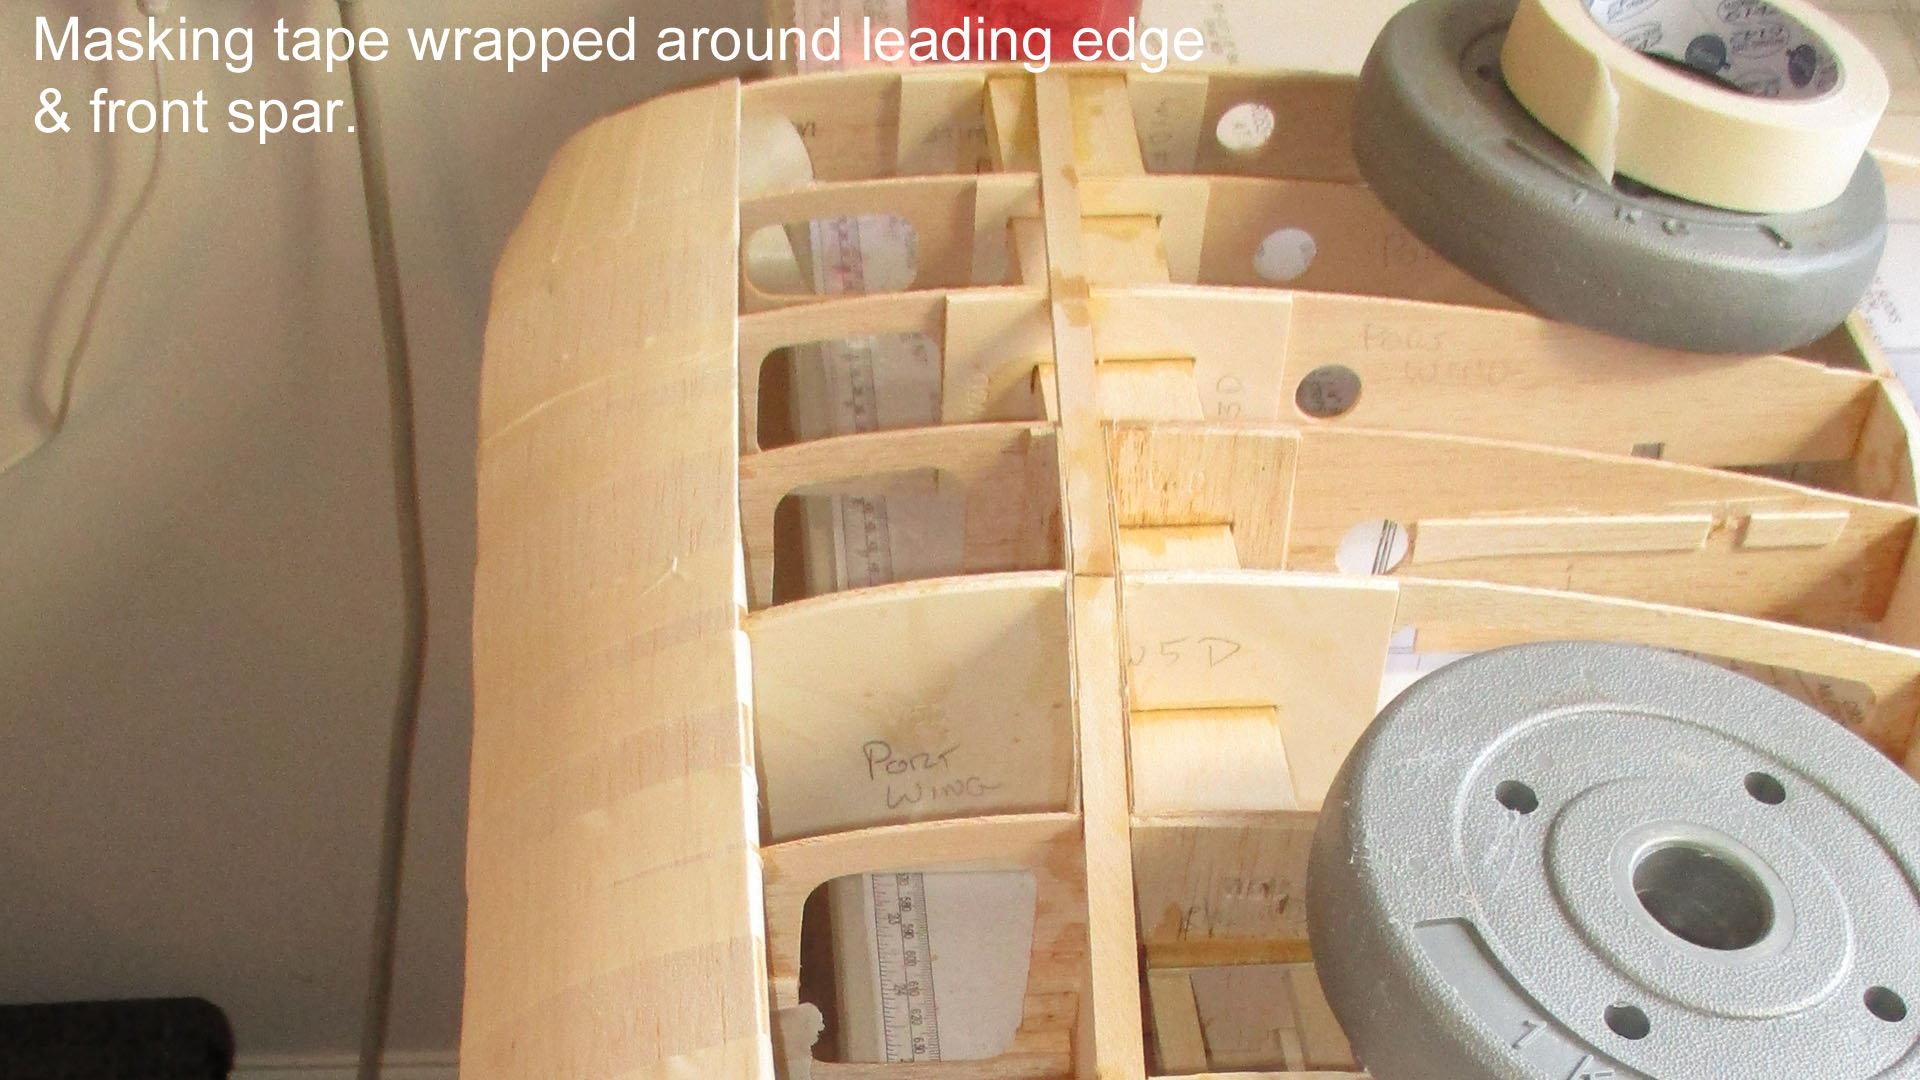

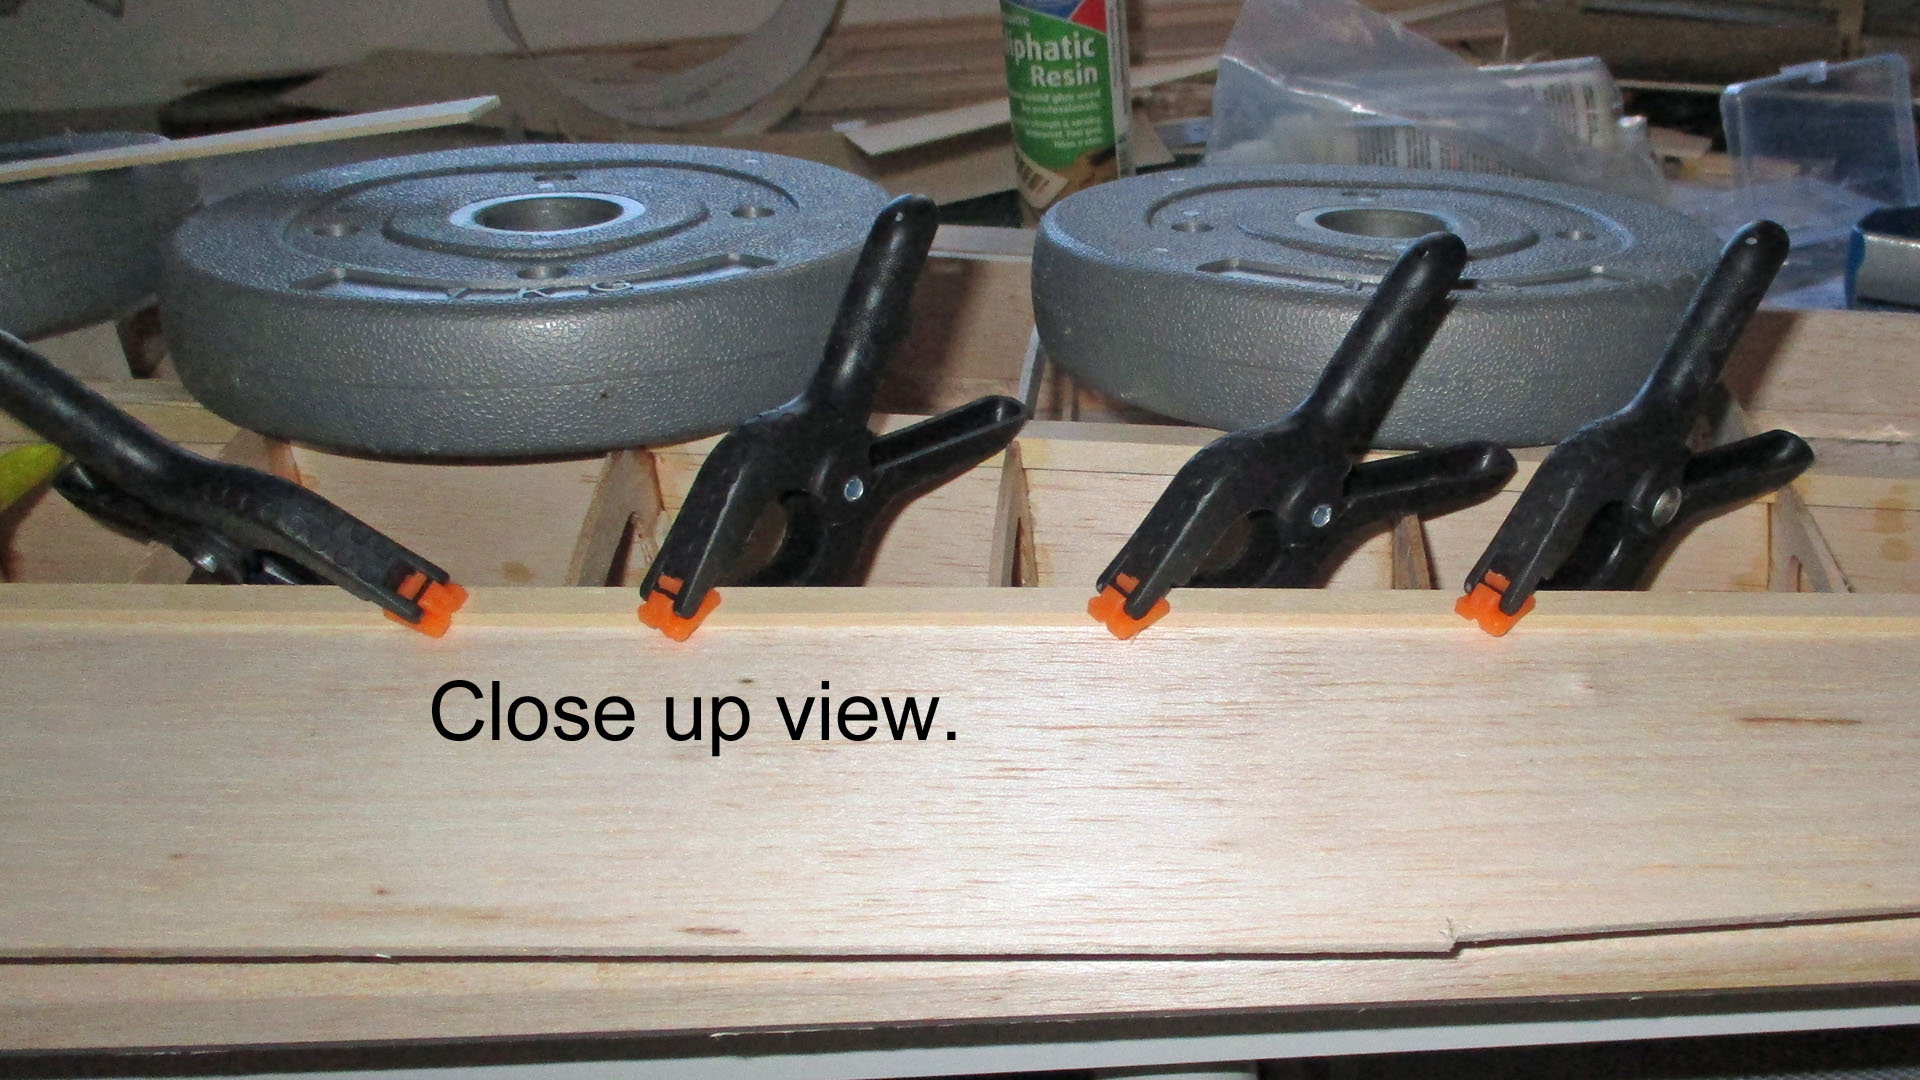
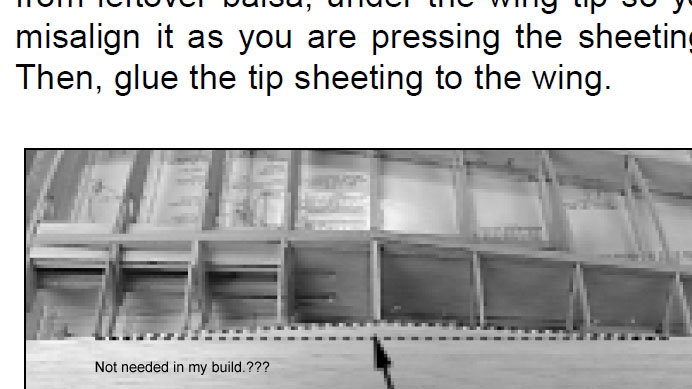
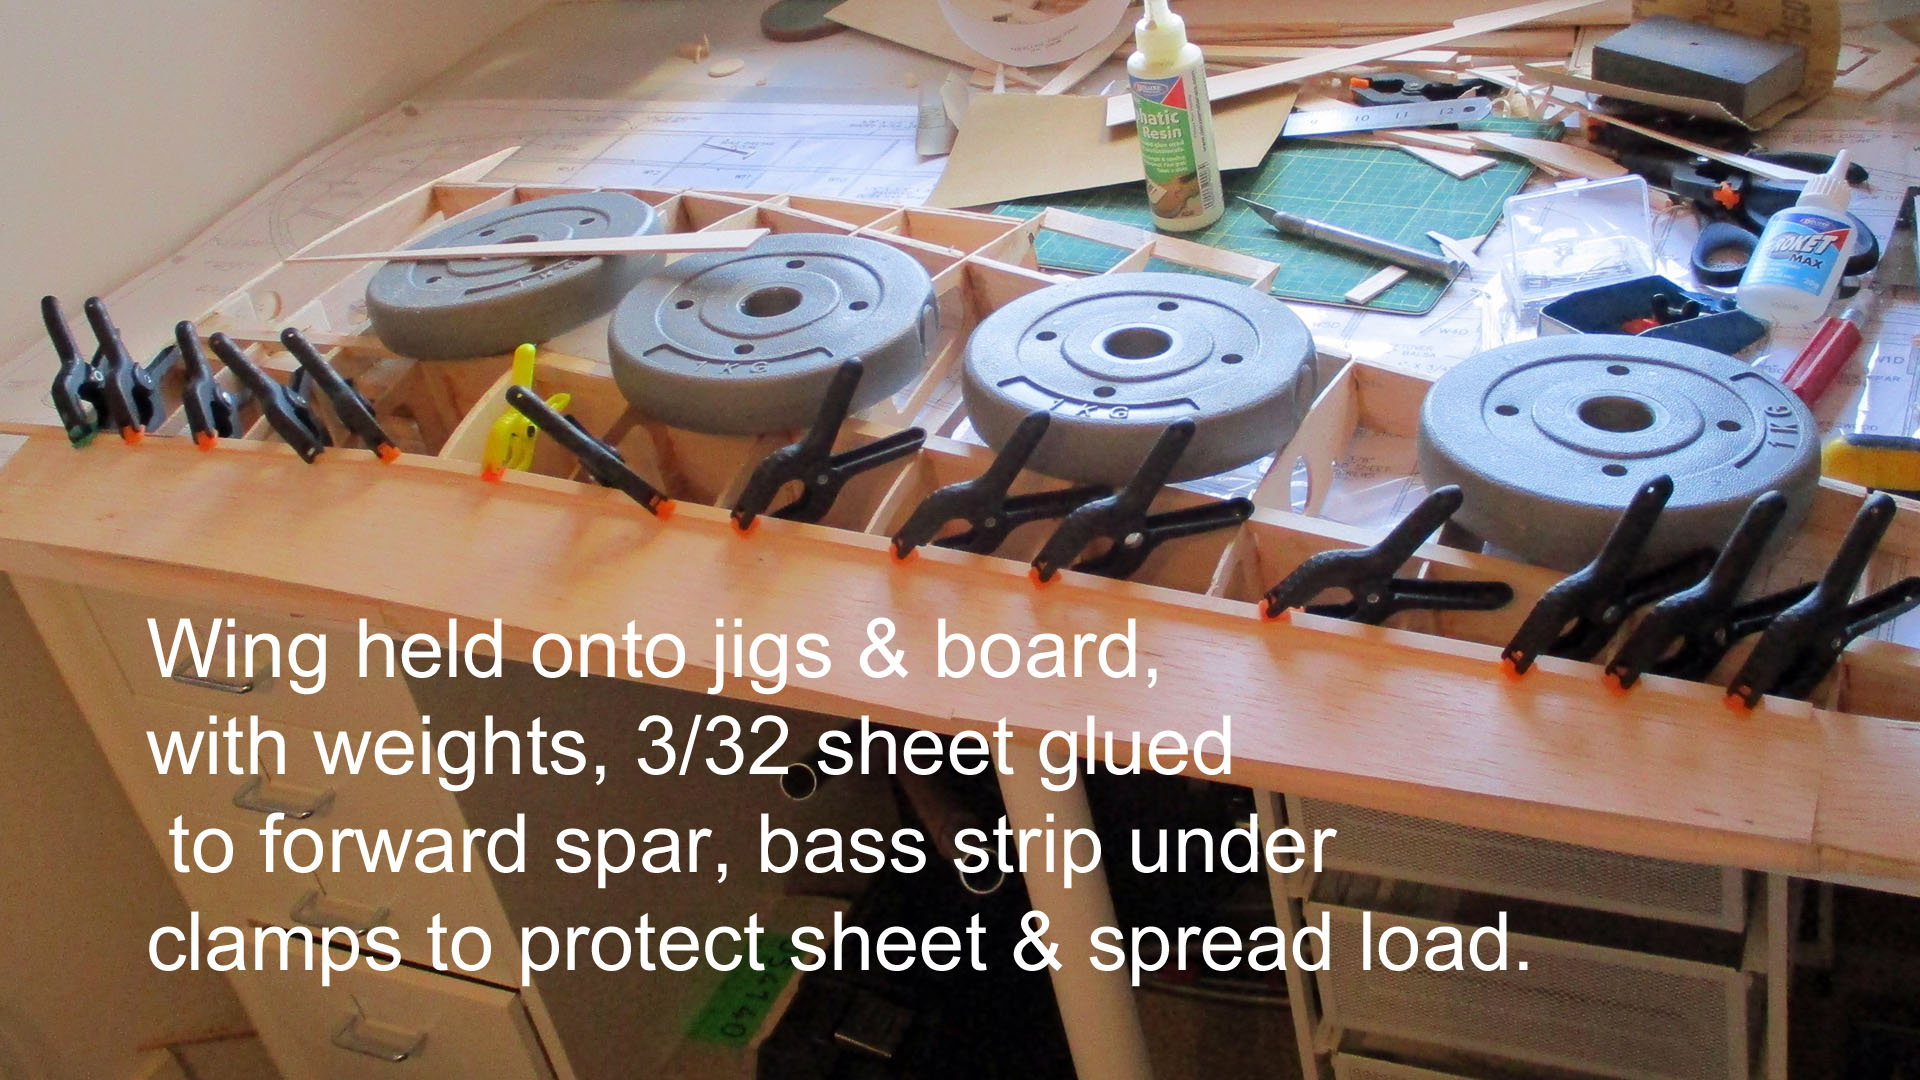
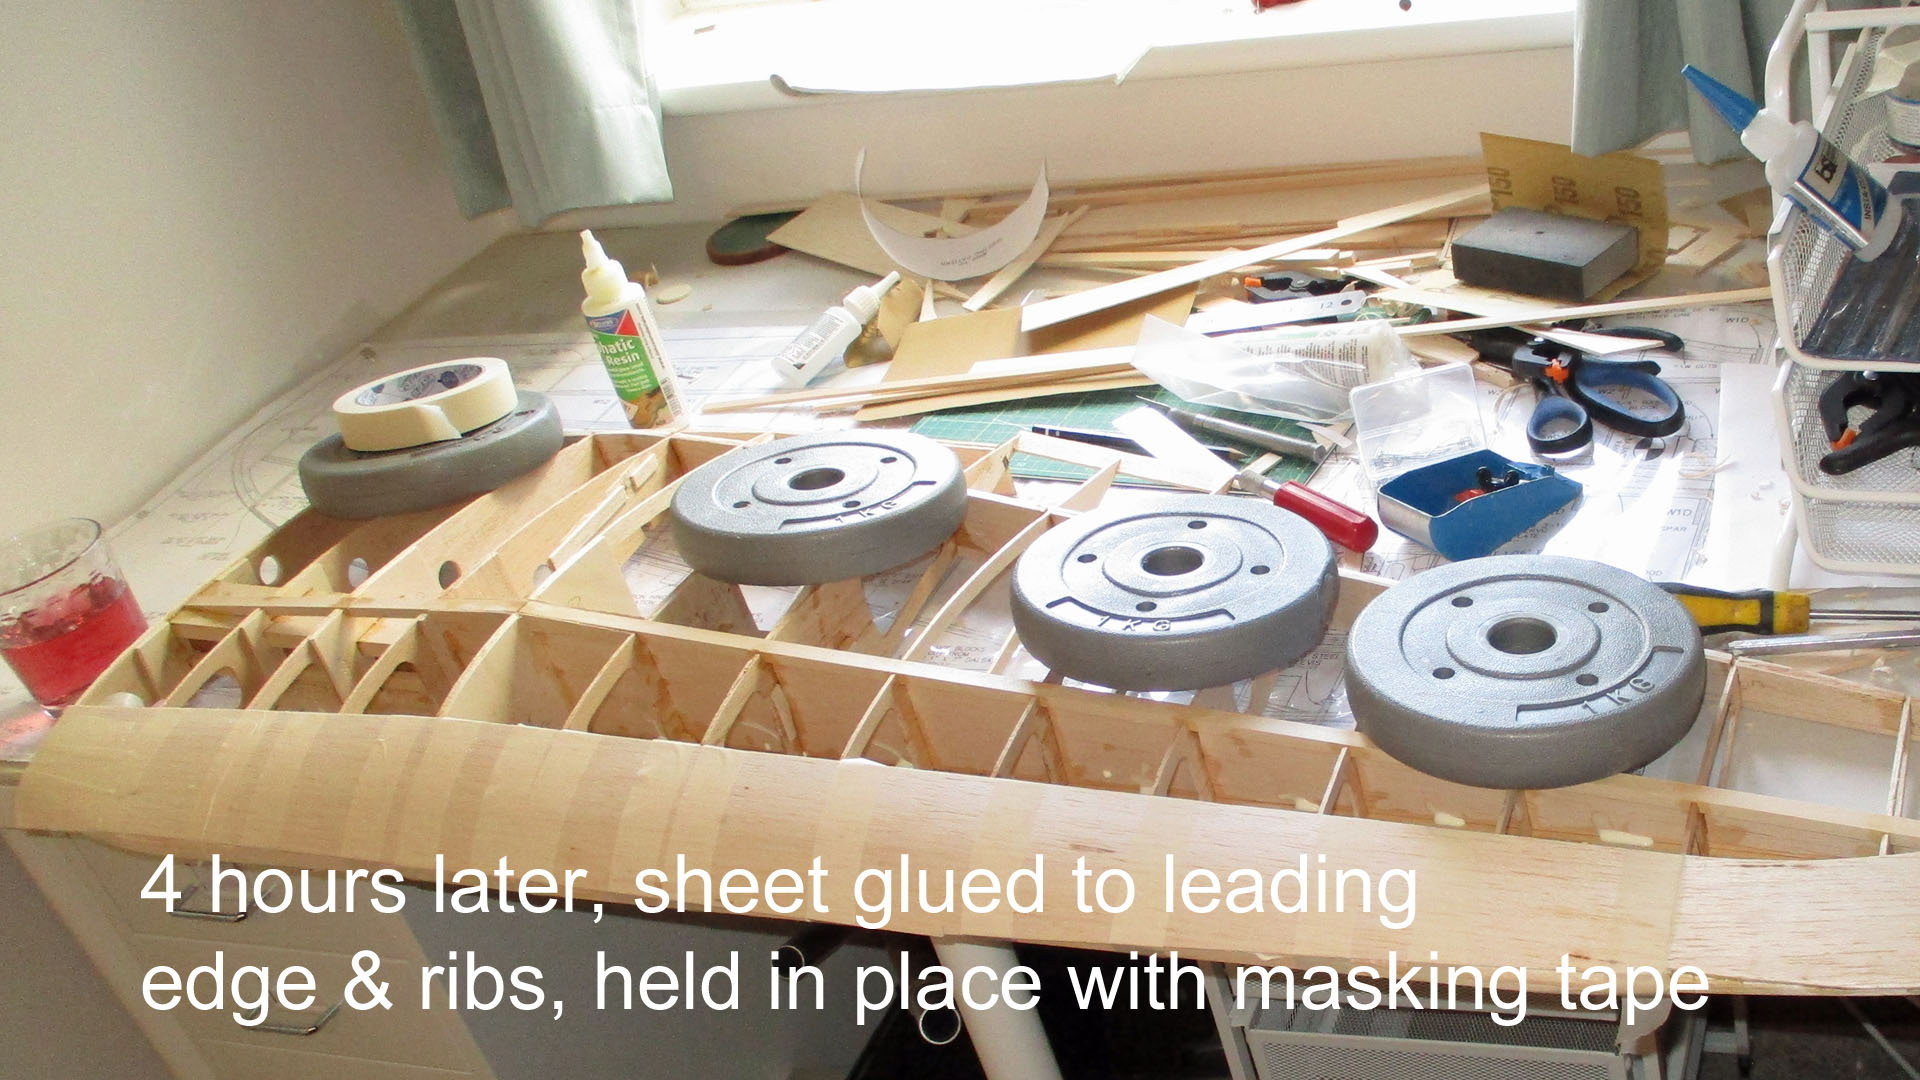
Sanded the top of the leading edge to match the rib contours, tried a length of sheet in position. For some reason I didn't need the penny pinching TF added balsa sliver to extend the sheet? Glued the inside edge of the sheet to the forward spar with aliphatic, held it down with a combo of clamps with a piece of bass wood to protect the sheet & spread the load. Gave this a good 4 hours to set, then applied the same glue to the ribs & leading edge. Didn't need to wet the sheet, then bent it into position using masking tape to hold it down. Left it to dry for today.

 10-25-2018, 04:09 AM
#73
Thread Starter
Join Date: Mar 2006
Location: Southport UK
Posts: 187
Likes: 0
Received 0 Likes
on
0 Posts
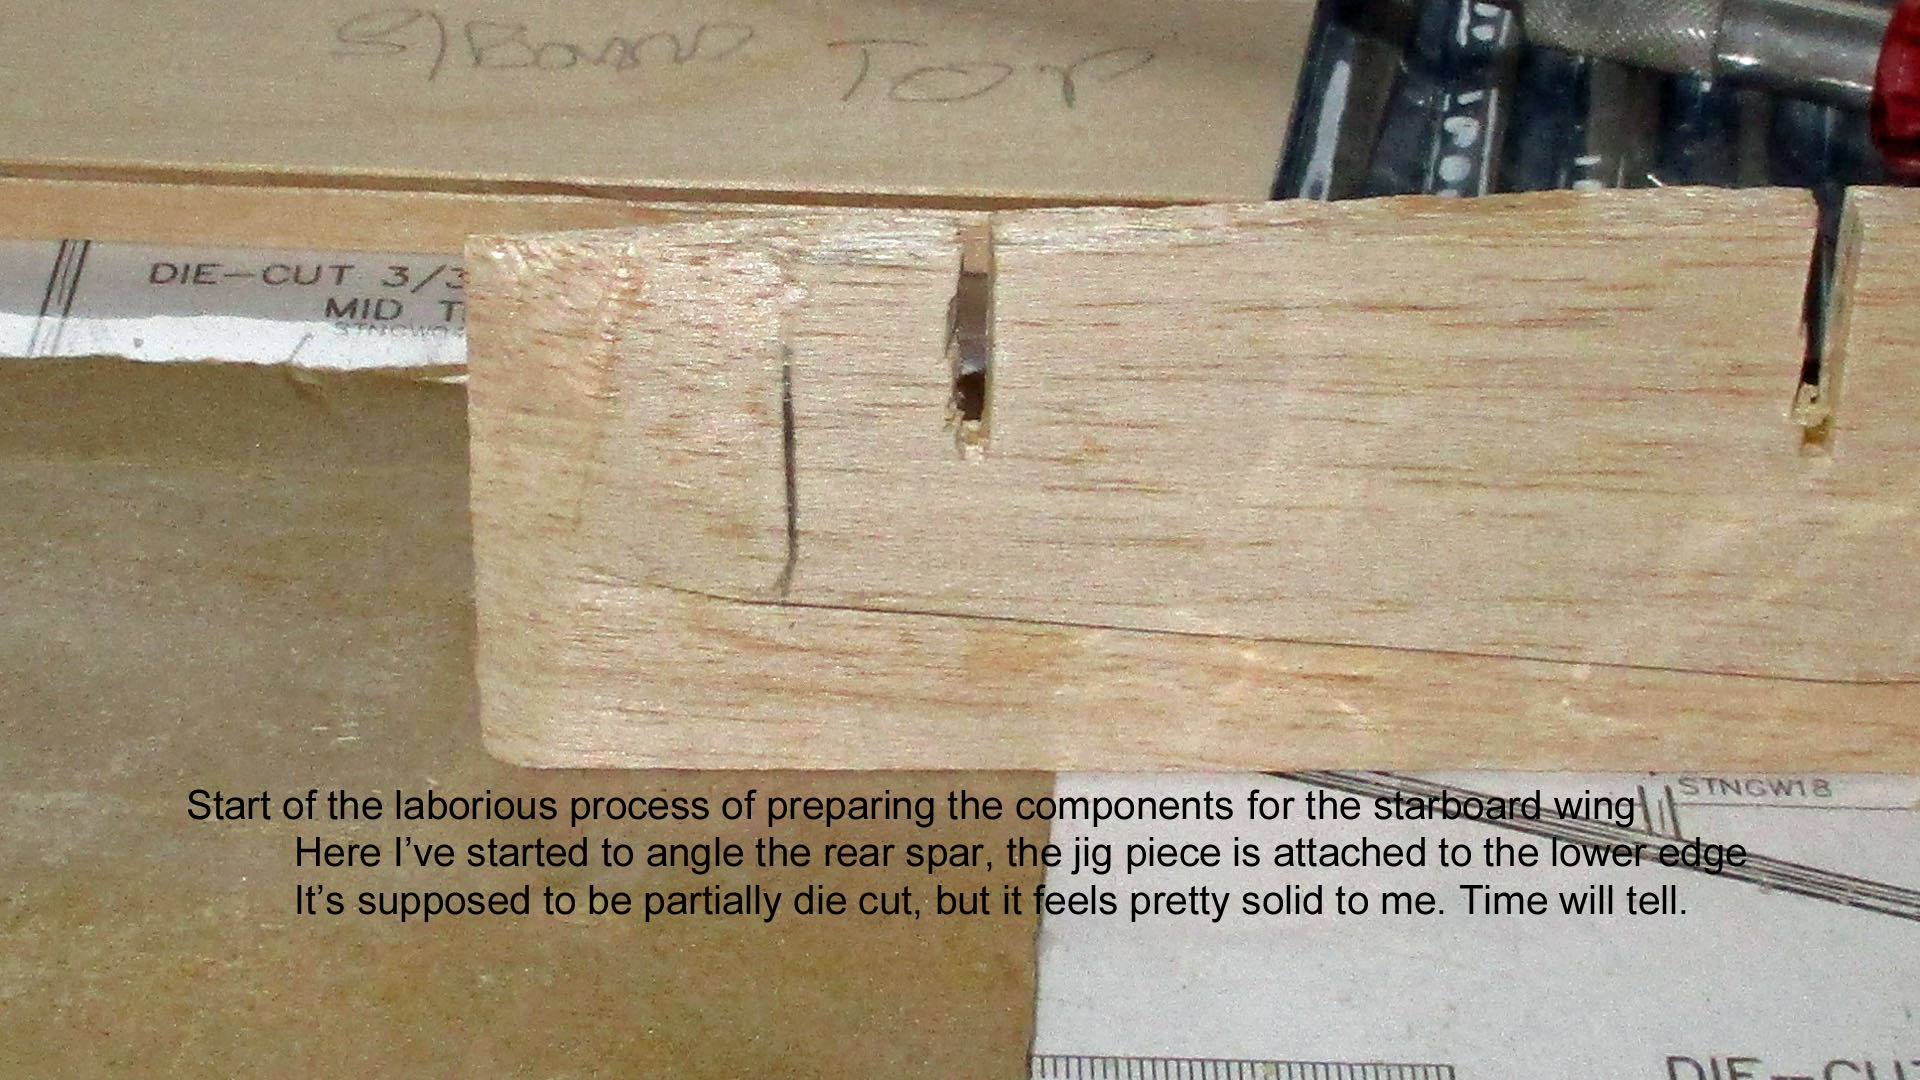

Didn't do much over the weekend with the BBC concert & the US Grand Prix. This week has been a mixture sheeting the top L/E of the port wing, gluing the out of reach places & reinforcing the cyano joints with aliphatic. Today I started preparing the components for the starboard wing. After the experience with the port wing I am making sure everything fits as it should before proceeding. This means angling the rib slots, tapering the rear spar, & ensuring the 32 holes for the wing tube box are a slack fit to take care of any mis-alignment of the ribs.
10-26-2018, 06:21 AM
#74
Thread Starter
Join Date: Mar 2006
Location: Southport UK
Posts: 187
Likes: 0
Received 0 Likes
on
0 Posts
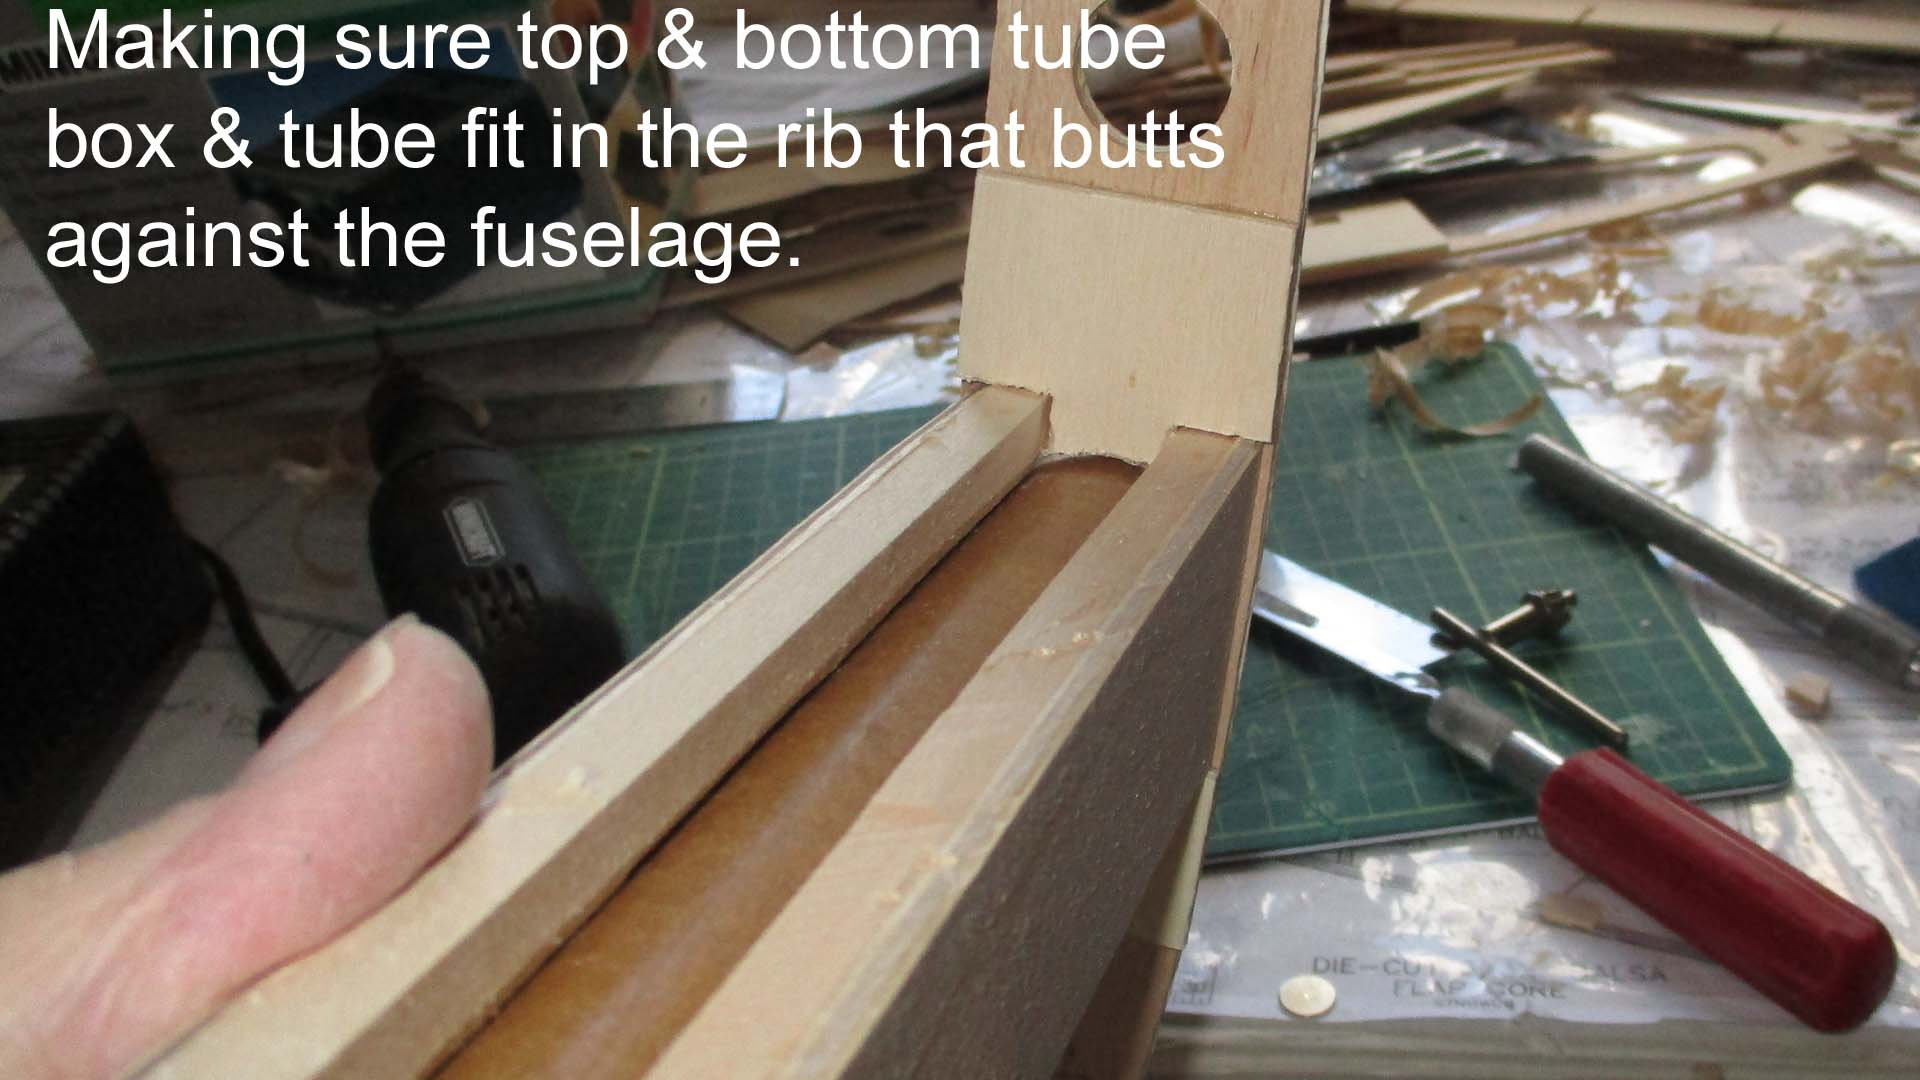
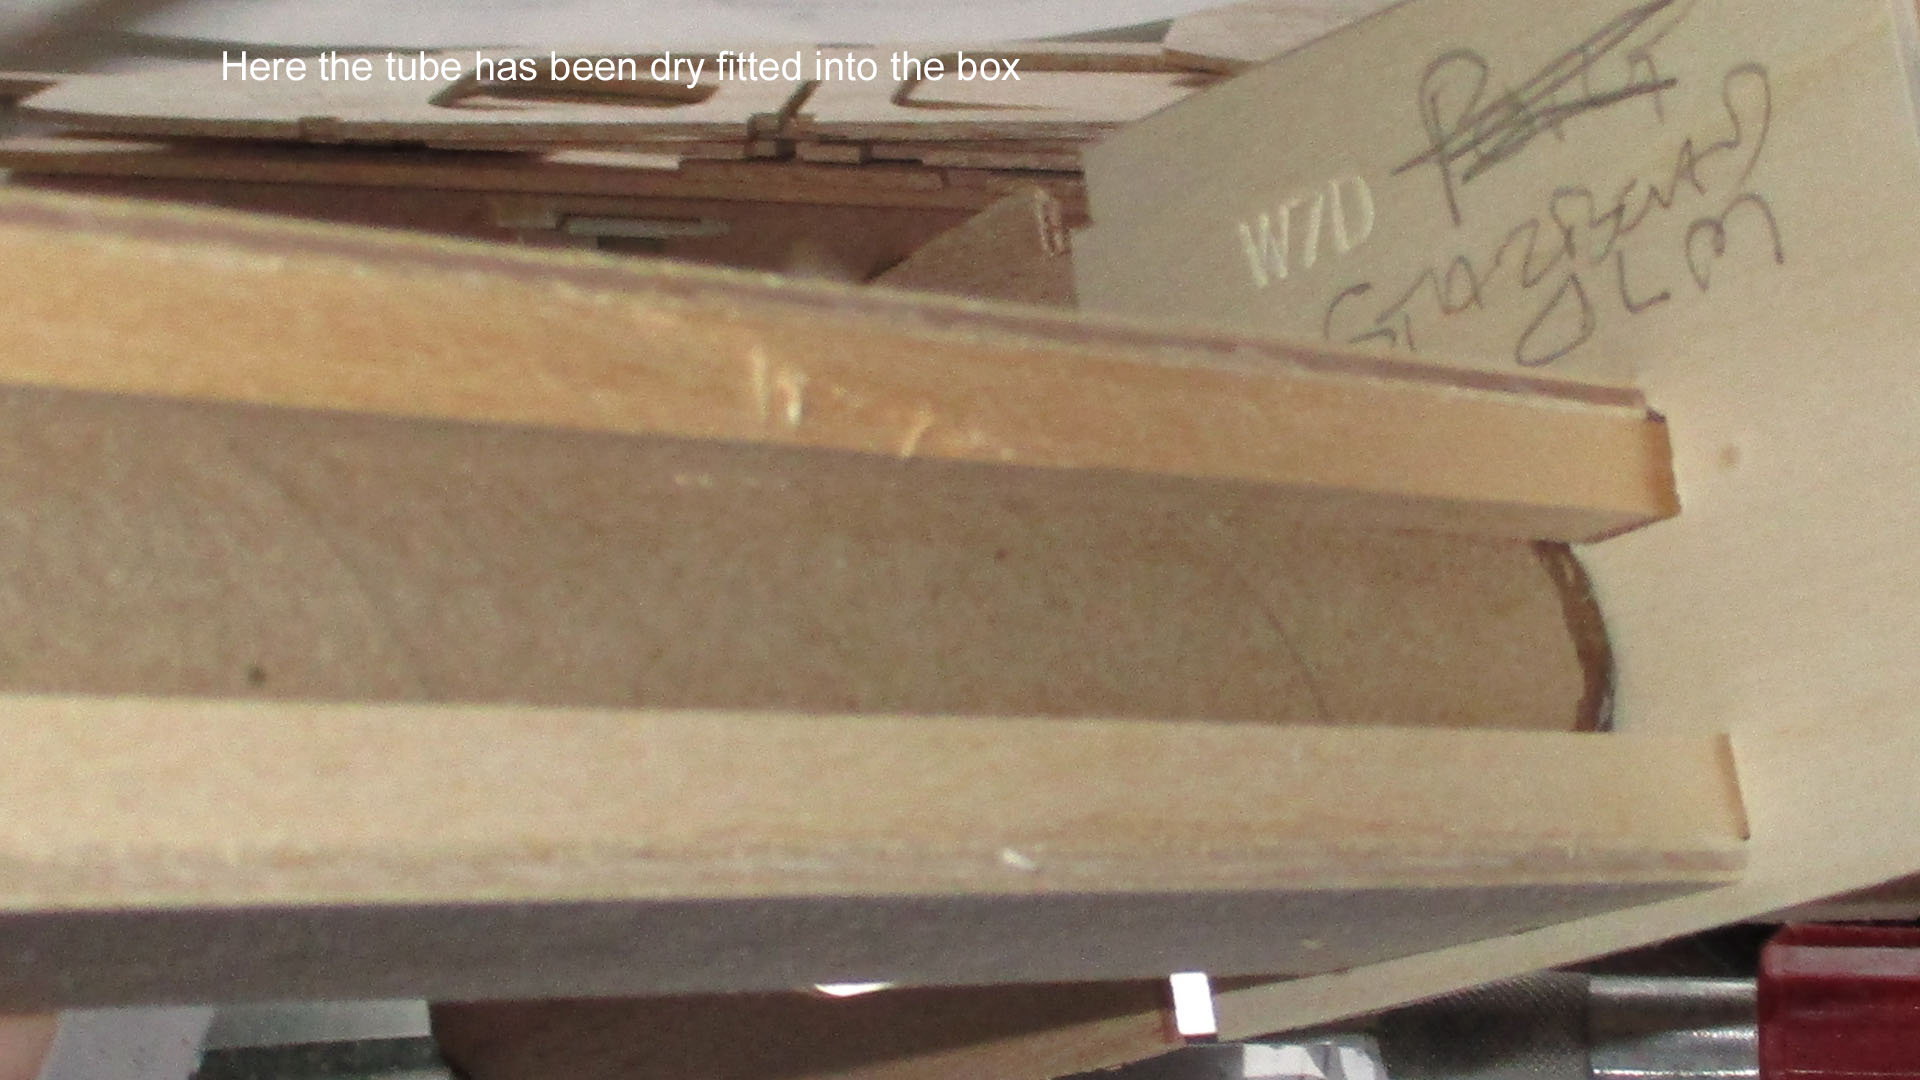
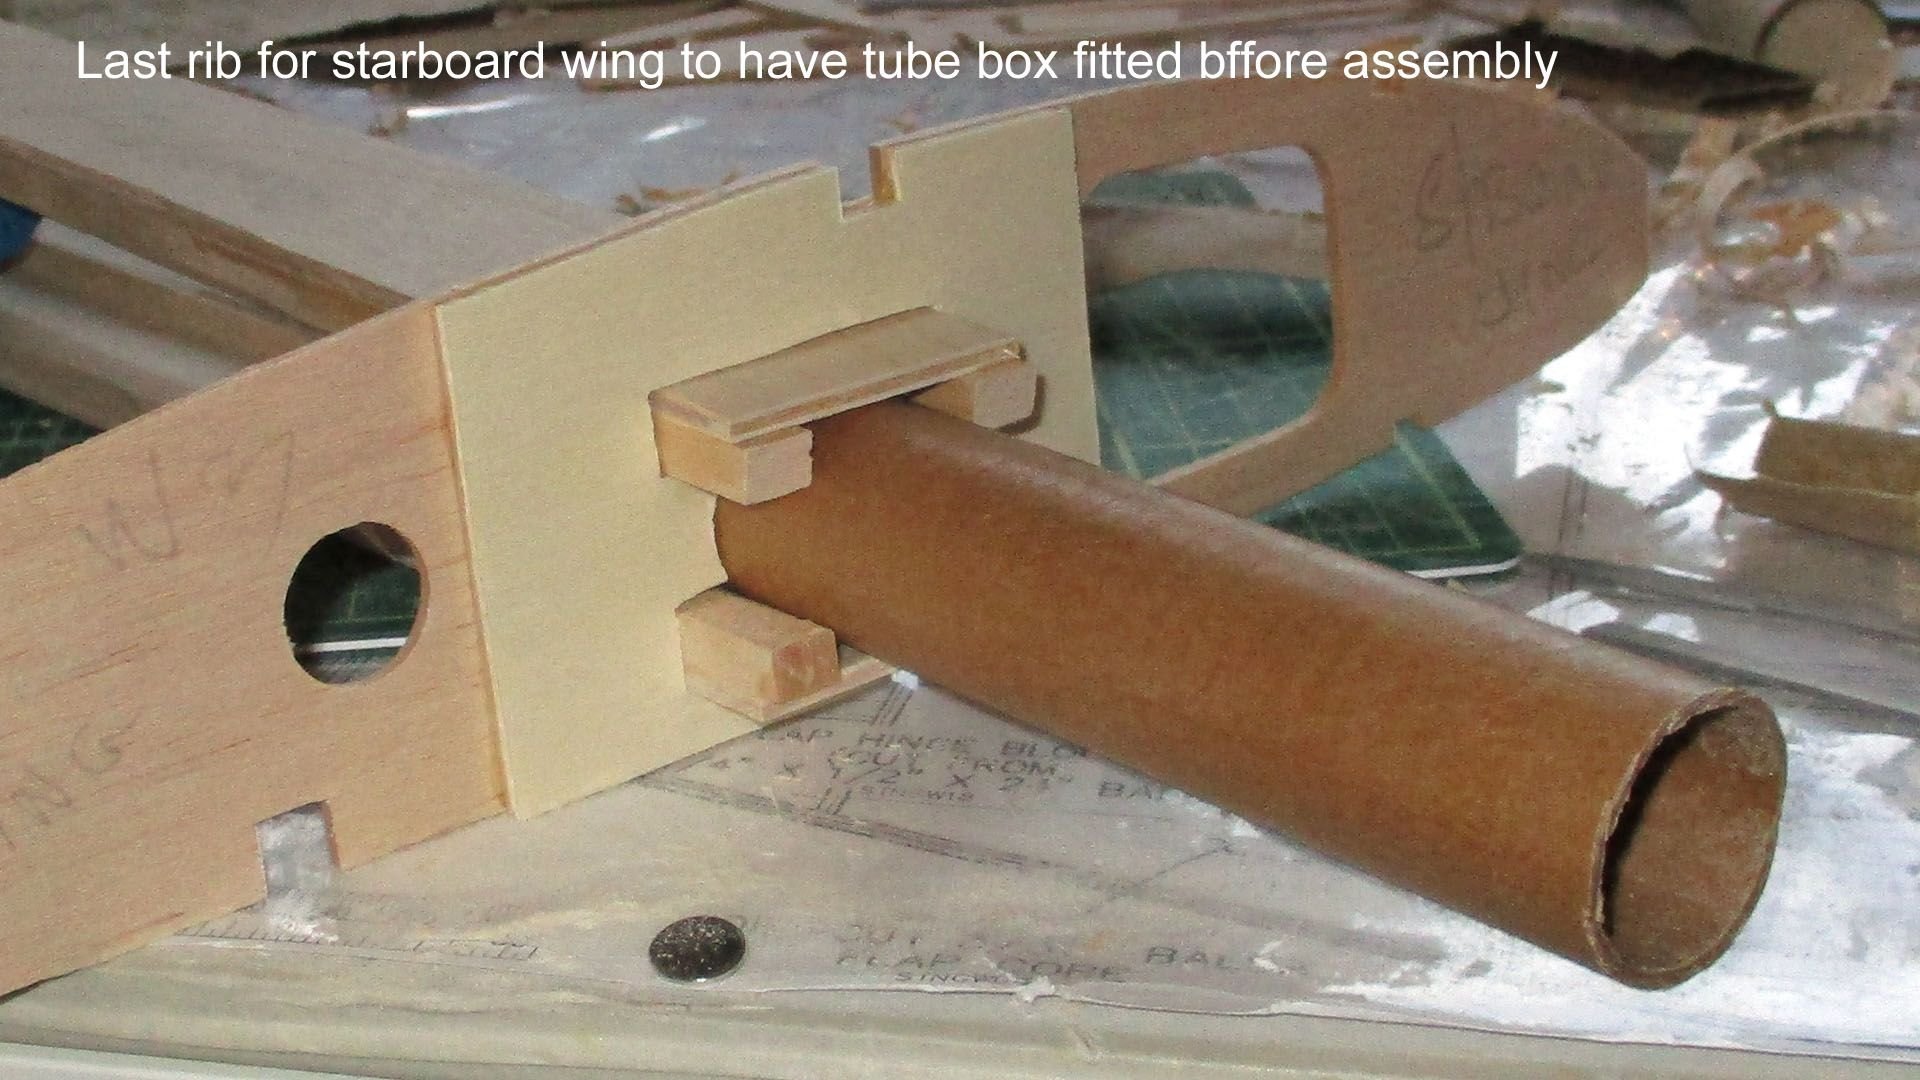
Didn't start until after lunch today. Carried on gluing the port wing where I couldn't reach with it on the board, chucked 2 bottles of cyano away as they had gone off, only had them a month. Set the wing aside to let the aliphatic glue dry & carried on shaping the rib slots & tube box openings, cut a second length off the phenolic tube to use as I dry fitted each rib to the top & bottom wing tube boxes. Postman came this morning with a package from the Czech Republic, no duty or VAT, what will happen when we leave the EU god only knows??? BTW the package had the dummy resin radial, looks great IMO, or will do when it's been pimped.
10-27-2018, 03:21 AM
#75
Thread Starter
Join Date: Mar 2006
Location: Southport UK
Posts: 187
Likes: 0
Received 0 Likes
on
0 Posts

Mexican GP w/end, Lewis has only to finish 7th to win the world championship for a 5th time
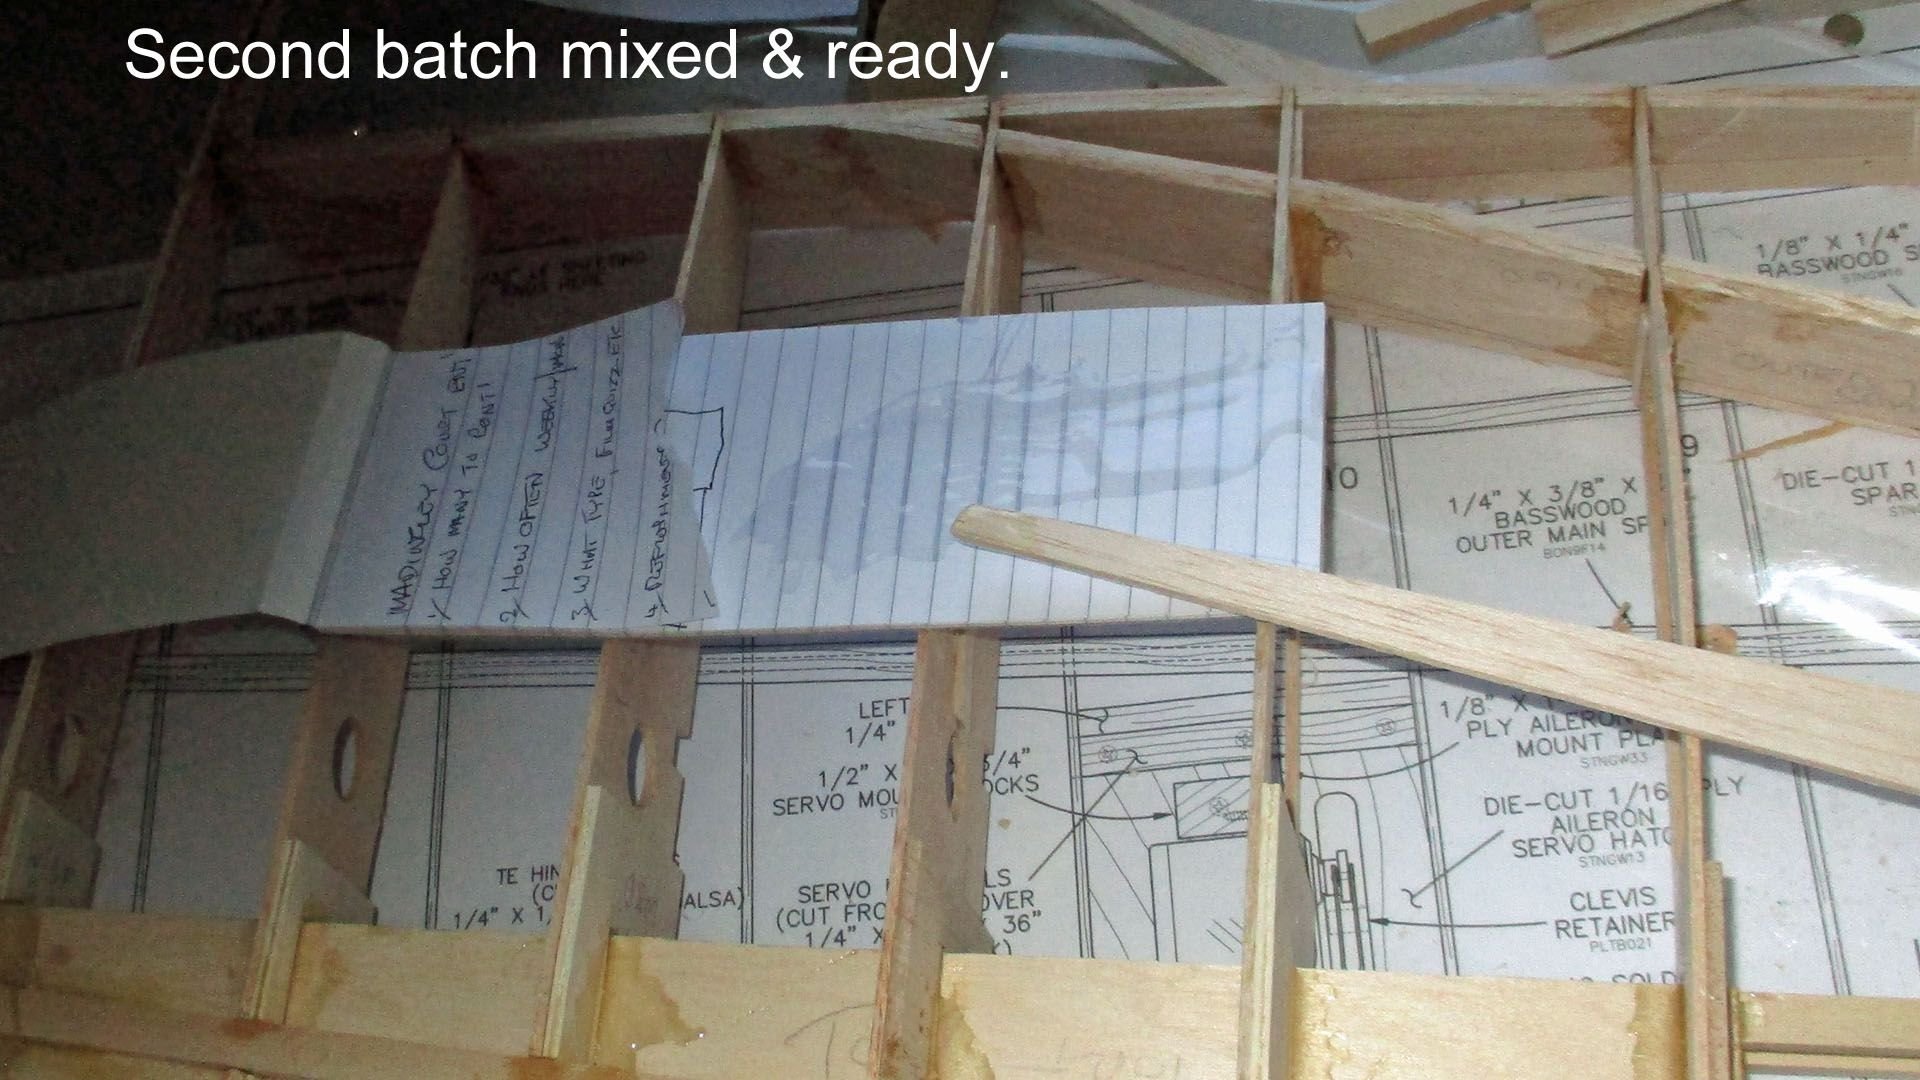
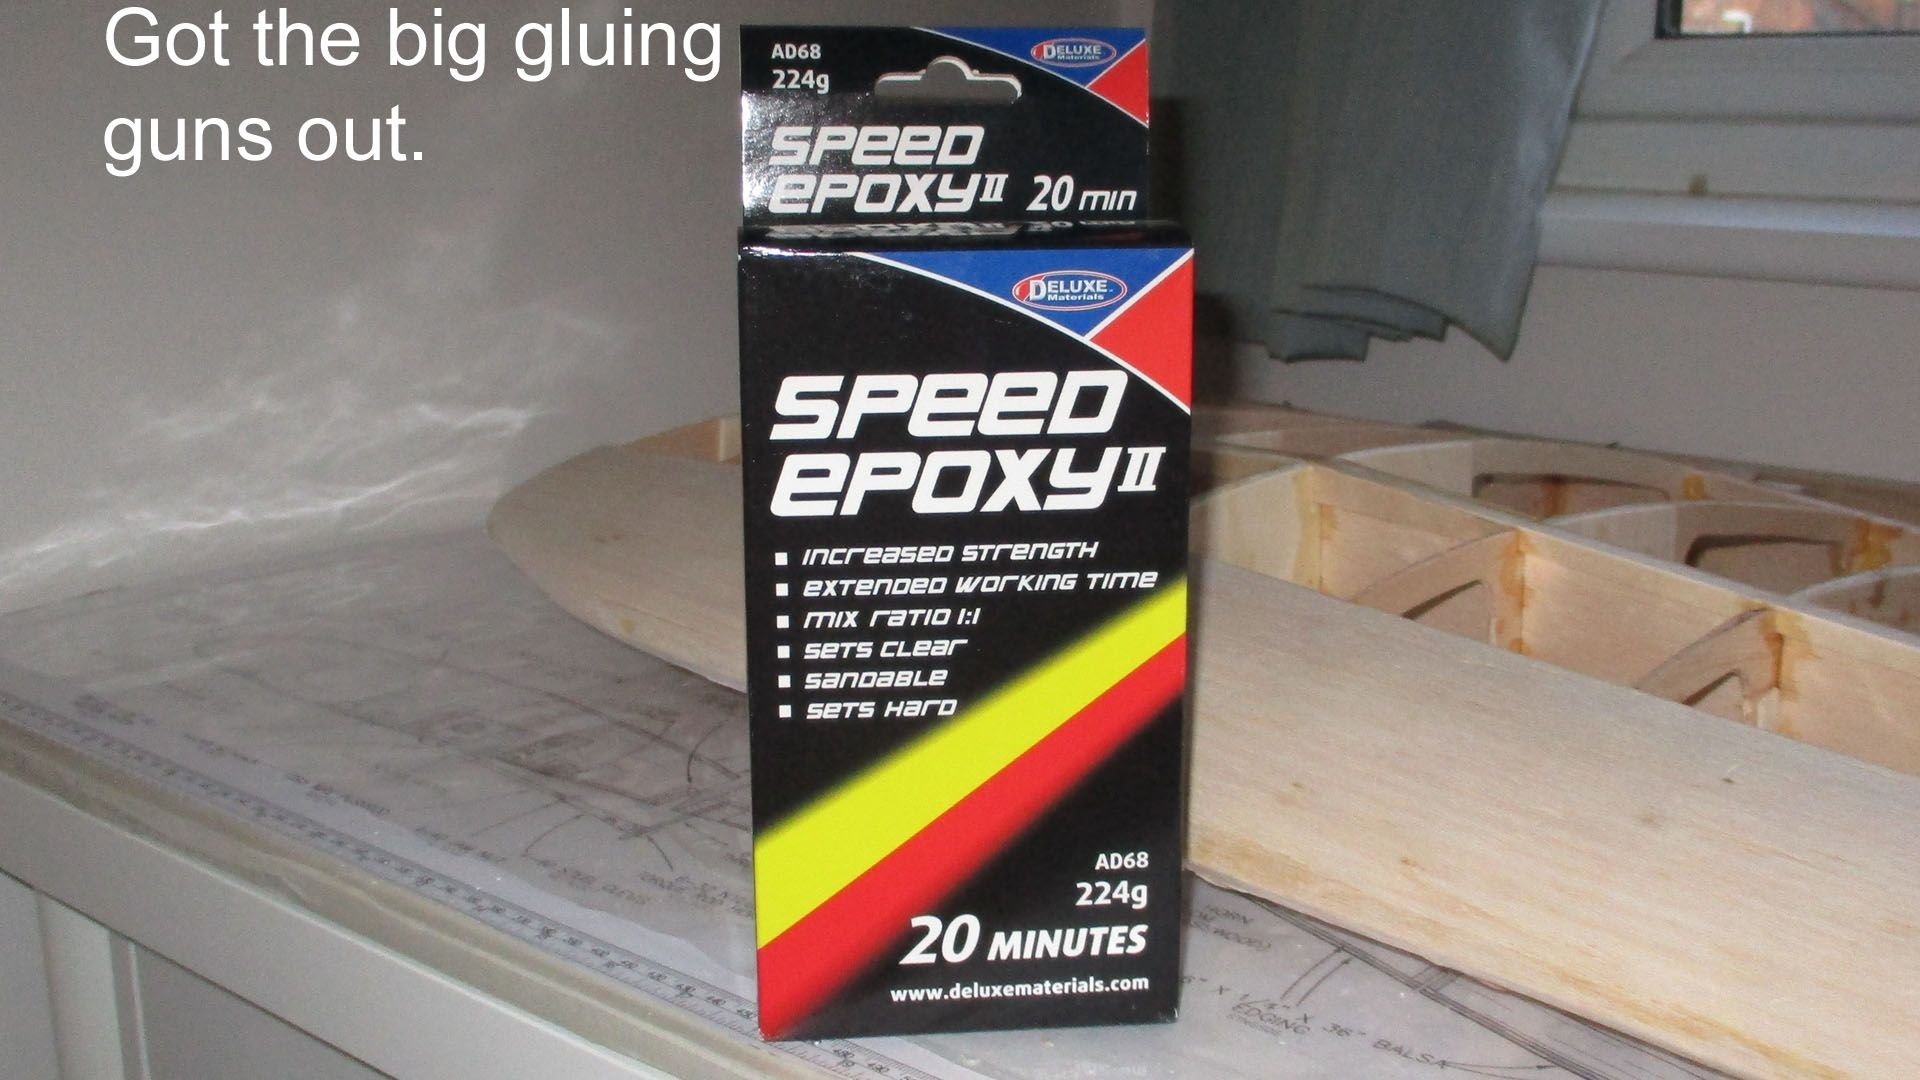
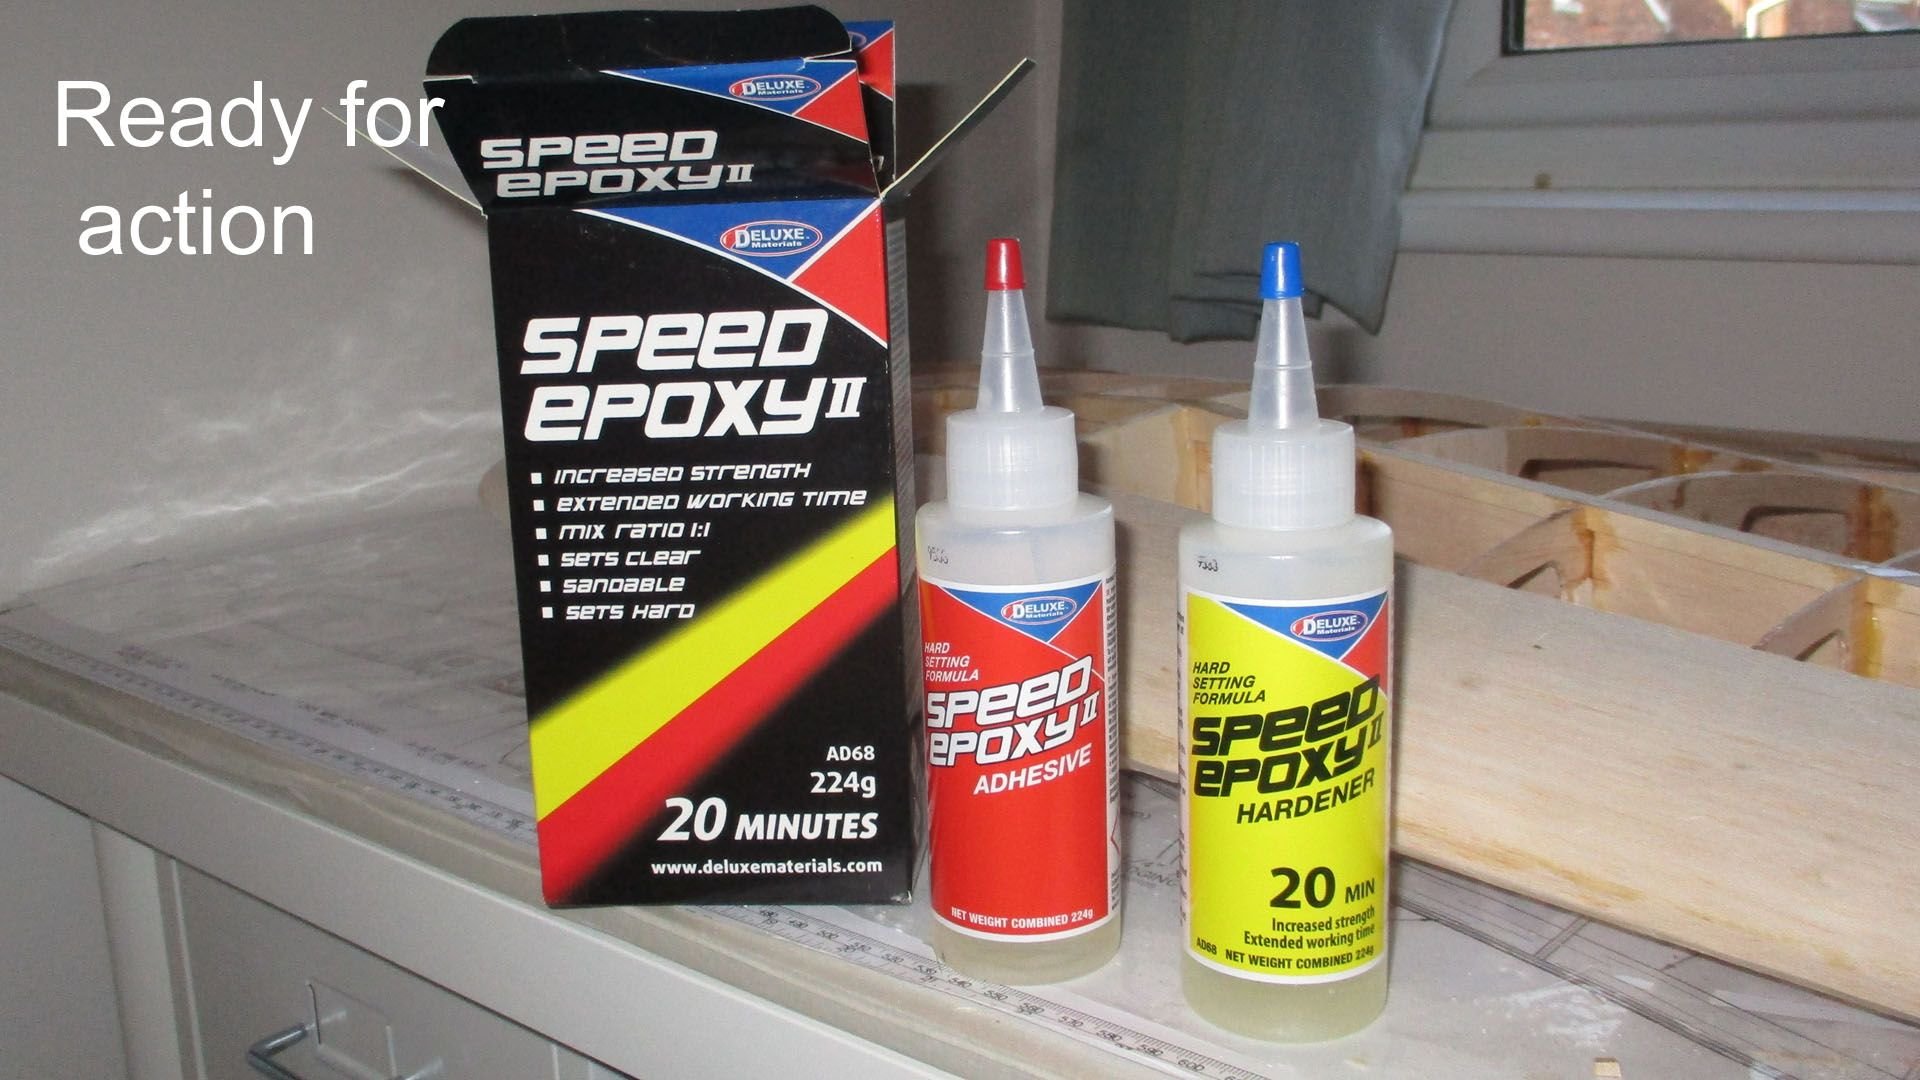
Consequently, not much building going on. Finished tailoring the last ribs for the starboard wing to fit the tube & tube box housing. Then got the big guns glue out (epoxy) & epoxied the high stress areas around the wing box. Waiting for that to go off then I'll do the underside.